
Energy Saver Can Shut Down Your UPS-Equipped Mac in a Power Outage
If you connect your Mac to your UPS with a USB cable, you can use Energy Saver to shut your Mac down automatically in the event of a power failure… before the UPS battery runs out.
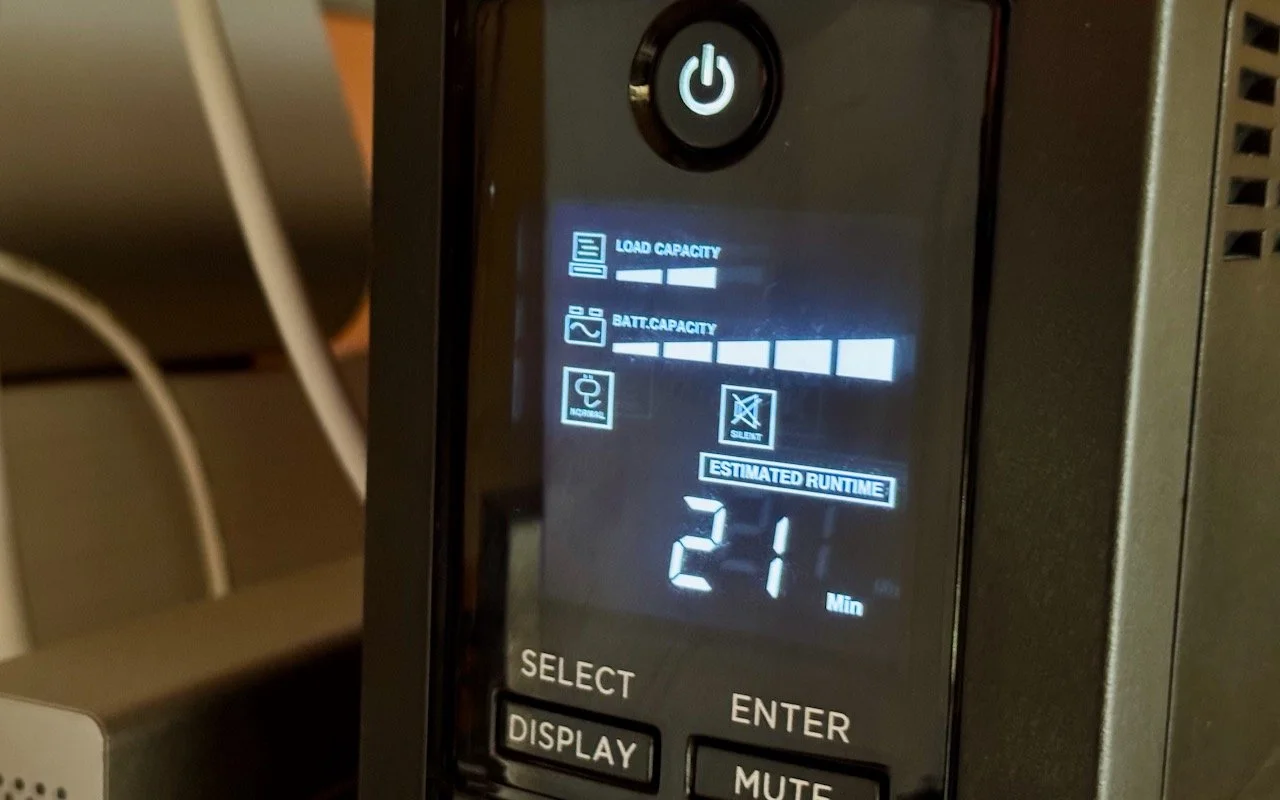
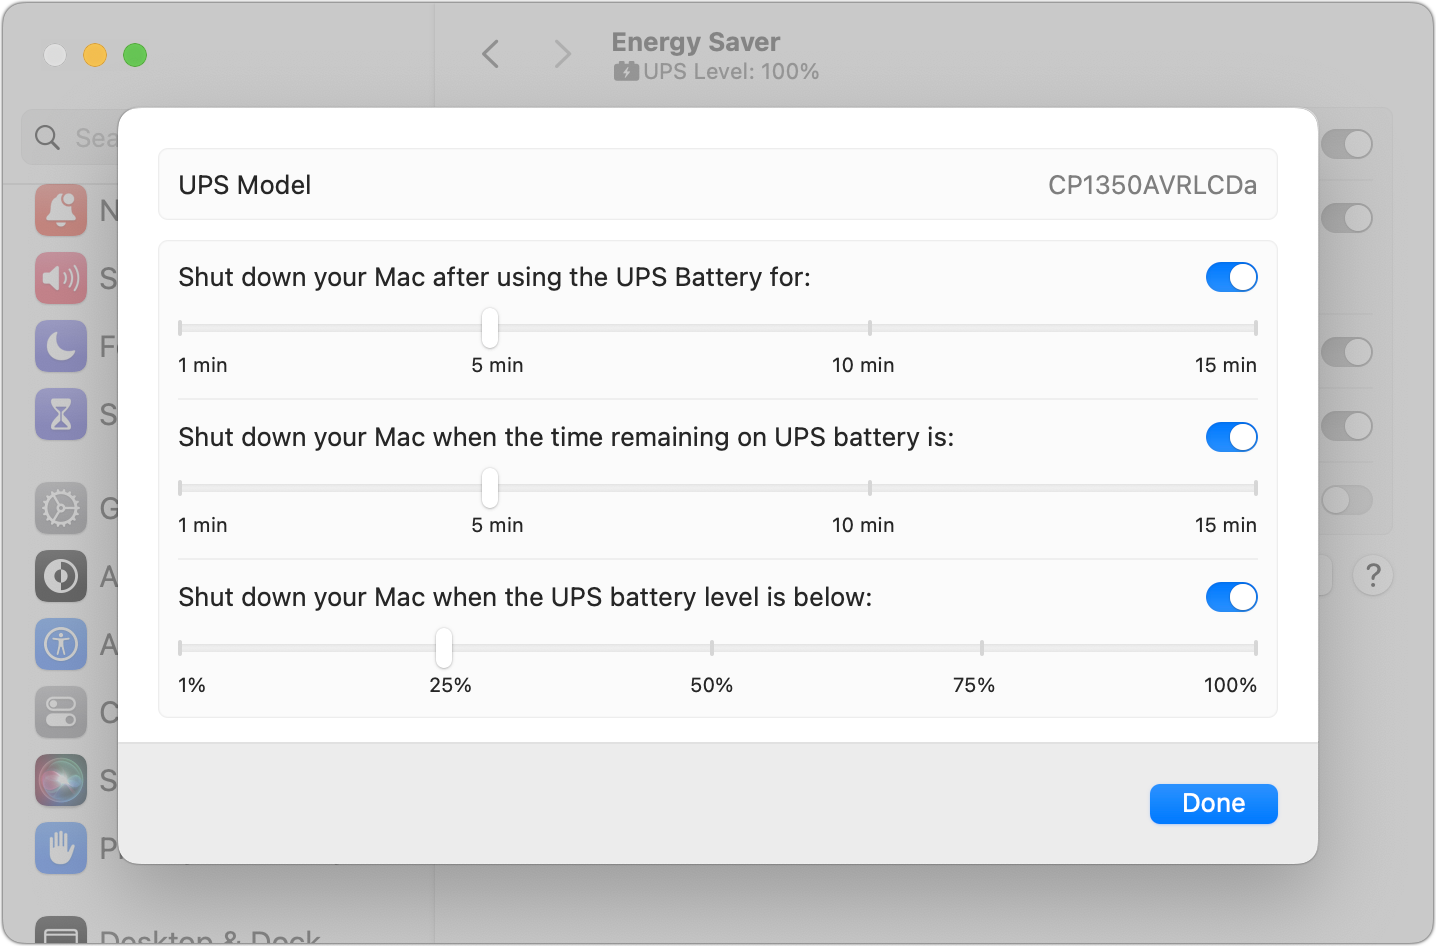
An uninterruptible power supply, or UPS, provides essential protection from power surges, spikes, brownouts, and outages. But if you’re not at your Mac when the power goes out, the UPS may run out of battery before you (or the power) return. Happily, if you connect your Mac to your UPS with a USB cable, macOS can detect the outage and shut your Mac down safely, regardless of what else is happening. Make sure open documents are saved whenever you step away from your Mac, or you could lose changes. In System Settings > Energy Saver > UPS Options, you can trigger the shutdown in three ways: after using the UPS battery for a specified amount of time, when the time remaining on the UPS battery hits a specific number, or when the UPS battery level drops below a particular percentage. There’s no harm in setting all three. Remember that it can take a minute or two for your Mac to shut down, so err on the short side for safety’s sake. Apple supports most UPS models from major manufacturers such as APC, CyberPower, and Tripp Lite.
(Featured image by Adam Engst)
Protect Domains That Don’t Send Email from Email Spoofing
If you have parked domains that never send email, it’s important to set up SPF, DKIM, and DMARC so scammers can’t forge legitimate-looking email from those domains.

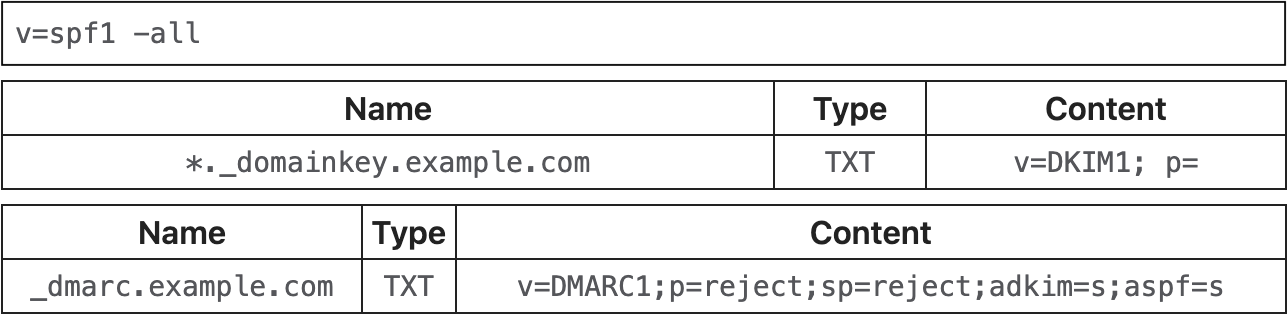
We recently wrote an article for those who manage their own Internet domain names about using SPF, DKIM, and DMARC to prevent your domains from being used in phishing attacks and enhance the deliverability of legitimate email. But what about other domains you own but don’t use for email? To make phishing attacks more believable, spammers sometimes forge email so it appears to come from parked domains that aren’t protected. You can use SPF, DKIM, and DMARC to ensure that forged email that seems to come from your unused domains isn’t accepted. The details are too specific to go into here, but Cloudflare has an excellent article outlining what you need to do.
(Featured image based on an original by iStock.com/Igor Kutyaev)
Missed an Alert? Check Notification Center
If a temporary banner disappears from your iPhone, iPad, or Mac before you have a chance to read it, you can find it in Notification Center.

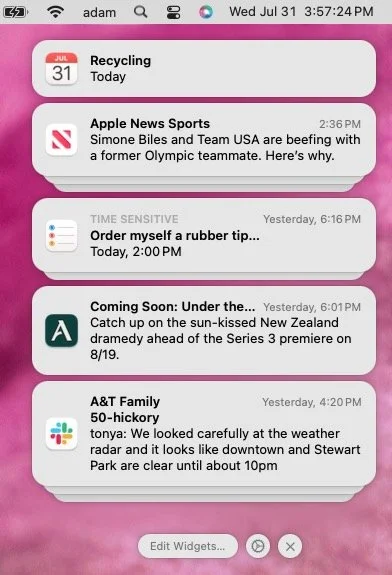
iOS, iPadOS, and macOS all let you specify whether any given app should show no notifications, temporary banners, or persistent alerts: look in Settings > Notifications and System Settings > Notifications. Temporary banners appear briefly and then automatically disappear, which is appropriate for notifications requiring no acknowledgment. But what if you see a temporary banner only as it’s disappearing and can’t read it in time? You can find a historical list of notifications in Notification Center. To open it from the Lock Screen on an iPhone or iPad, swipe up from the middle of the screen. From any other screen, swipe down from the center of the top of the screen. On the Mac, click the date and time in the upper right corner. If your Mac has a trackpad, you can also swipe with two fingers from the right edge.
(Featured image based on an original by iStock.com/Shutthiphong Chandaeng)
Having Trouble with a Public Wi-Fi Network’s Captive Portal Login Page?
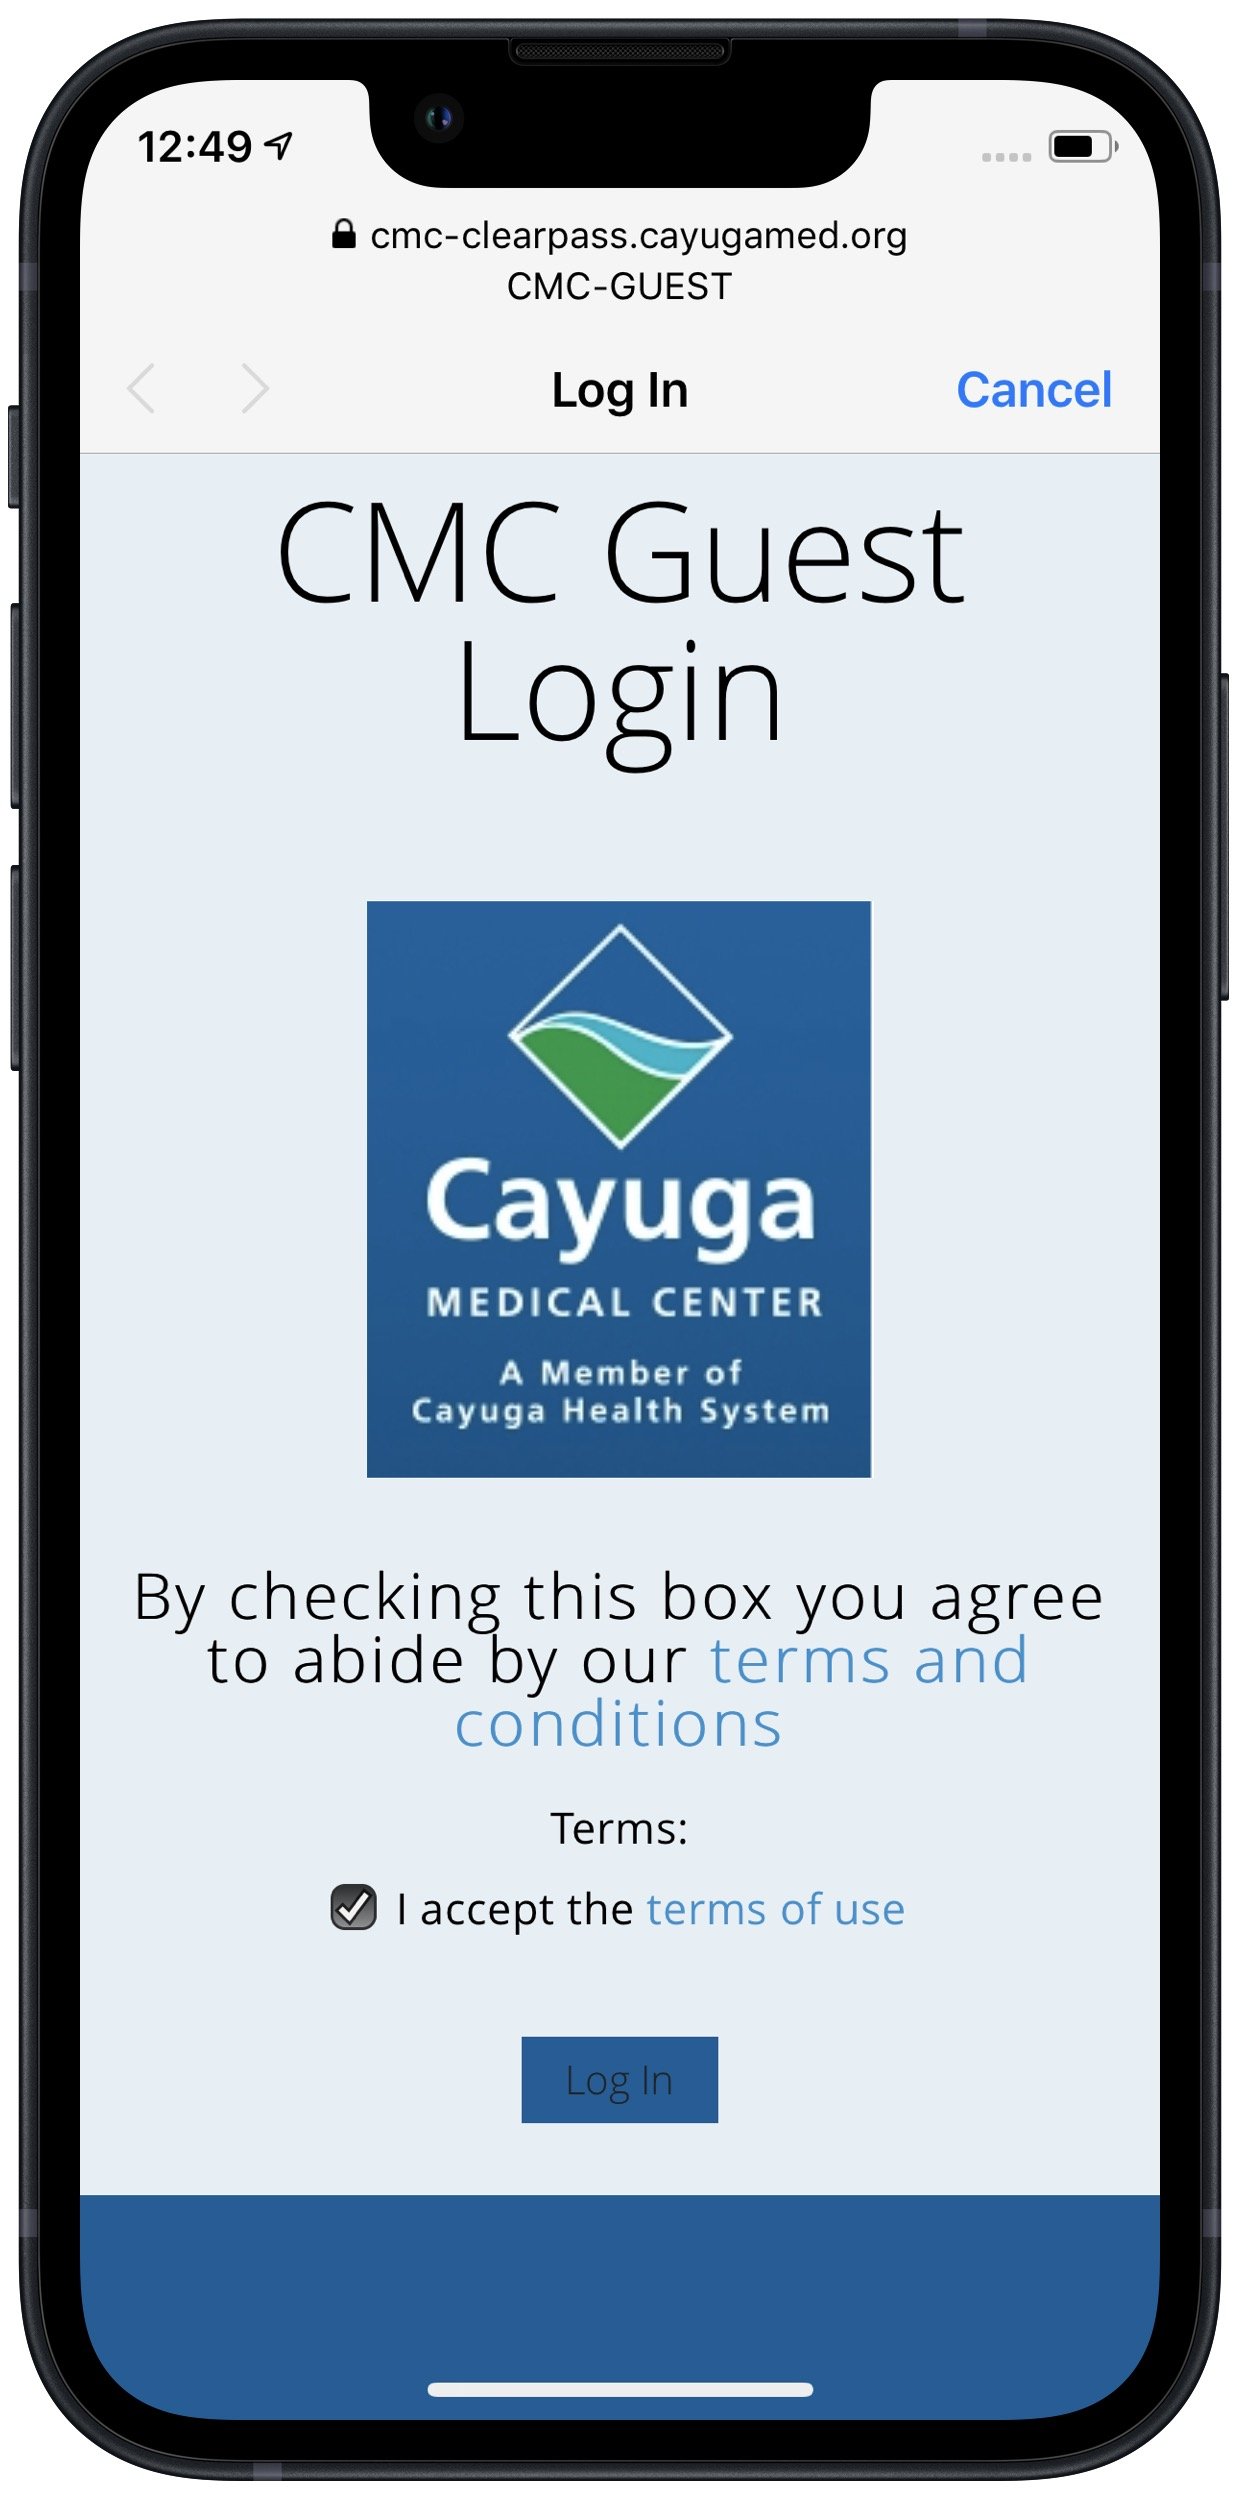
When you connect to a public Wi-Fi network, you often must authenticate or agree to terms on a captive portal login page. Here’s the solution if that page doesn’t appear.

When you connect to a public Wi-Fi network at an airport, hotel, coffee shop, or school, you may need to interact with a captive portal login page to be granted access to the network. It might require you to enter login credentials, ask for your name, or make you agree to terms of service. But what if that login page doesn’t appear, or something kicks you off the network and you can’t reconnect? In Safari, navigate to captive.apple.com, which should force the captive portal to display its login page again. If that doesn’t work, remove any custom DNS servers and restart. On the Mac, find custom DNS servers in System Settings > Network > Wi-Fi > Details > DNS. On an iPhone or iPad, go to Settings > Wi-Fi > Network Name > Configure DNS and choose Automatic.
(Featured image based on an original by iStock.com/CreativaImages)
Be Careful When Scanning Unknown QR Codes
QR codes—those blocky squares you scan with your iPhone camera—are an easy way to open a Web page. Unfortunately, scammers also use them to trick people into visiting malicious websites, so read our tip about scanning these codes safely.
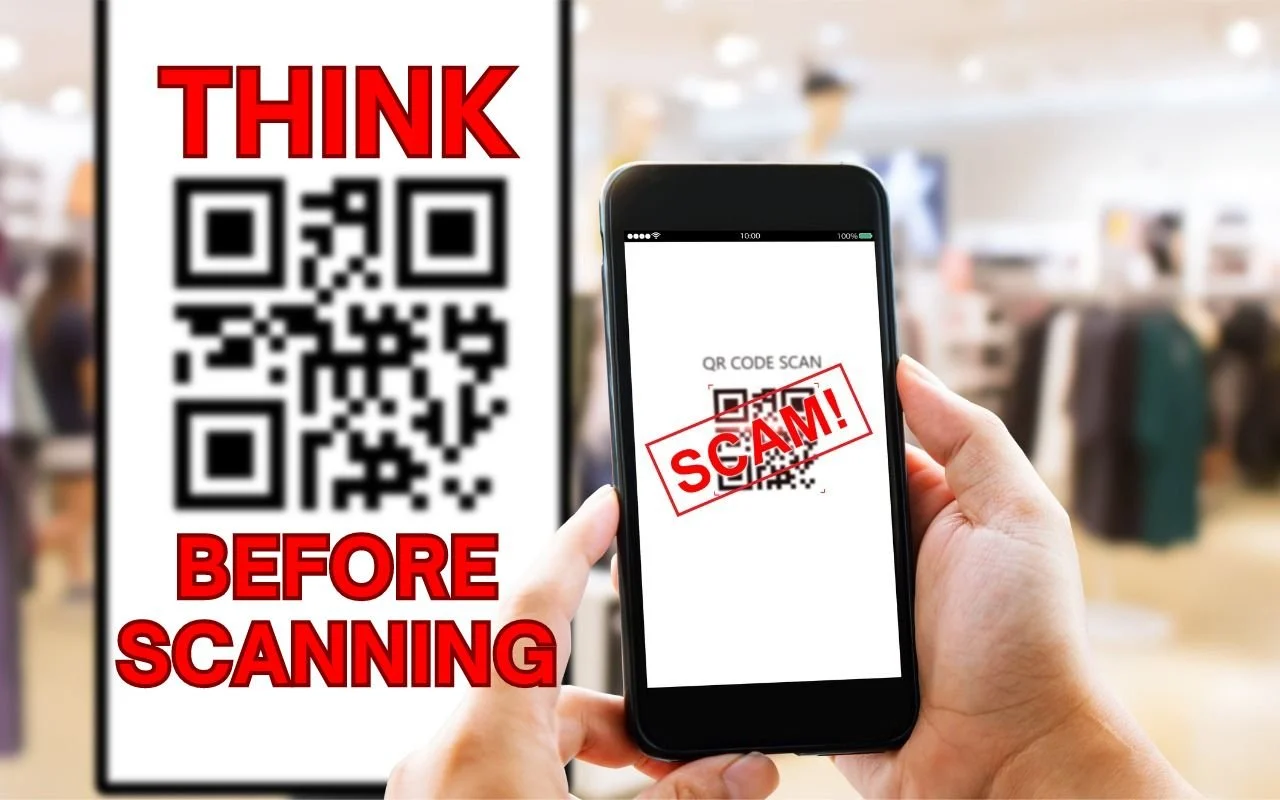
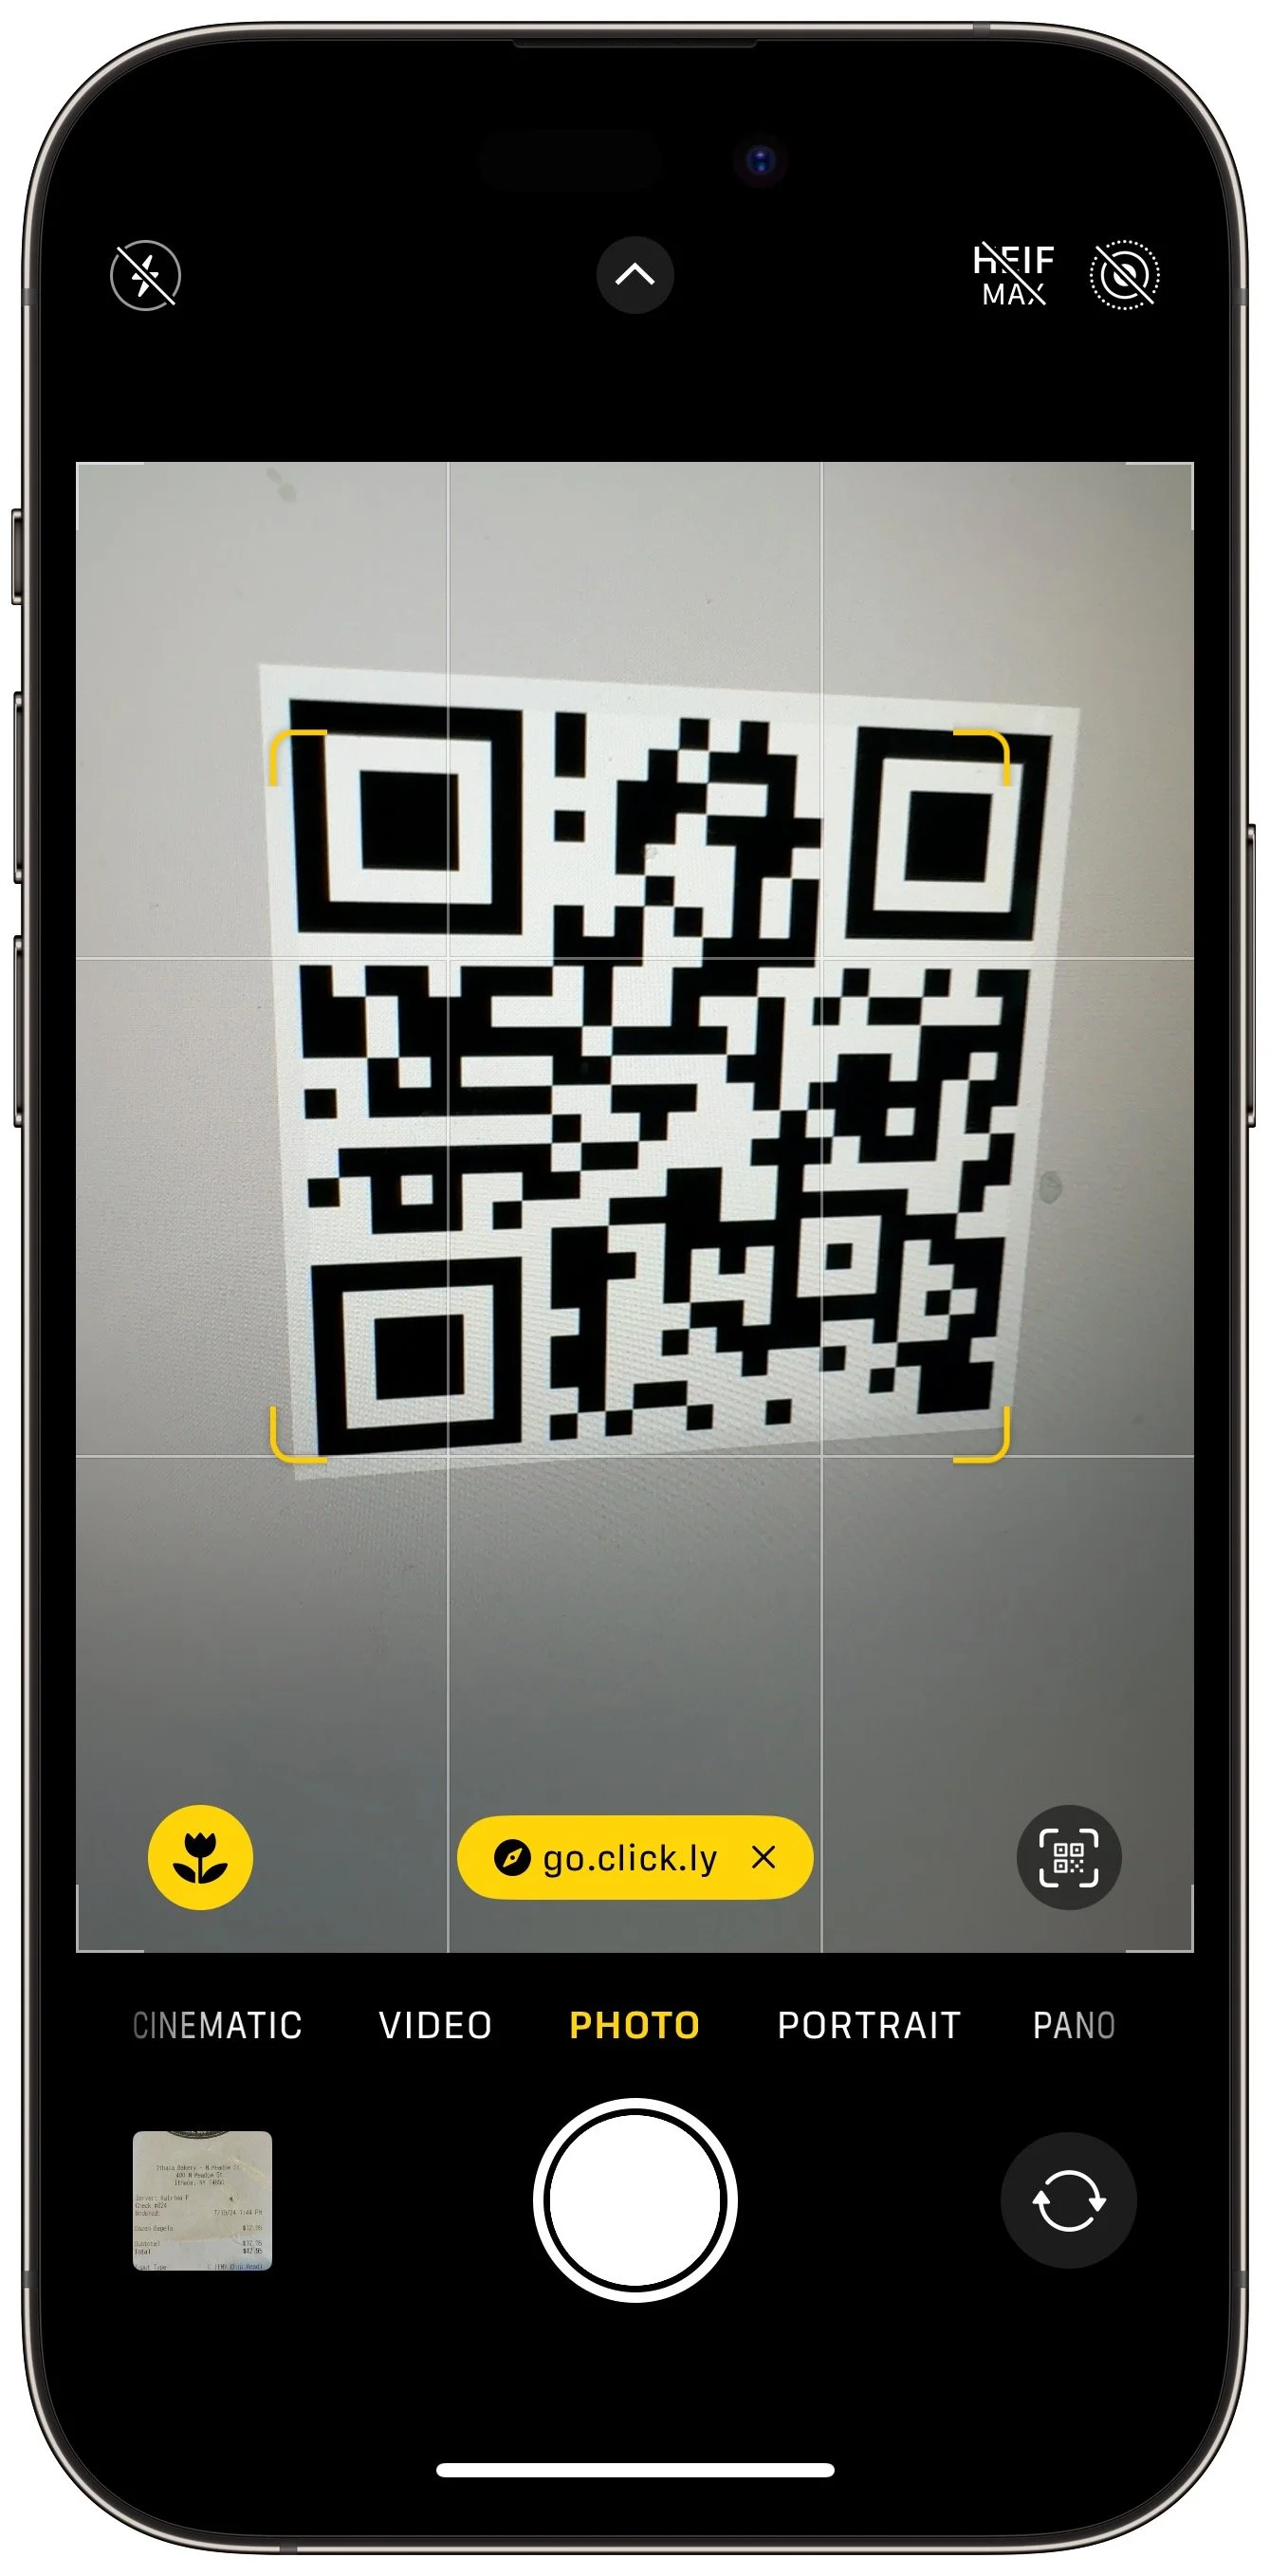
QR codes, those square, blocky codes you scan with your iPhone’s camera to load a Web page, have become ubiquitous. So much so that we seldom pause before scanning any QR code we see. But if you think about it, that’s the same as clicking random links in emails or texts, which is a terrible idea from a security perspective. “Quishing” (QR code phishing) isn’t commonplace yet, but some sources say there are thousands of cases per month. To avoid falling victim to a quishing scam, only scan QR codes from trusted sources, try to verify what a code will do once scanned, and evaluate the yellow URL preview Safari provides (when using other browsers, all you see is Open in Browser Name). Finally, always install iOS security updates promptly because they often address vulnerabilities that could be exploited with malicious data.
(Featured image based on an original by iStock.com/B4LLS)
Remember the Magnifier App When You Need to Read Tiny Text
The built-in Magnifier app on the iPhone and iPad is a godsend when trying to make out a tiny serial number or anything else that’s too small to read easily.

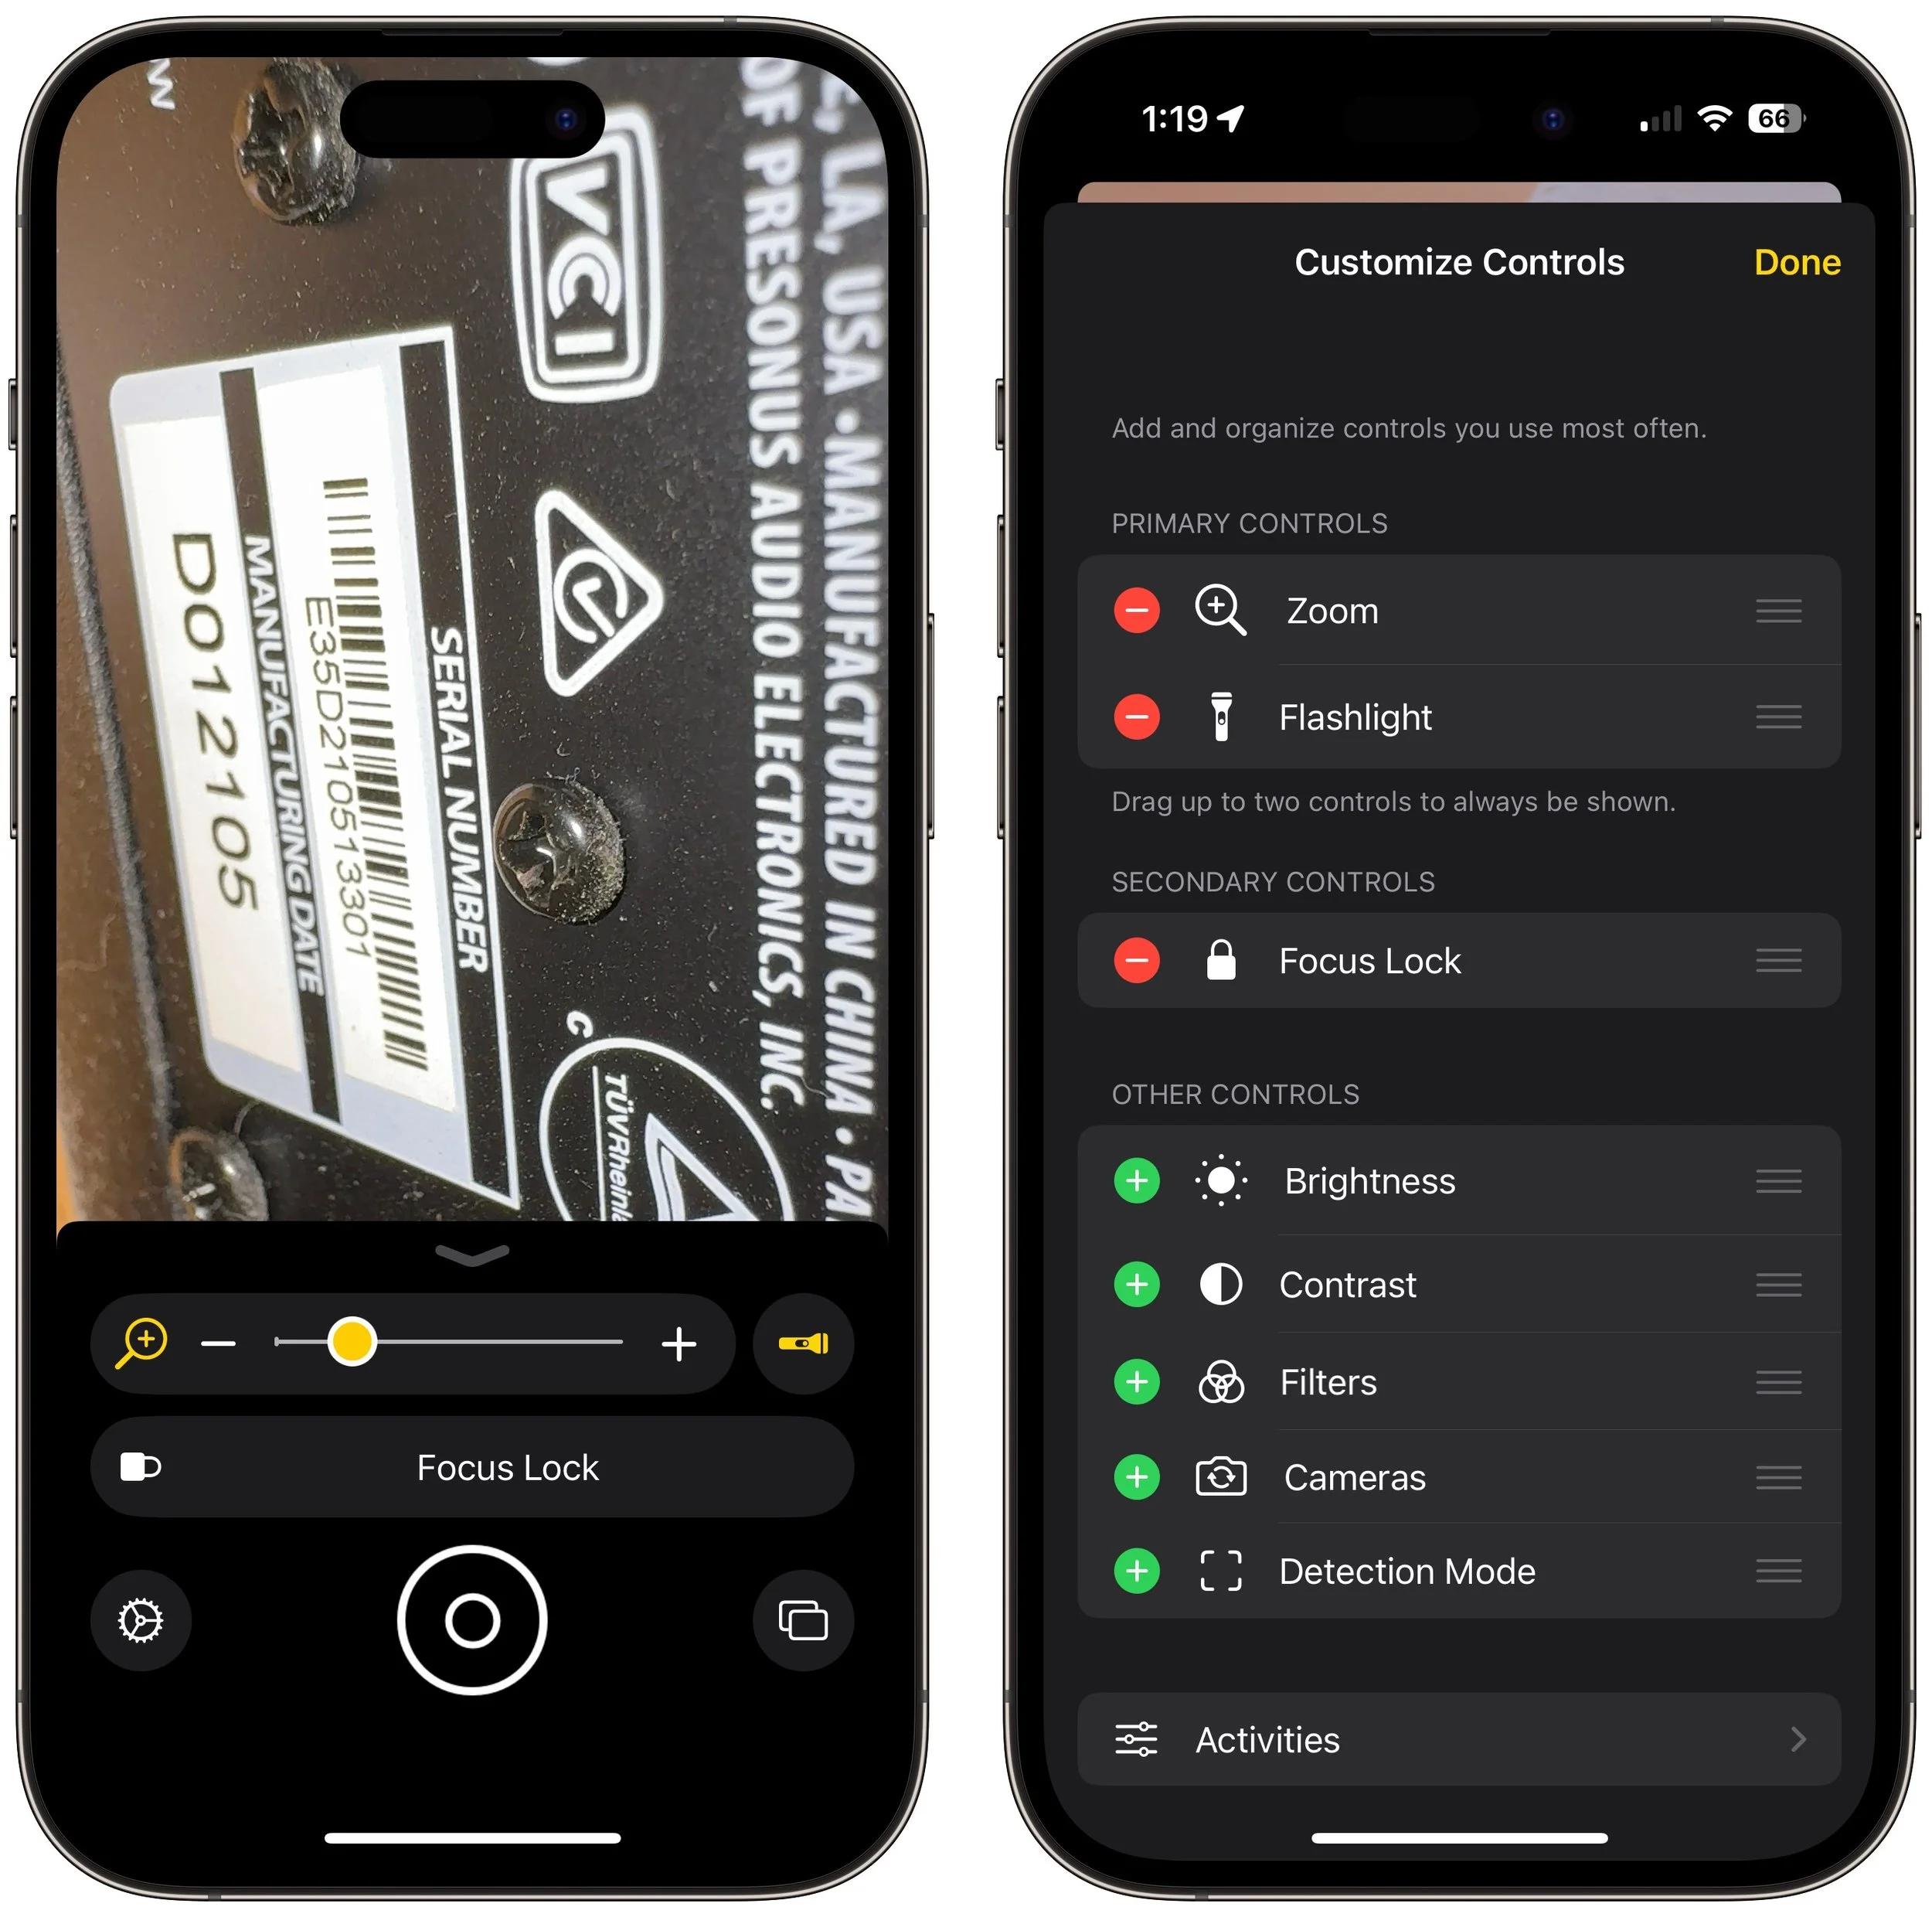
Trying to make out a tiny serial number or some fine print you can barely read can be frustrating. Years ago, Apple added a magnifier mode to its accessibility options and turned the feature into a standalone app in iOS 14. You can find the Magnifier app in the Utilities folder in your App Library (swipe left on the Home Screen until you get there), open it by voice (“Hey Siri, open Magnifier.”), and add it to Control Center (Settings > Control Center). Its special camera viewfinder is zoomed automatically, but you can change the zoom level with the slider and tap the flashlight icon to add illumination—more controls can be added by tapping the gear icon. Tap the round shutter button to freeze the image (tap it again to resume). Double-tap the viewfinder to hide all the controls, and double-tap again to bring them back.
(Featured image based on an original by iStock.com/serggn)
Insert Emoji More Easily with Text Replacements
Finding and entering a desired emoji can be tedious. For those you like to use regularly, creating a text replacement lets you type a few characters to get a particular emoji quickly and easily.
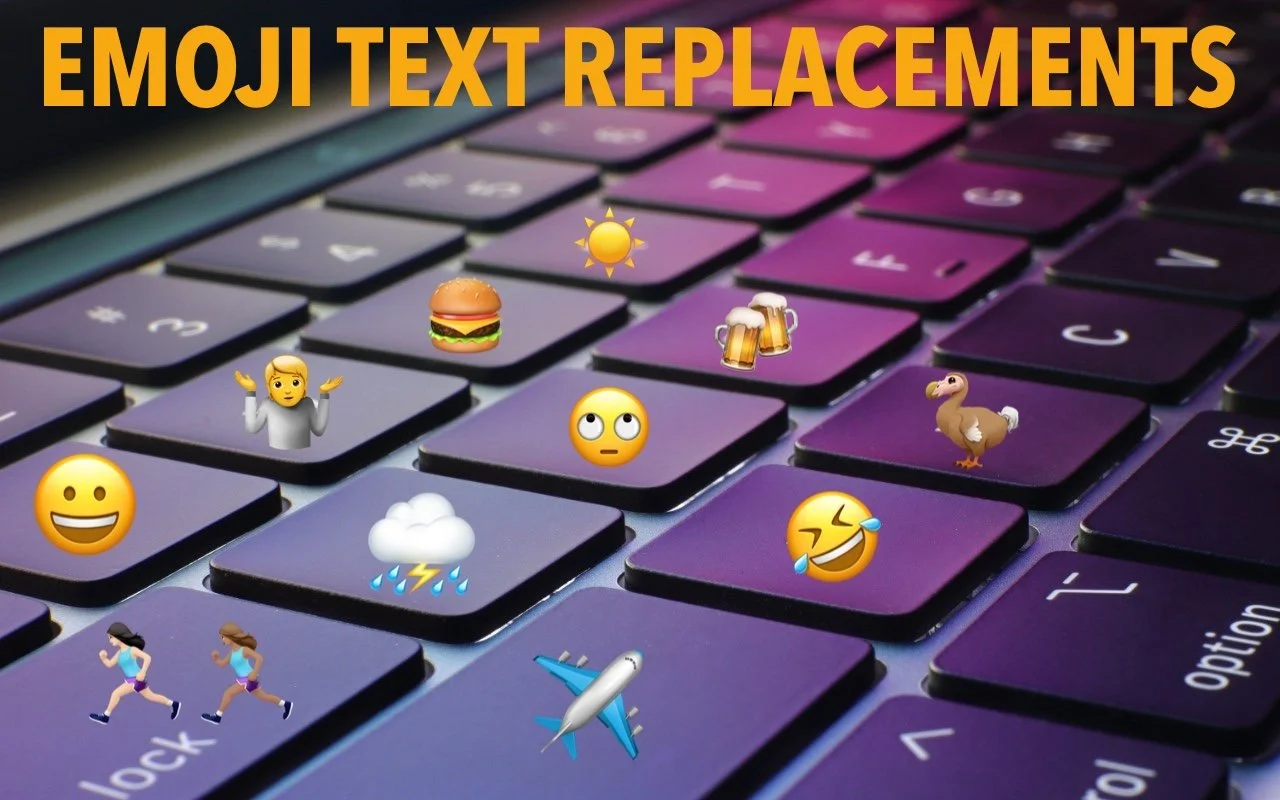
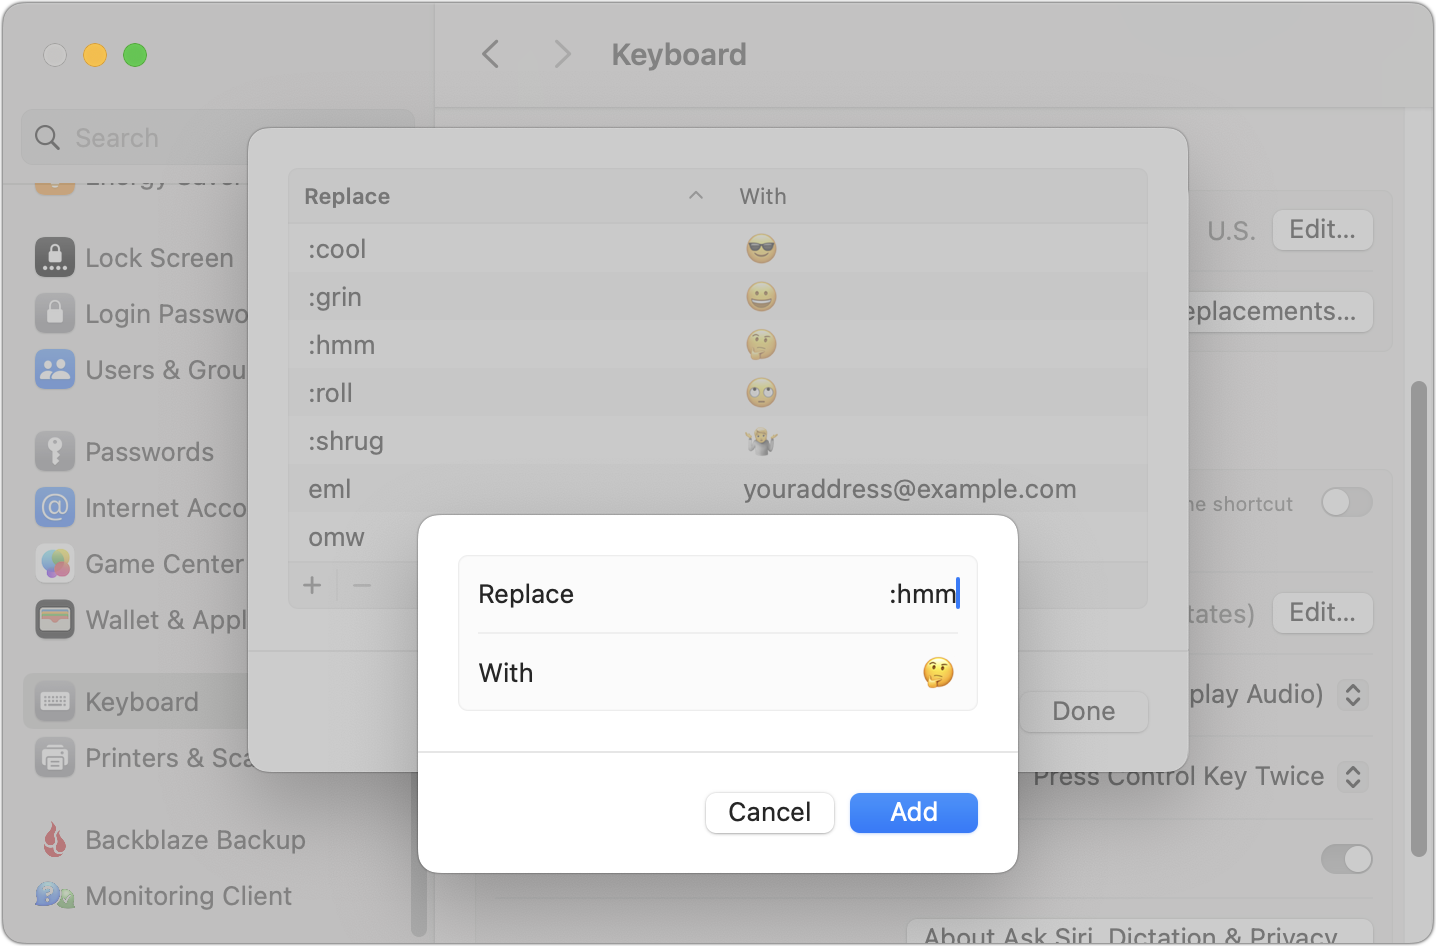
For many of us, emoji are fun, but we don’t want to choose Edit > Emoji & Symbols whenever we want to insert one. A faster, better technique is to set up text replacements for emoji you insert often. Open System Settings > Keyboard > Text Replacements, click the + button at the bottom, and enter the “trigger” text you want to type and the emoji you want entered. You can set the trigger to anything you like, but we prefer the Slack convention of a colon and a few characters from the emoji name, such as :roll for 🙄. Bonus: these replacements sync between your Mac, iPhone, and iPad!
(Featured image based on an original by iStock.com/Yosi Azwan)
How to Copy an App Icon on the Mac
Have you ever wanted to use a Mac app’s icon in documentation or a Web page? It’s easy to copy a high-resolution version straight from the Finder!

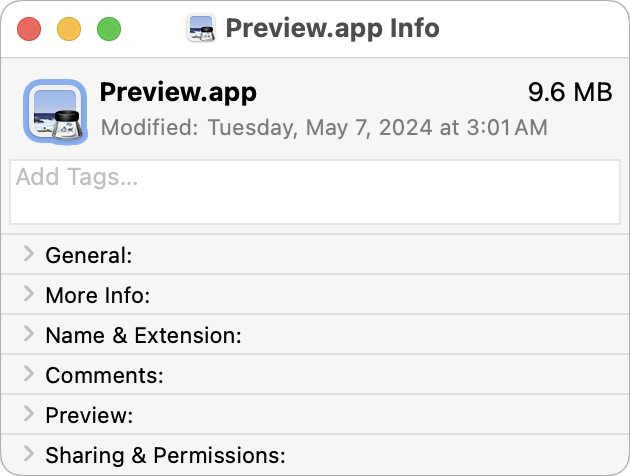
Let’s say you’re writing documentation to help colleagues use Preview to edit images, sign PDFs, and convert graphics. (A worthy task for which they will thank you!) For this documentation, you want to include the Preview app’s icon so they know what to look for in the Applications folder and Dock. To copy a high-resolution version of any app icon that you can paste into a document or combine with other graphics, select the app in the Finder, choose File > Get Info, select the little icon in the upper-left corner of the Info window, and press Command-C. You can then use Command-V to paste it wherever you want or create a new file containing all sizes of the icon by switching to Preview and choosing File > New From Clipboard.
(Featured image based on an original by iStock.com/sofirinaja)