
Reveal Mac Window Proxy Icons Permanently with This Setting
People who like using the Mac’s window proxy icons (and if you don’t know about them, you should!) can make them visible at all times with an option deep within System Settings. Here’s how to find it and what you can do with proxy icons.
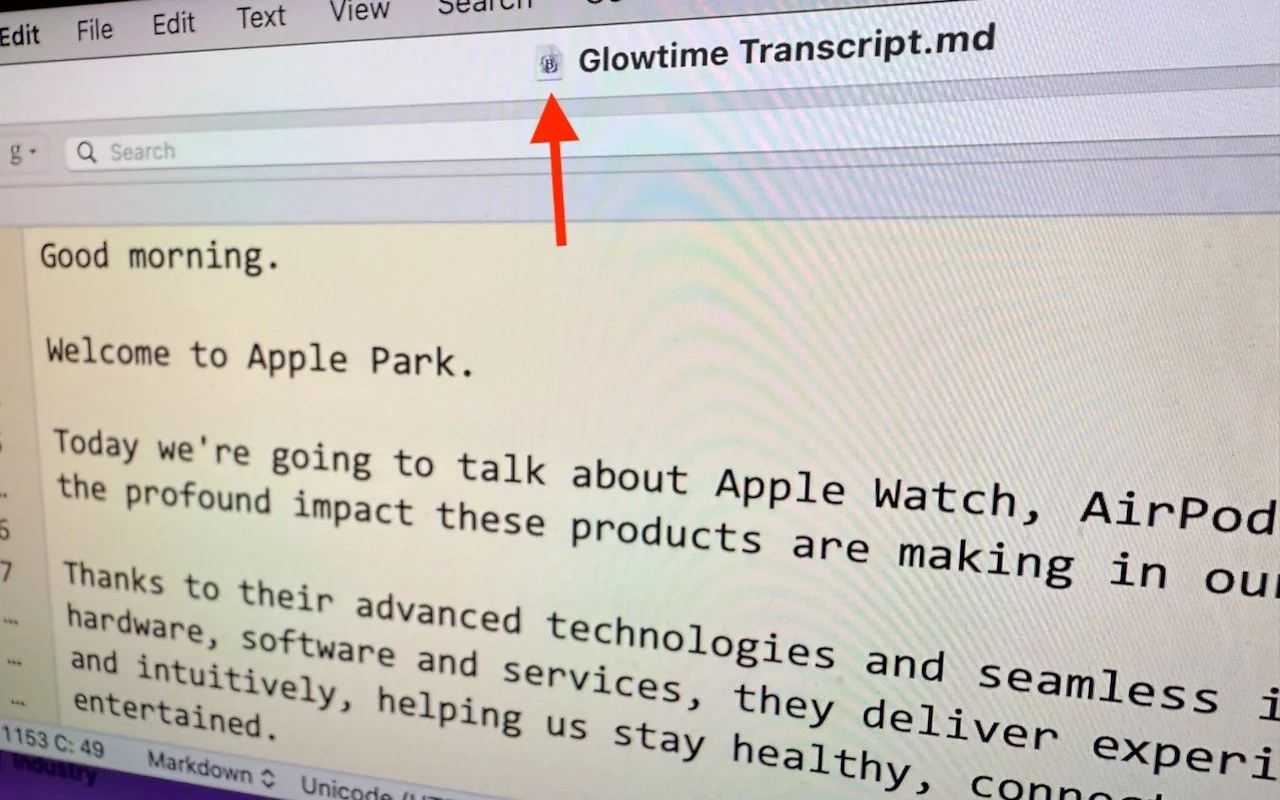
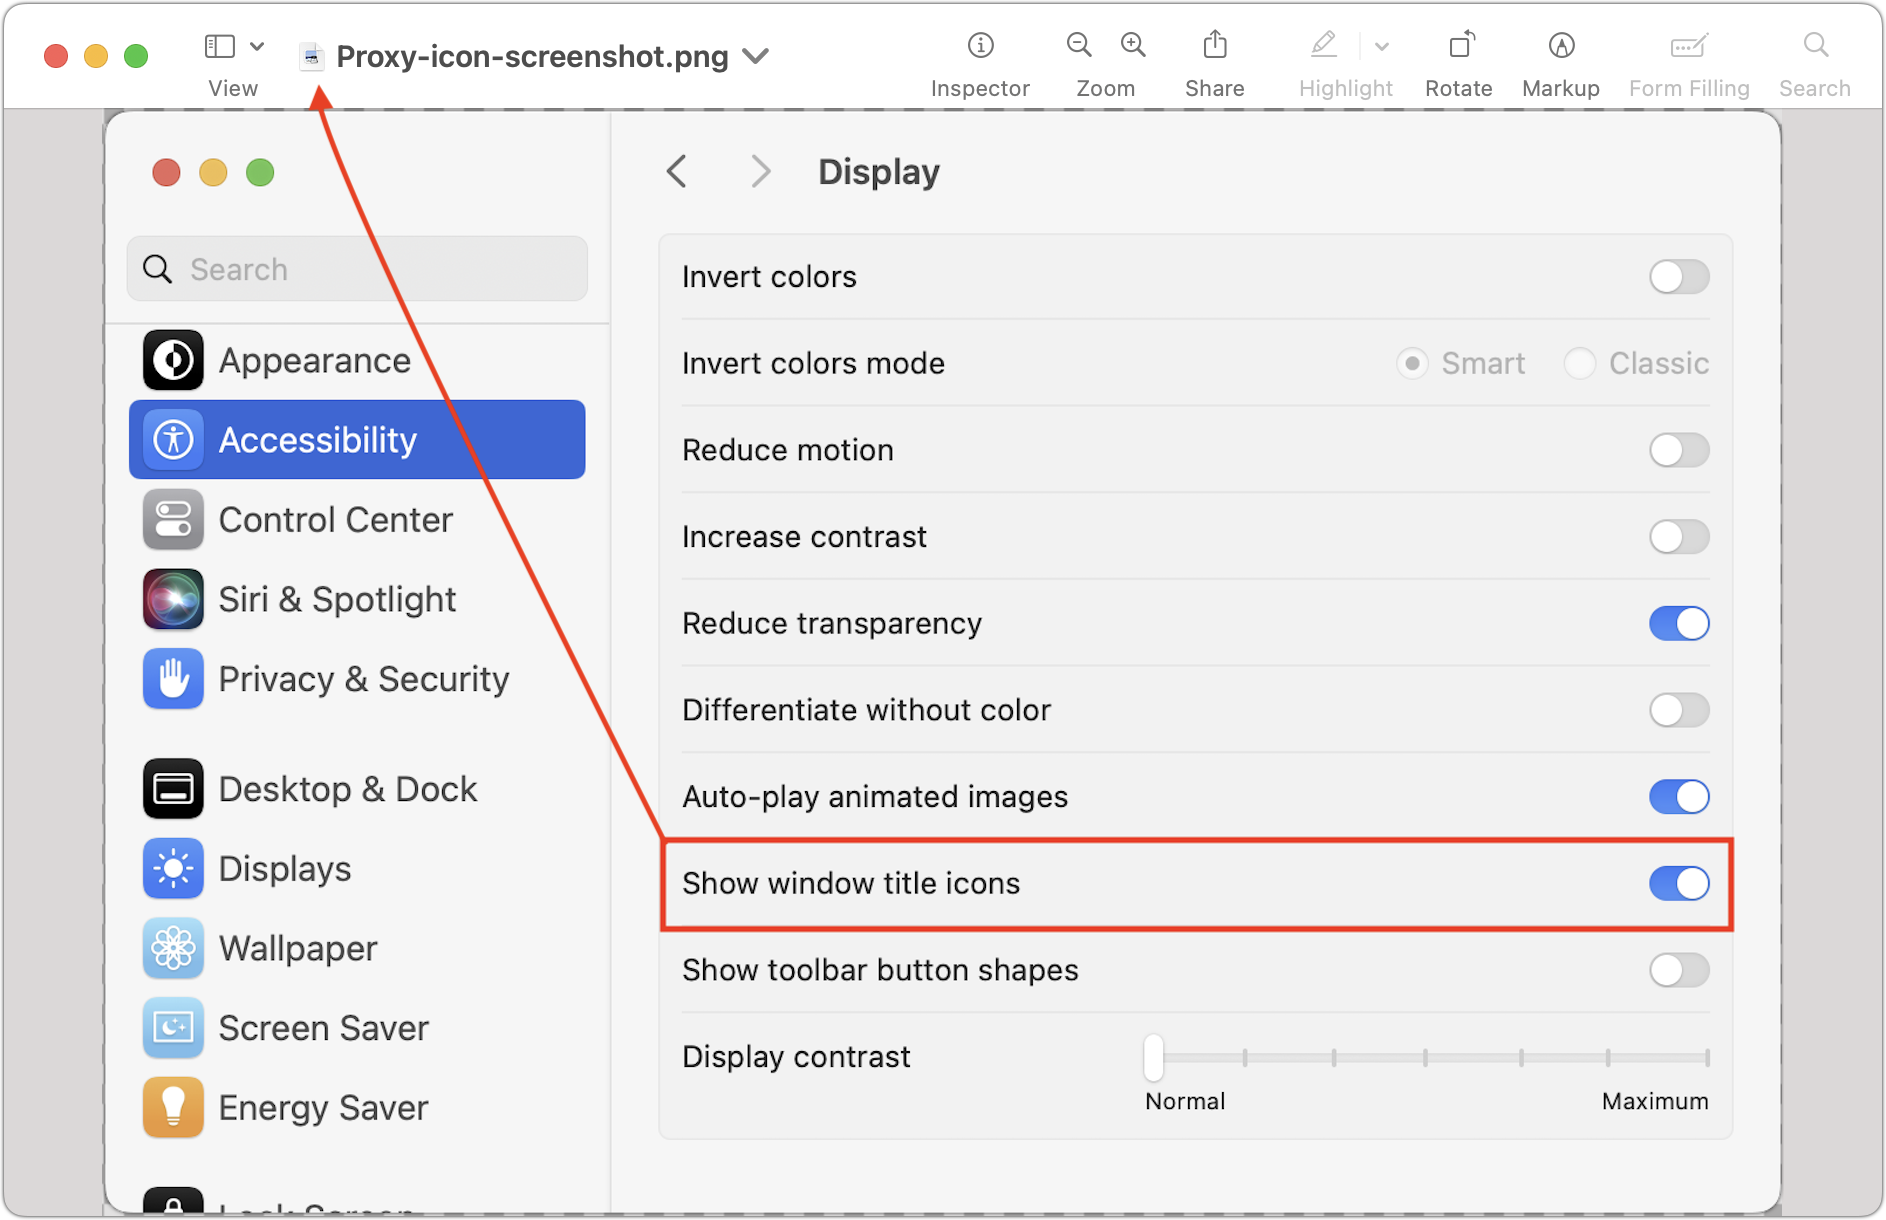
We’re big fans of the Mac’s window proxy icons, those little icons that appear in window title bars next to the filename. They’re not just cosmetic—you can use them just like the Finder icon for the open document. You can drag one to Mail to attach the document to a message, to a Web browser to upload it, or to any other location you can drag a document’s icon in the Finder. You can also drag a proxy icon for a folder from the title bar of its Finder window to Open and Save dialogs to navigate to the folder. In macOS 11 Big Sur, Apple hid the proxy icon until you moused over the file-name, but starting in macOS 12 Monterey, the company provided an option to show them all the time. To enable it, select System Settings > Accessibility > Display > Show window title icons.
(Featured image by Adam Engst)
Apple ID Renamed to Apple Account in Latest Operating System Releases
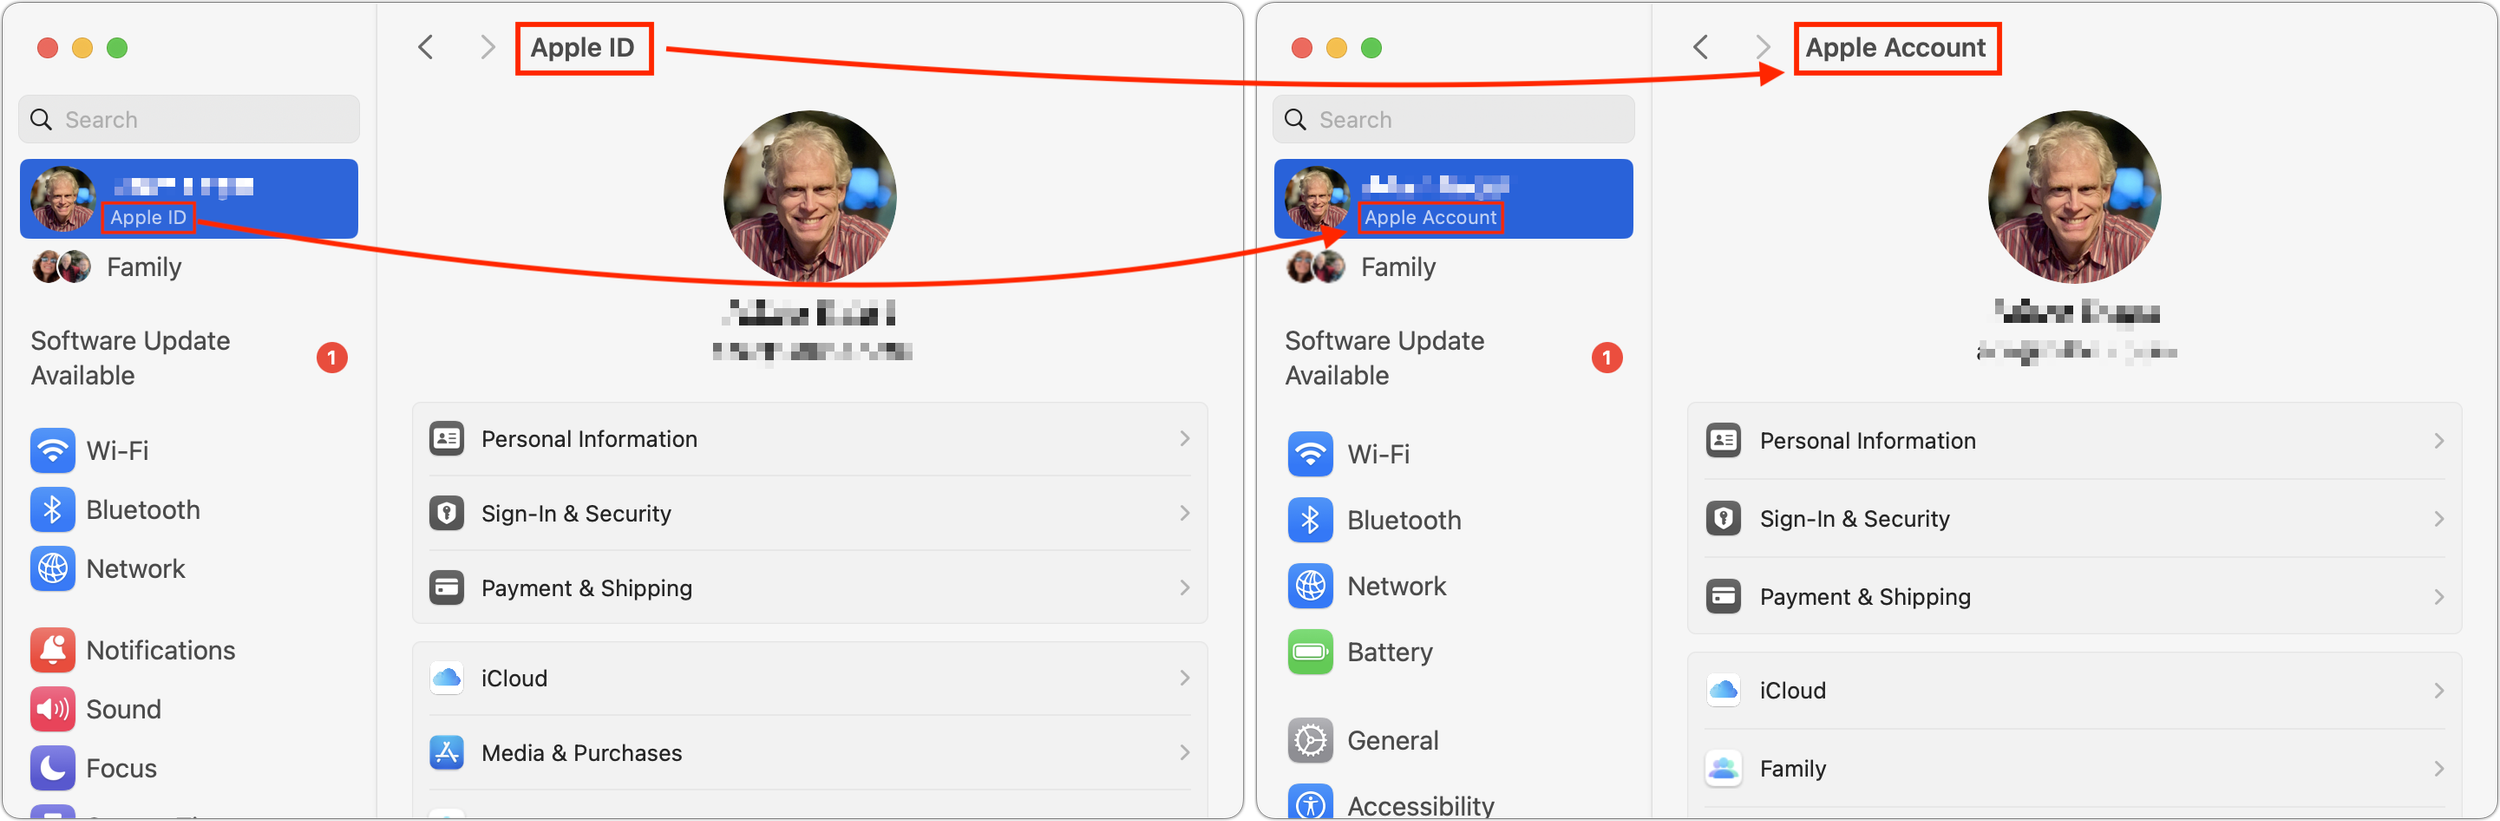
Apple has renamed Apple ID to Apple Account everywhere as of macOS 15 Sequoia, iOS 18, iPadOS 18, and watchOS 11. Nothing has changed functionally, but keep it in mind when reading tech articles or support documentation.
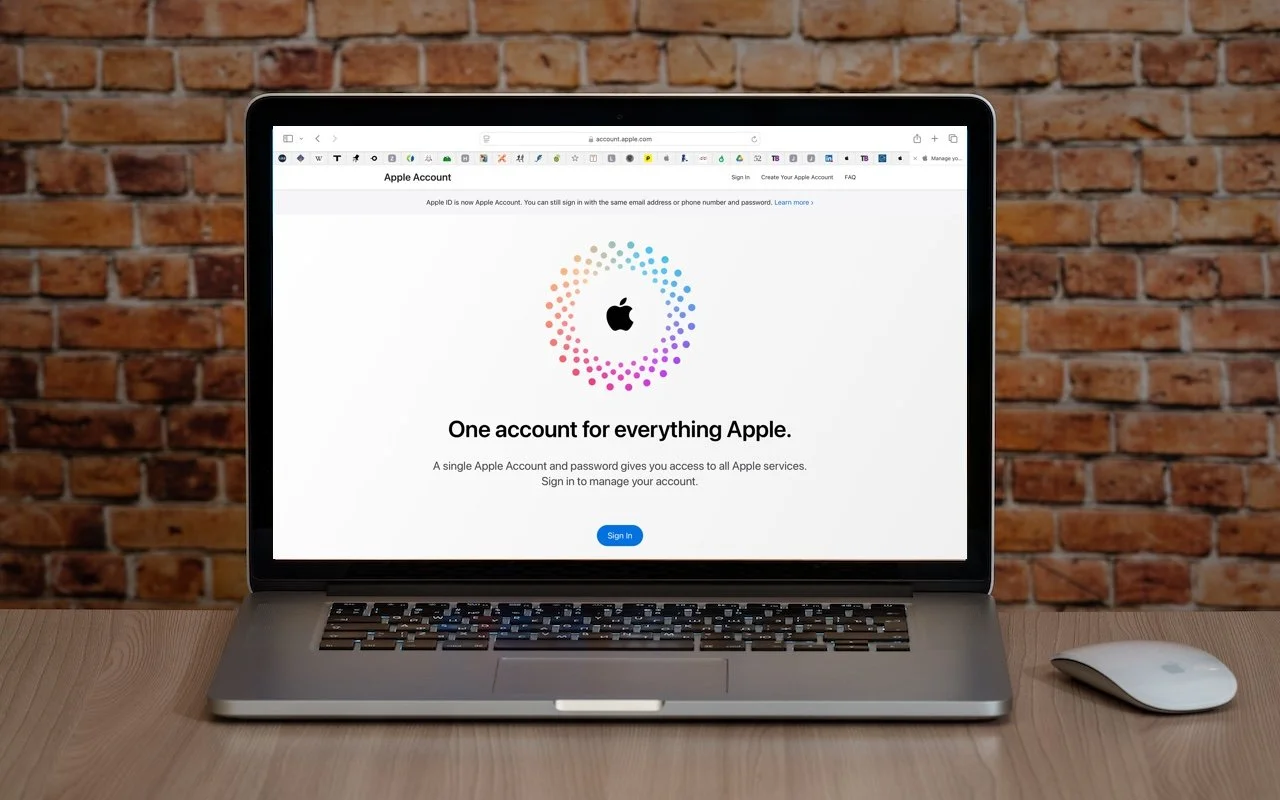
In macOS 15 Sequoia, iOS 18, iPadOS 18, and watchOS 11, Apple has officially renamed Apple ID to Apple Account. The new name is a slightly more sensible term because you can sign in to an Apple Account that holds your information, whereas an Apple ID was primarily an identifier—it’s an email address—that didn’t inherently imply that it stored data. The name change is mostly a distinction without a difference, but you should be aware of it when reading support documentation or tech articles. You’ll see the new term in System Settings on the Mac and Settings on the iPhone and iPad.
(Featured image based on an original by iStock.com/Armastas)
Set macOS to Require a Password after Screen Saver Start or Display Sleep
Don’t forget about local security on your Mac. Make sure to require a password shortly after the screen saver starts or the display sleeps to prevent people from riffling through your email, photos, messages, and more.
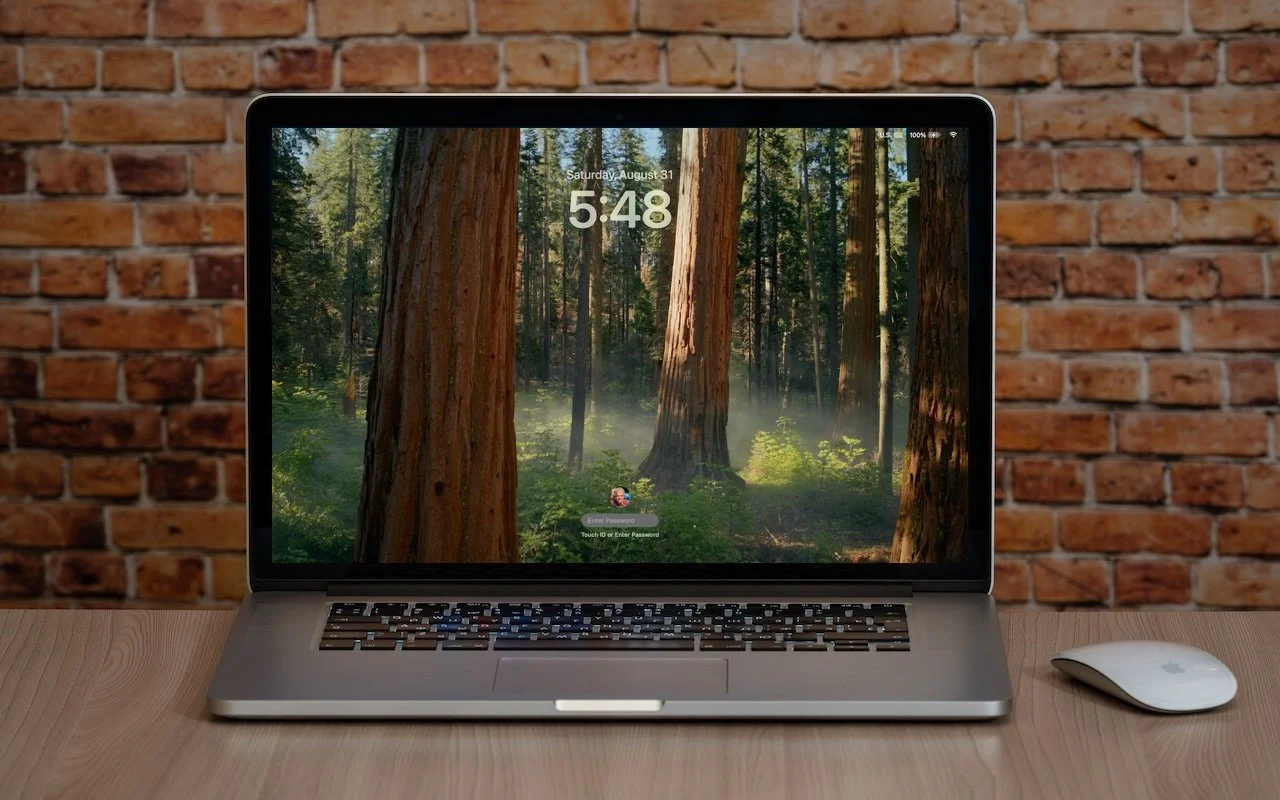
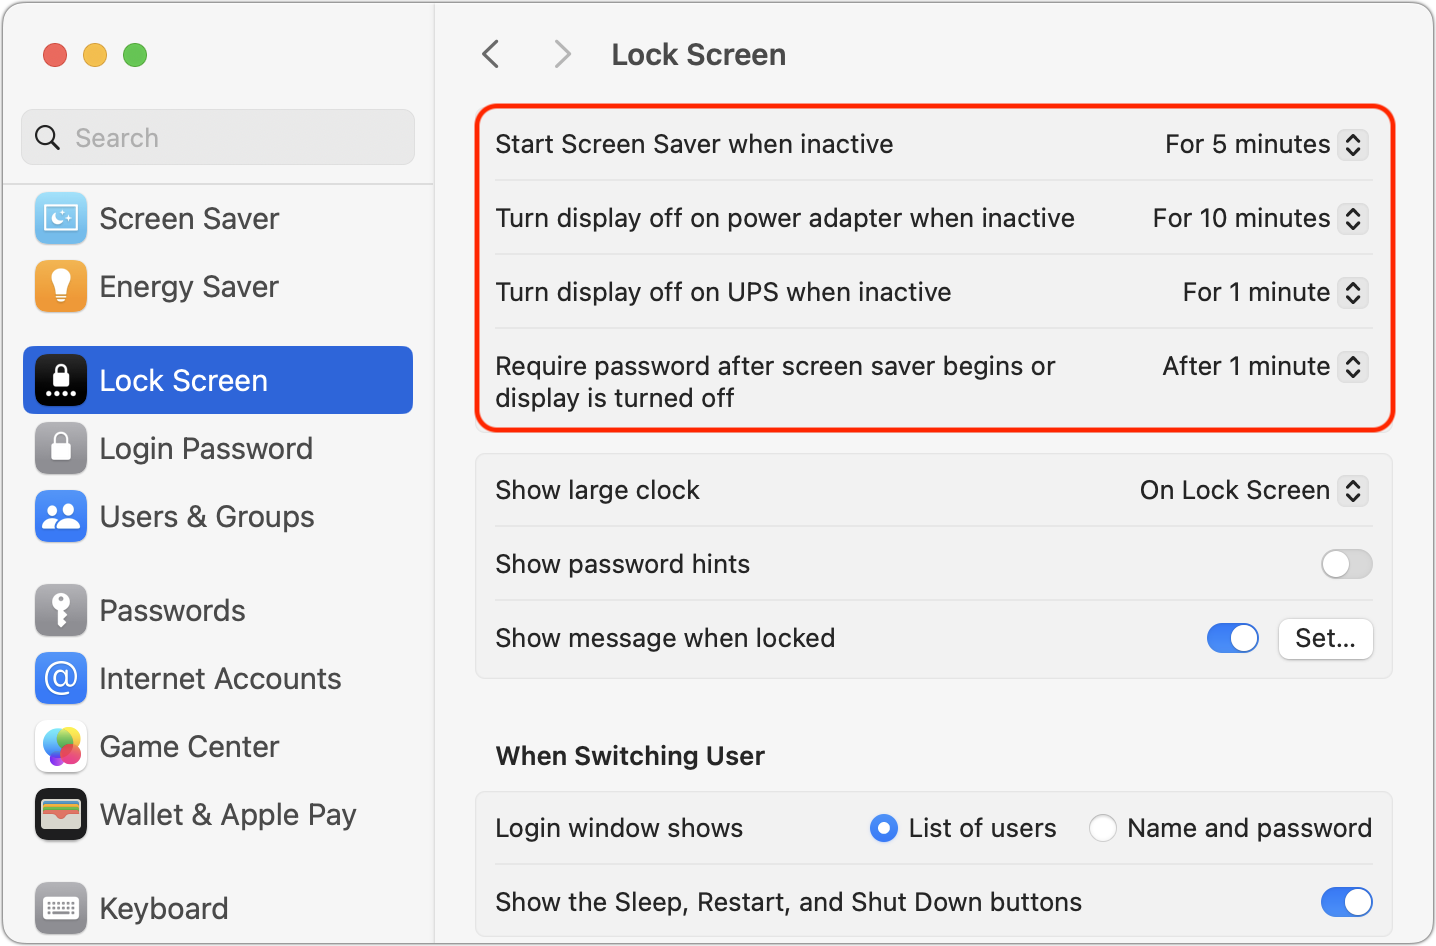
Although paying attention to online security is of primary importance, don’t forget local security. You don’t want to go out for lunch and let someone wandering by your office poke through your email, messages, photos, and private files. To ensure this doesn’t happen, set your Mac to start the screen saver or sleep the display after a few minutes (on a laptop, just close the lid), and then set “Require password after screen saver begins or display is turned off” to a short duration. We recommend 1 or 5 minutes, though you can adjust to balance inconvenience against security. To eliminate the fuss almost entirely, use Touch ID or an Apple Watch to unlock your Mac without having to type your password.
(Featured image based on an original by iStock.com/Armastas)
No More Ransom Website Offers Ransomware Decryption Tools
Ransomware primarily affects Windows and Linux computers, but if you, or anyone you know, falls prey to it, visit the No More Ransom website for advice and decryption tools.
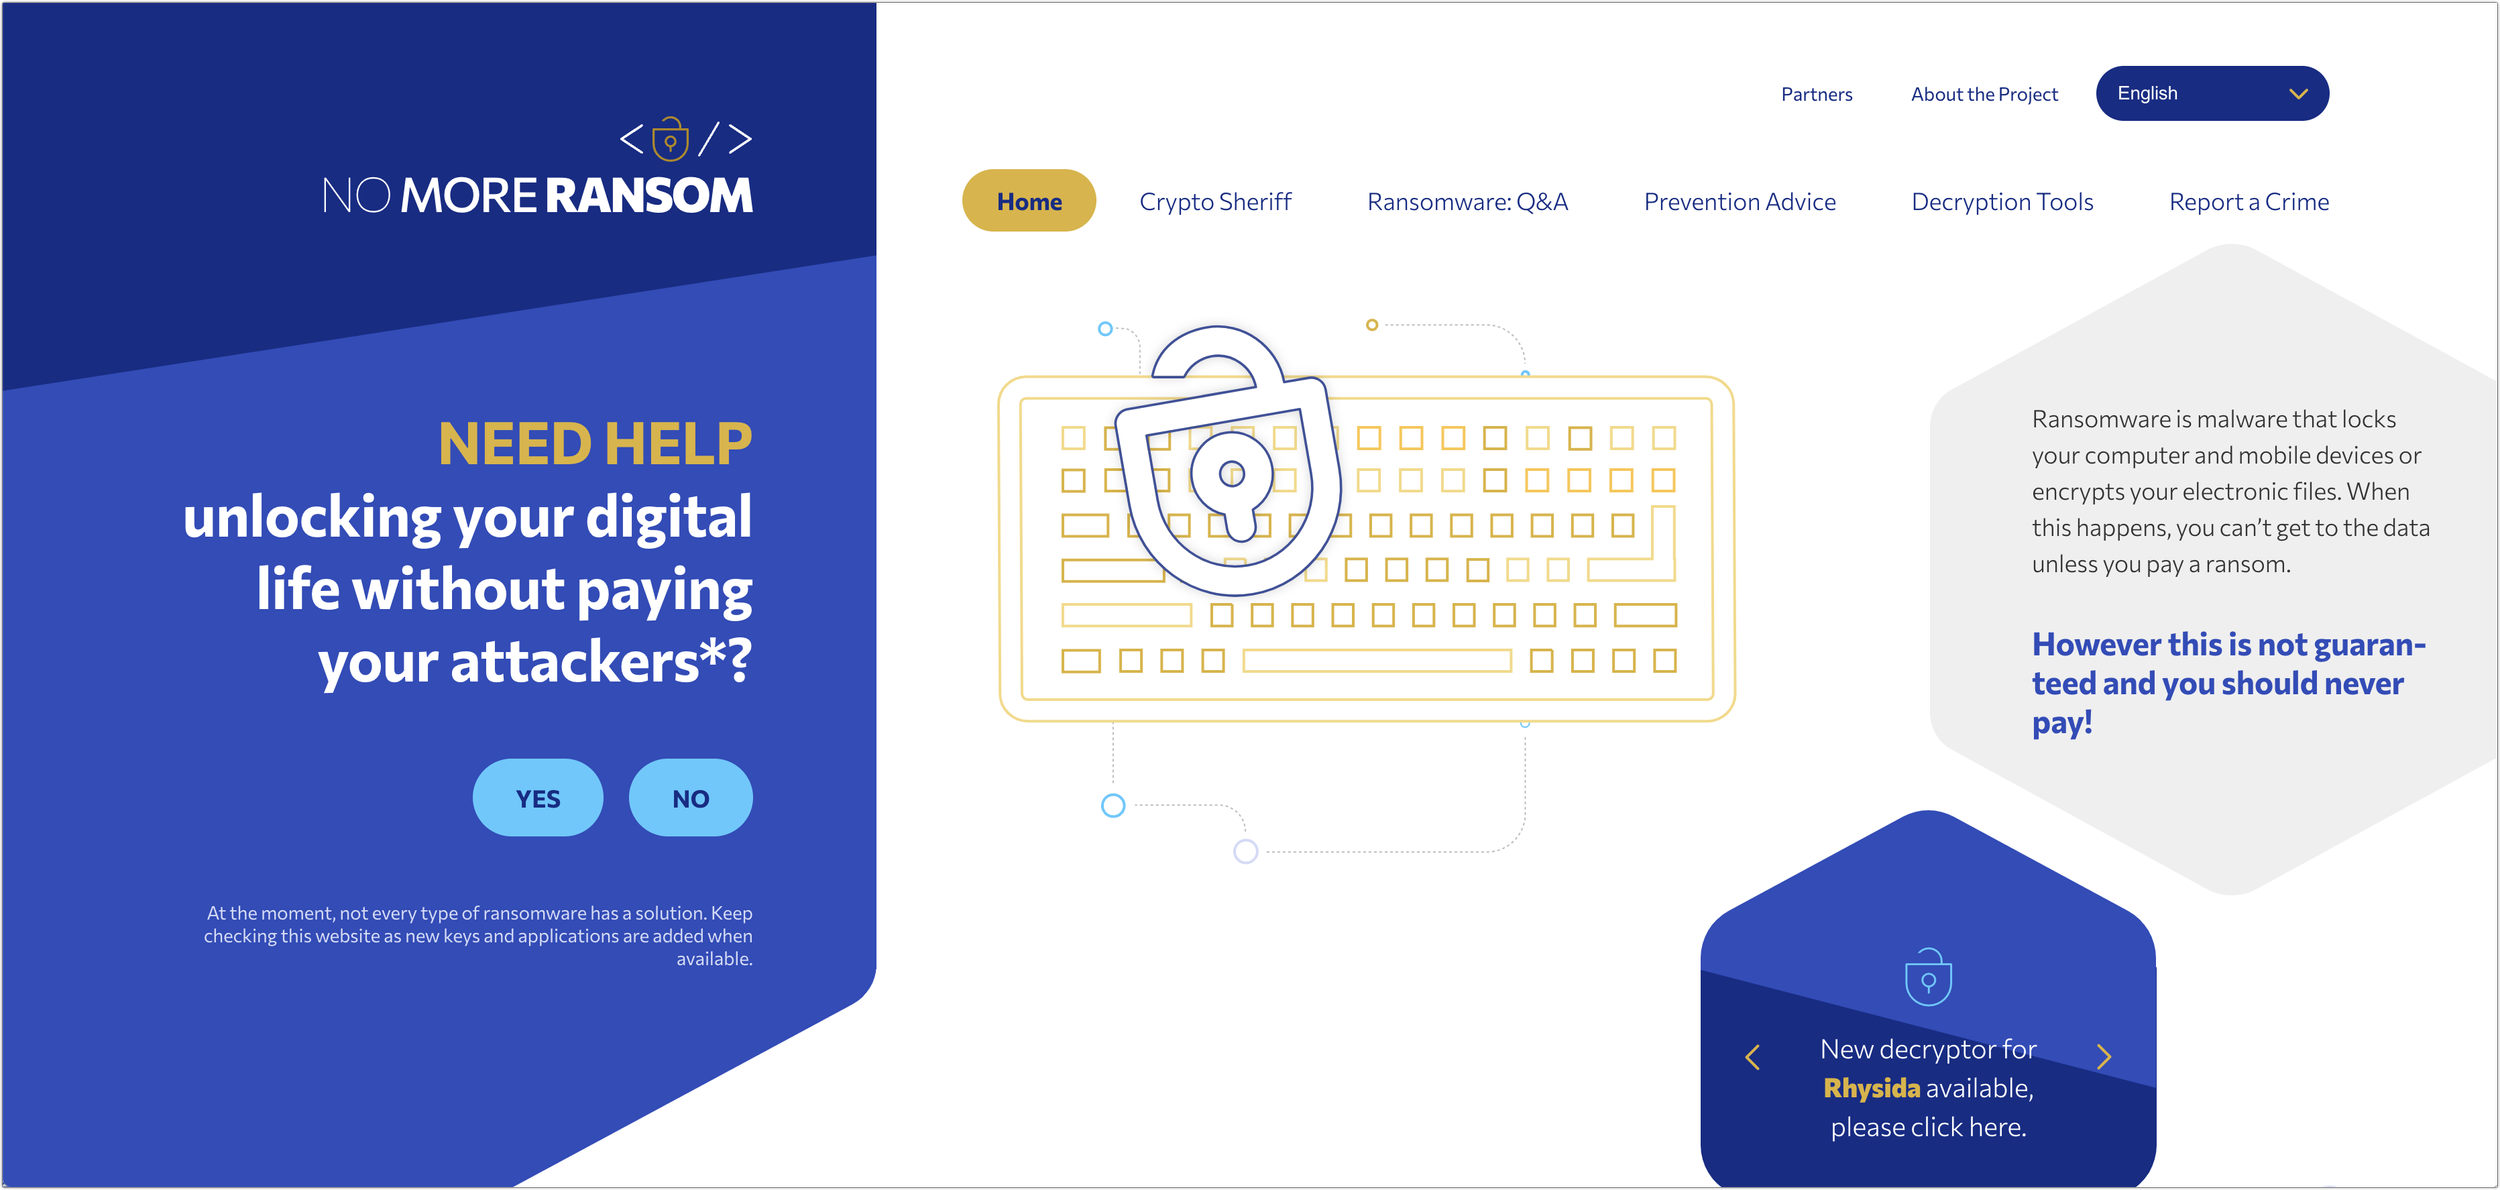
We’ve written in the past about how Apple-only companies can protect themselves from ransomware (strong security, isolated backups, monitoring software), but realistically, it’s primarily a threat to computers running Windows and Linux. If you, or anyone you know, is targeted by ransomware, look to the No More Ransom website, developed by Europol’s European Cybercrime Centre and the Dutch police, for advice and tools. The advice boils down to: “Don’t pay the ransom because it proves to the criminals that ransomware works, and there’s no guarantee it will solve your problem.” On the tools side, the Crypto Sheriff helps identify the type of ransomware in play, and No More Ransom provides decryption tools for 180 different forms and variants of ransomware. There are no guarantees, but anyone who has fallen prey to ransomware should start with No More Ransom.
(Featured image based on original by iStock.com/Suebsiri)
Energy Saver Can Shut Down Your UPS-Equipped Mac in a Power Outage
If you connect your Mac to your UPS with a USB cable, you can use Energy Saver to shut your Mac down automatically in the event of a power failure… before the UPS battery runs out.
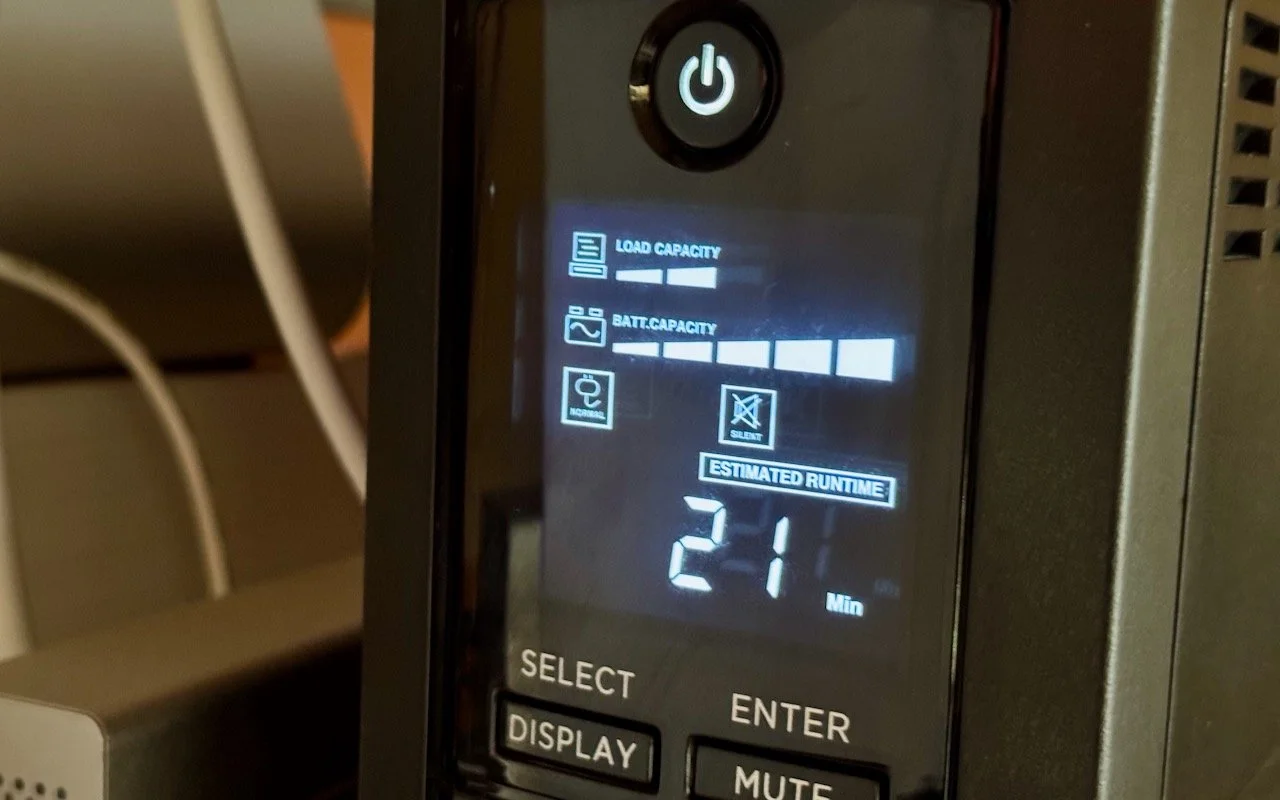
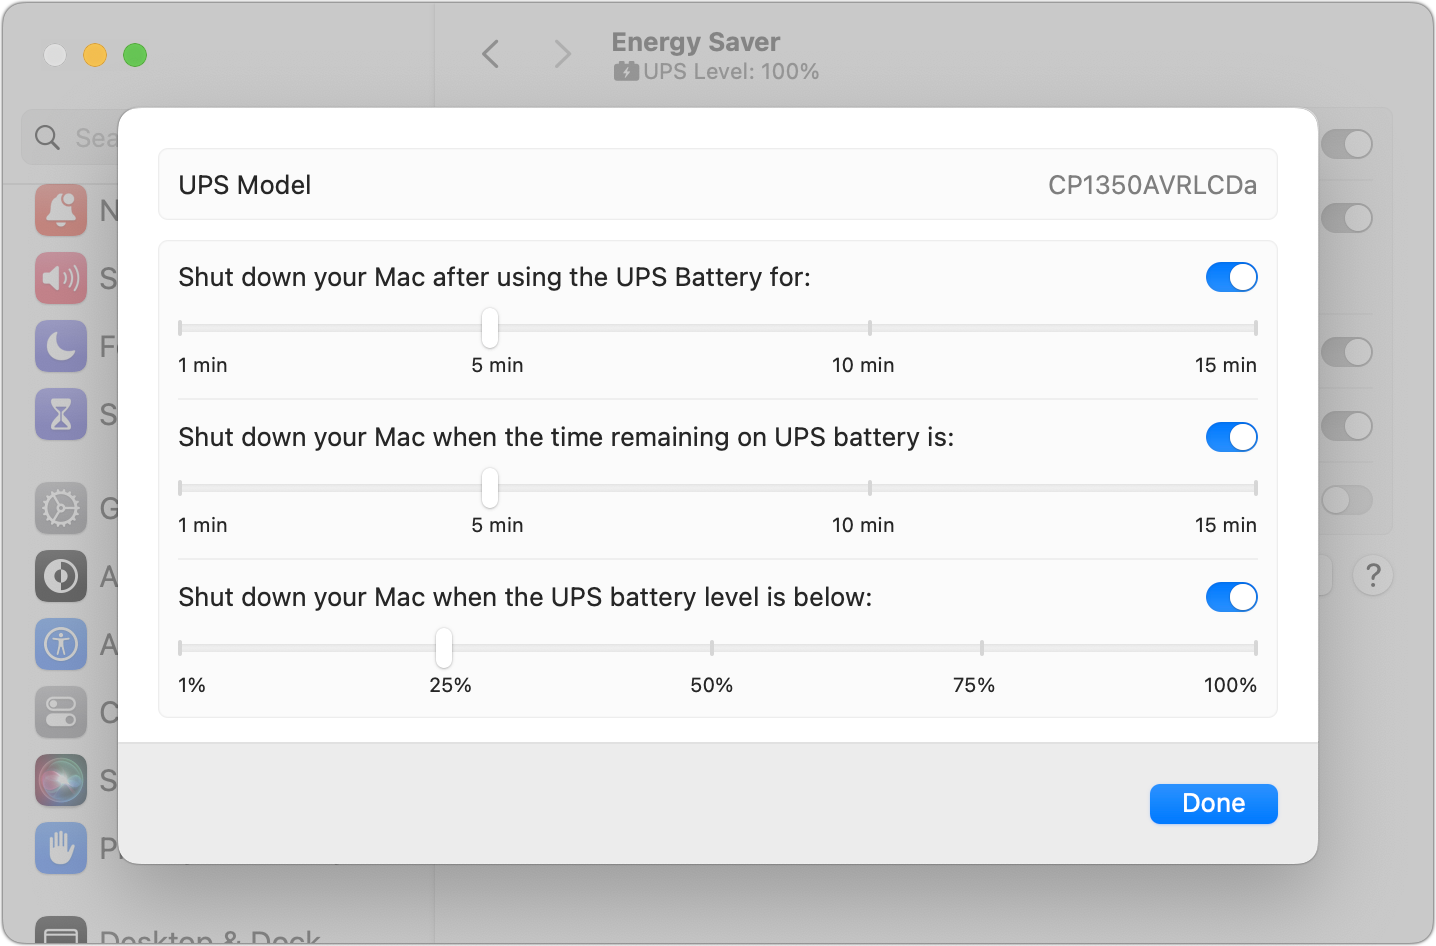
An uninterruptible power supply, or UPS, provides essential protection from power surges, spikes, brownouts, and outages. But if you’re not at your Mac when the power goes out, the UPS may run out of battery before you (or the power) return. Happily, if you connect your Mac to your UPS with a USB cable, macOS can detect the outage and shut your Mac down safely, regardless of what else is happening. Make sure open documents are saved whenever you step away from your Mac, or you could lose changes. In System Settings > Energy Saver > UPS Options, you can trigger the shutdown in three ways: after using the UPS battery for a specified amount of time, when the time remaining on the UPS battery hits a specific number, or when the UPS battery level drops below a particular percentage. There’s no harm in setting all three. Remember that it can take a minute or two for your Mac to shut down, so err on the short side for safety’s sake. Apple supports most UPS models from major manufacturers such as APC, CyberPower, and Tripp Lite.
(Featured image by Adam Engst)
Protect Domains That Don’t Send Email from Email Spoofing
If you have parked domains that never send email, it’s important to set up SPF, DKIM, and DMARC so scammers can’t forge legitimate-looking email from those domains.

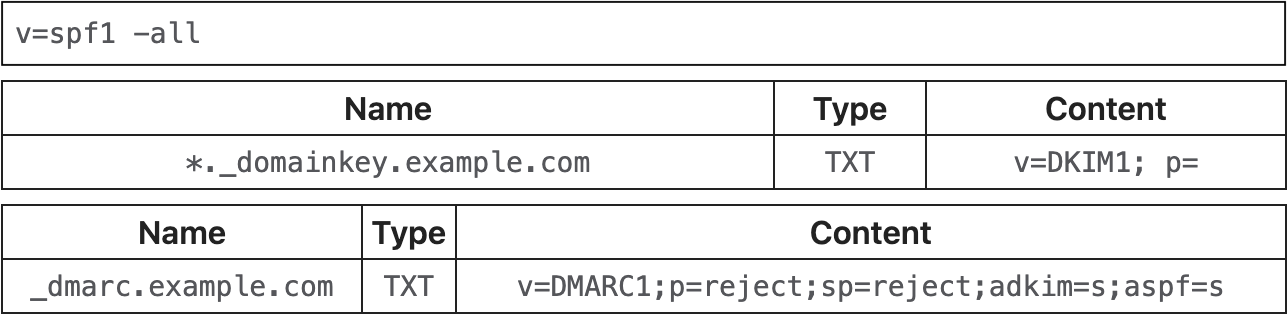
We recently wrote an article for those who manage their own Internet domain names about using SPF, DKIM, and DMARC to prevent your domains from being used in phishing attacks and enhance the deliverability of legitimate email. But what about other domains you own but don’t use for email? To make phishing attacks more believable, spammers sometimes forge email so it appears to come from parked domains that aren’t protected. You can use SPF, DKIM, and DMARC to ensure that forged email that seems to come from your unused domains isn’t accepted. The details are too specific to go into here, but Cloudflare has an excellent article outlining what you need to do.
(Featured image based on an original by iStock.com/Igor Kutyaev)
Missed an Alert? Check Notification Center
If a temporary banner disappears from your iPhone, iPad, or Mac before you have a chance to read it, you can find it in Notification Center.
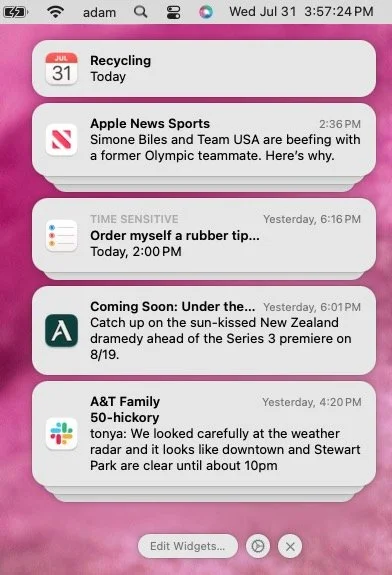
iOS, iPadOS, and macOS all let you specify whether any given app should show no notifications, temporary banners, or persistent alerts: look in Settings > Notifications and System Settings > Notifications. Temporary banners appear briefly and then automatically disappear, which is appropriate for notifications requiring no acknowledgment. But what if you see a temporary banner only as it’s disappearing and can’t read it in time? You can find a historical list of notifications in Notification Center. To open it from the Lock Screen on an iPhone or iPad, swipe up from the middle of the screen. From any other screen, swipe down from the center of the top of the screen. On the Mac, click the date and time in the upper right corner. If your Mac has a trackpad, you can also swipe with two fingers from the right edge.
(Featured image based on an original by iStock.com/Shutthiphong Chandaeng)
Having Trouble with a Public Wi-Fi Network’s Captive Portal Login Page?
When you connect to a public Wi-Fi network, you often must authenticate or agree to terms on a captive portal login page. Here’s the solution if that page doesn’t appear.

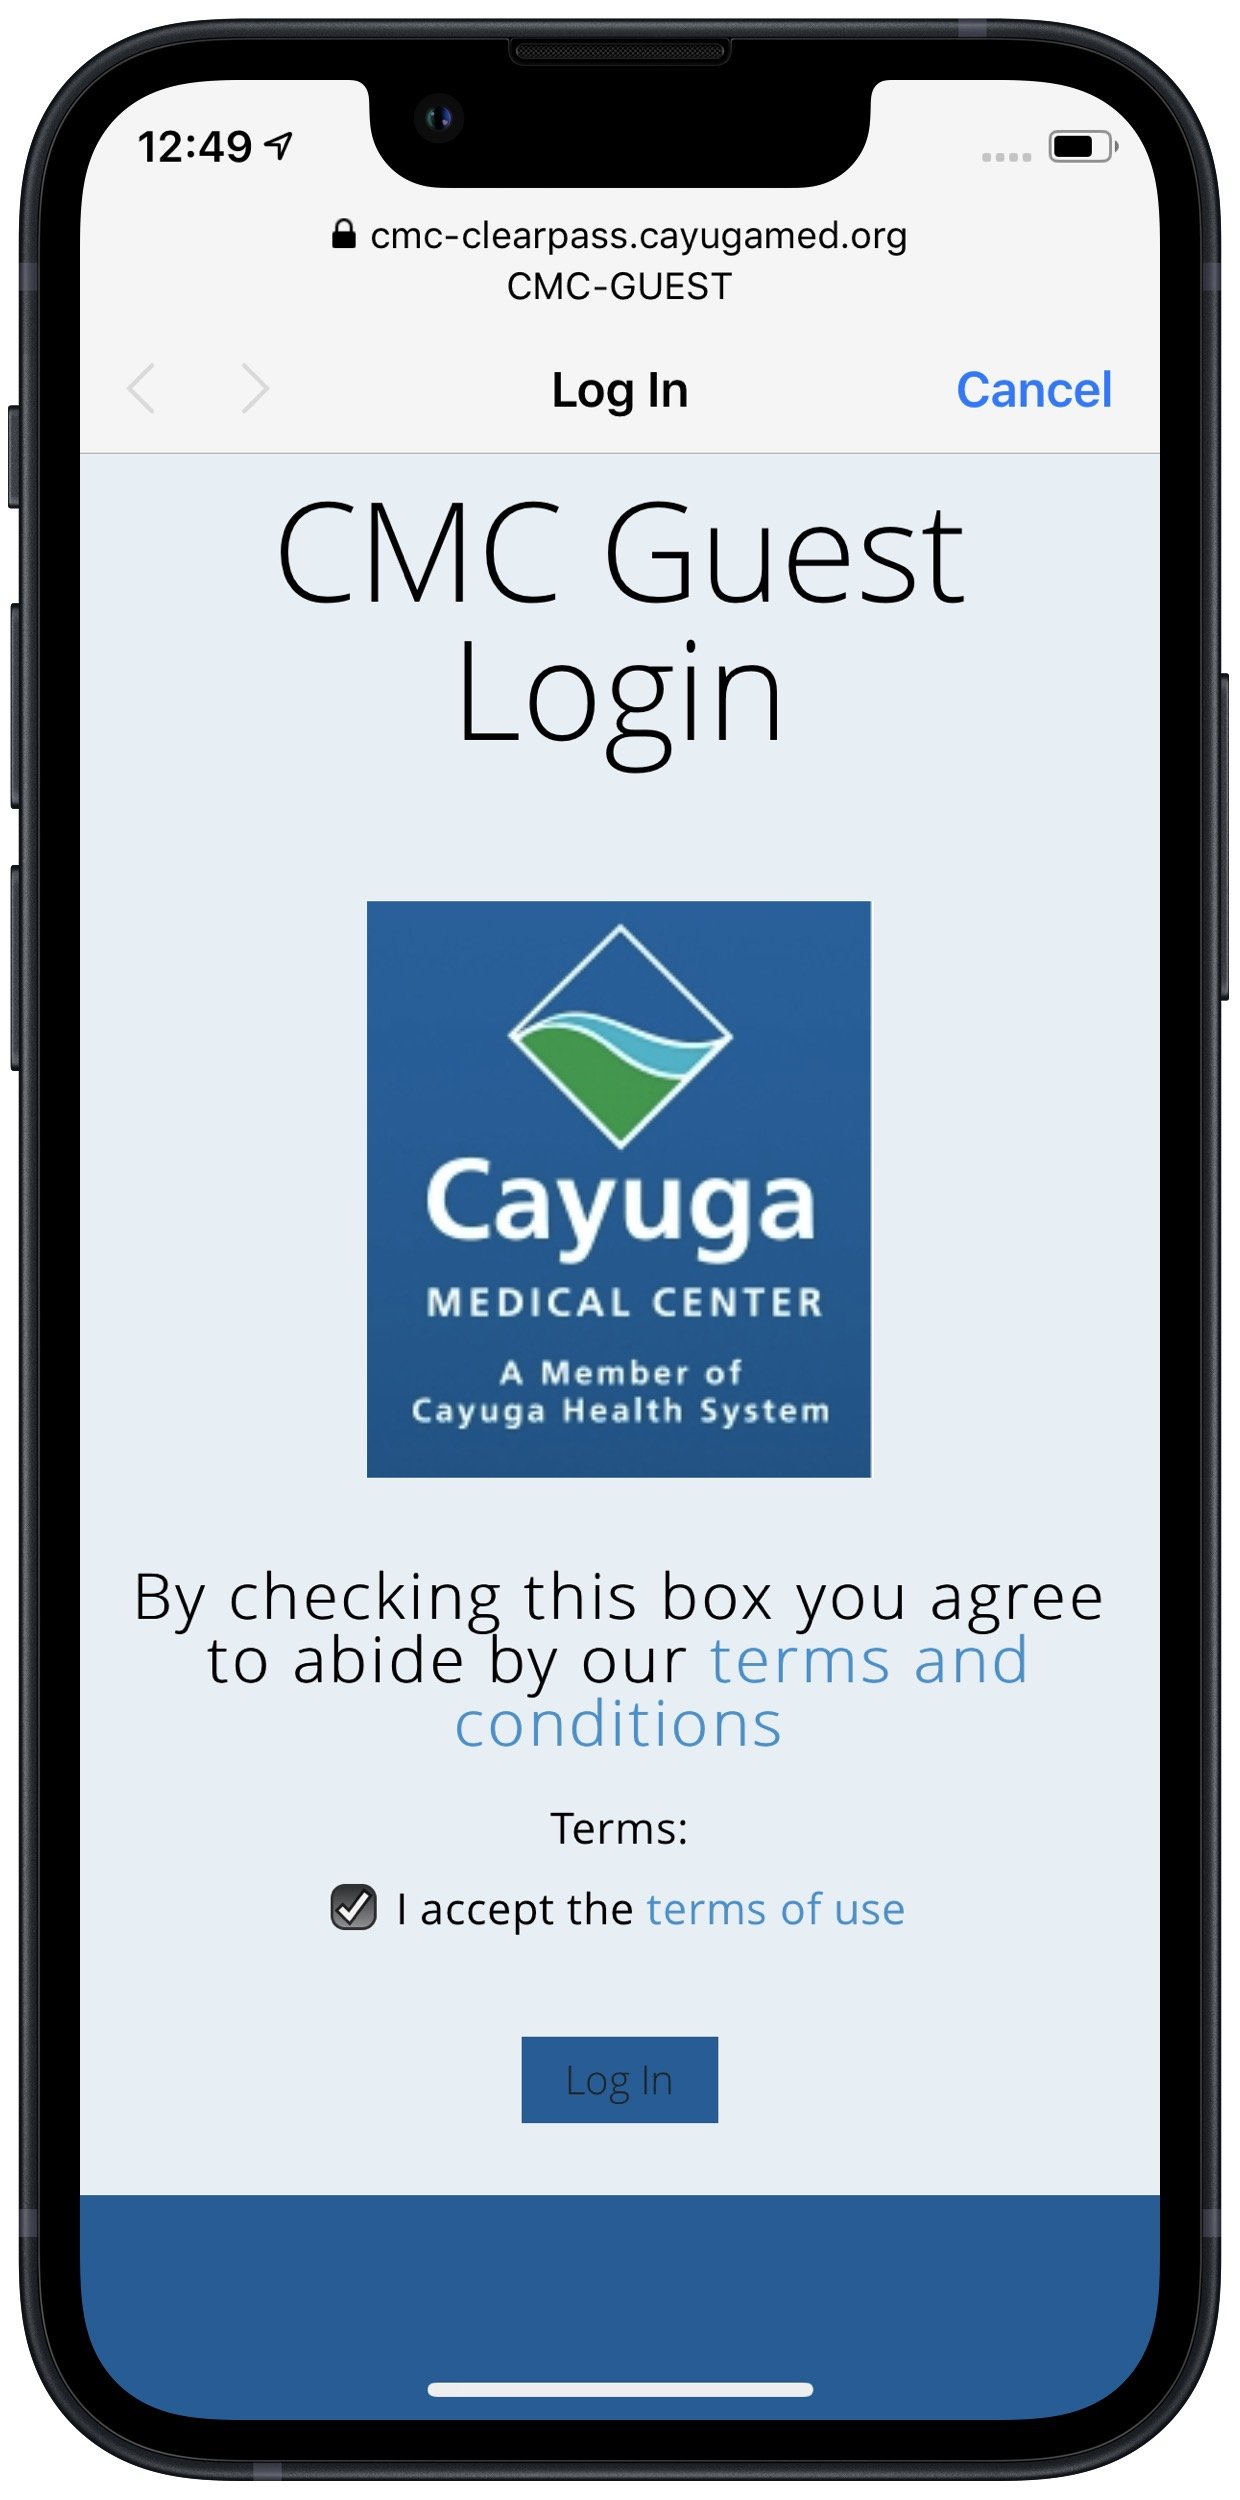
When you connect to a public Wi-Fi network at an airport, hotel, coffee shop, or school, you may need to interact with a captive portal login page to be granted access to the network. It might require you to enter login credentials, ask for your name, or make you agree to terms of service. But what if that login page doesn’t appear, or something kicks you off the network and you can’t reconnect? In Safari, navigate to captive.apple.com, which should force the captive portal to display its login page again. If that doesn’t work, remove any custom DNS servers and restart. On the Mac, find custom DNS servers in System Settings > Network > Wi-Fi > Details > DNS. On an iPhone or iPad, go to Settings > Wi-Fi > Network Name > Configure DNS and choose Automatic.
(Featured image based on an original by iStock.com/CreativaImages)