
New Seventh-Generation iPad mini Adds A17 Pro for Apple Intelligence
Apple has updated the iPad mini with an A17 Pro chip for Apple Intelligence, along with more storage, faster connectivity, and support for the Apple Pencil Pro. It’s still $499 and remains an excellent option for anyone wanting a smaller iPad.
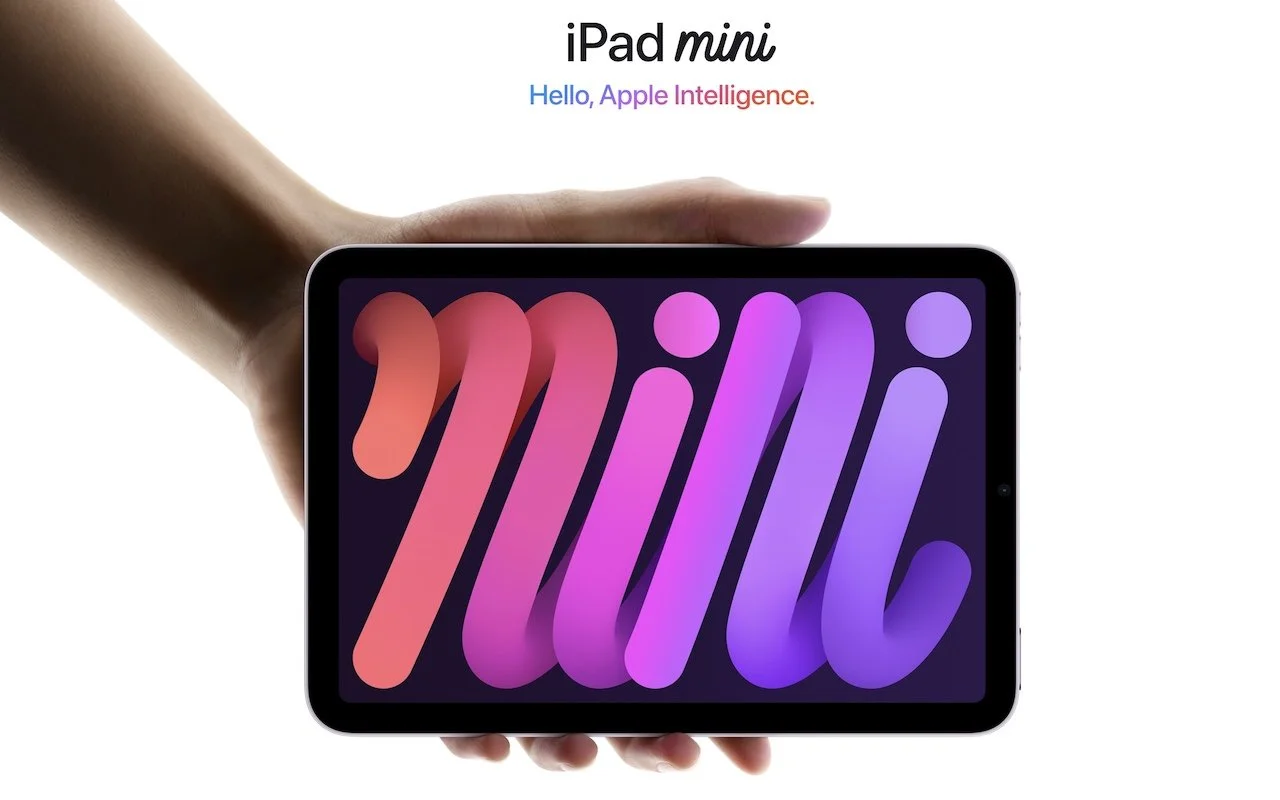
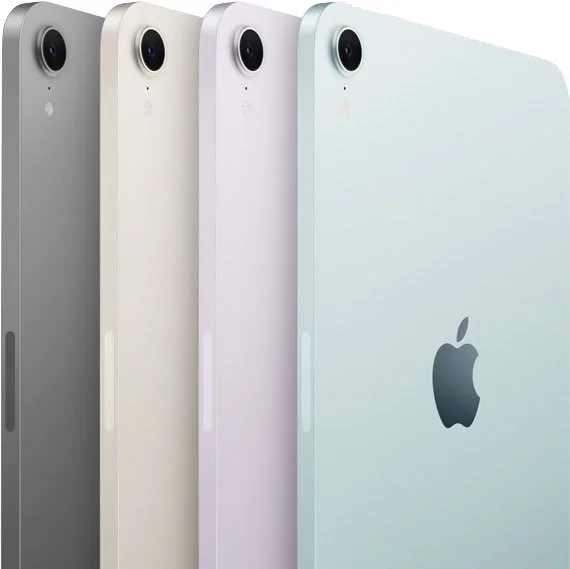
Although the first wave of Apple Intelligence features won’t upend the user experience for most people, Apple is pushing hard to ensure that all its new devices can participate. That’s largely what’s behind the recently released seventh-generation iPad mini. It’s physically unchanged other than a few new colors, but under the hood, the iPad mini sports an A17 Pro processor that makes it compatible with Apple Intelligence. Other changes from the previous generation include Apple Pencil Pro support, 128 GB of storage at the base level (up from 64 GB), 10 Gbps USB 3 (twice as fast), Wi-Fi 6E and Bluetooth 5.3 (up from Wi-Fi 6 and Bluetooth 5.0), and cellular support only via eSIM (no more physical nano SIM). The price still starts at $499, with cellular connectivity adding $150. It’s a minor update, but one that keeps the iPad mini up to date for those who prefer a more compact iPad design.
(Featured image by Apple)
Watch Out for PayPal Invoice Phishing Scams
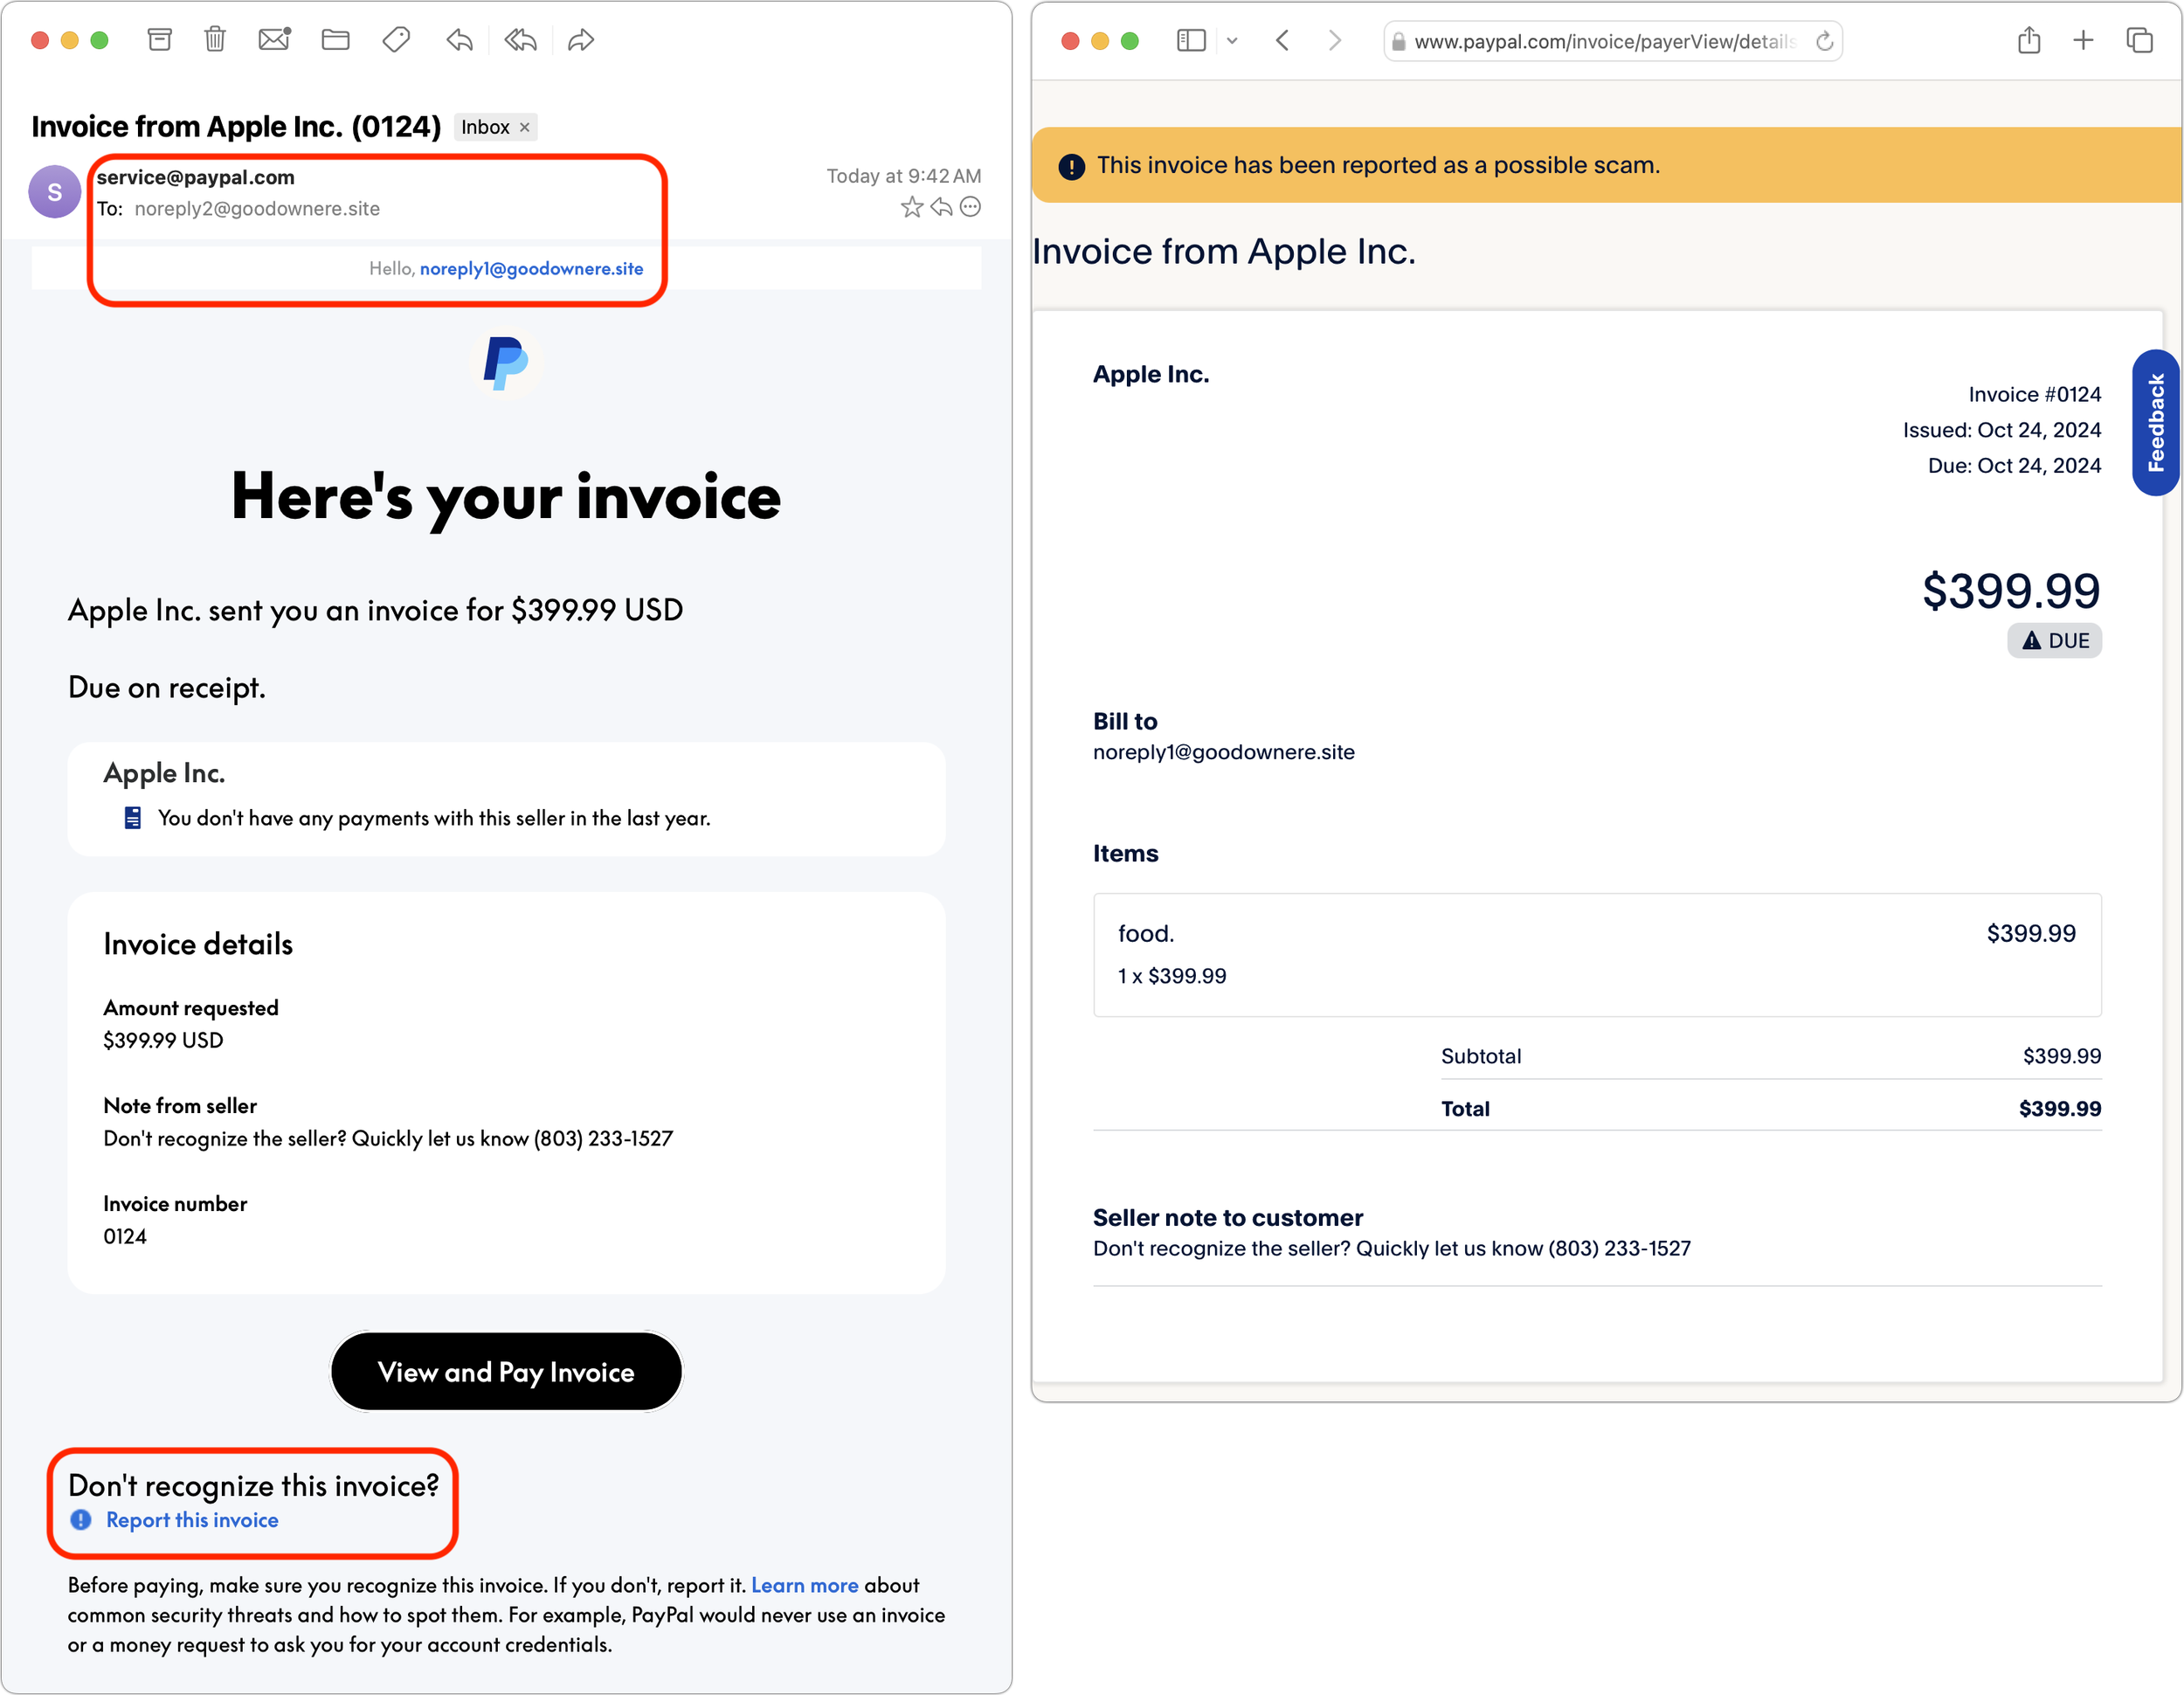
Beware of PayPal invoice scams that might even appear to come from Apple. Should you receive one, report it to PayPal to help protect other people, but don’t mark the message as spam.

We’ve seen an uptick in fake invoices from scammers using PayPal. Because they’re being sent through PayPal itself, spam filters won’t catch them, and they have few of the usual markers of phishing email (but look for sketchy names and email addresses at the top). Some are even forged to appear as if they come from Apple. Never pay a PayPal invoice that you can’t tie directly to something you’ve ordered, and don’t call the number listed—the scammer will try to convince you that the invoice is real. If you receive one of these invoices, click the “Report this invoice” link at the bottom to help protect others who might have received it, and forward the message to phishing@paypal.com. Don’t mark the invoice as spam, though, since that will train your email client to be suspicious of legitimate messages from PayPal.
(Featured image by iStock.com/Moostocker)
Use Guided Access for Securely Allowing Others to Use an App on Your iPhone or iPad
If you’d like to allow a child, friend, or colleague to enjoy a specific app on your iPhone or iPad while keeping them focused and preventing access to everything else on the device, check out Apple’s Guided Access feature.

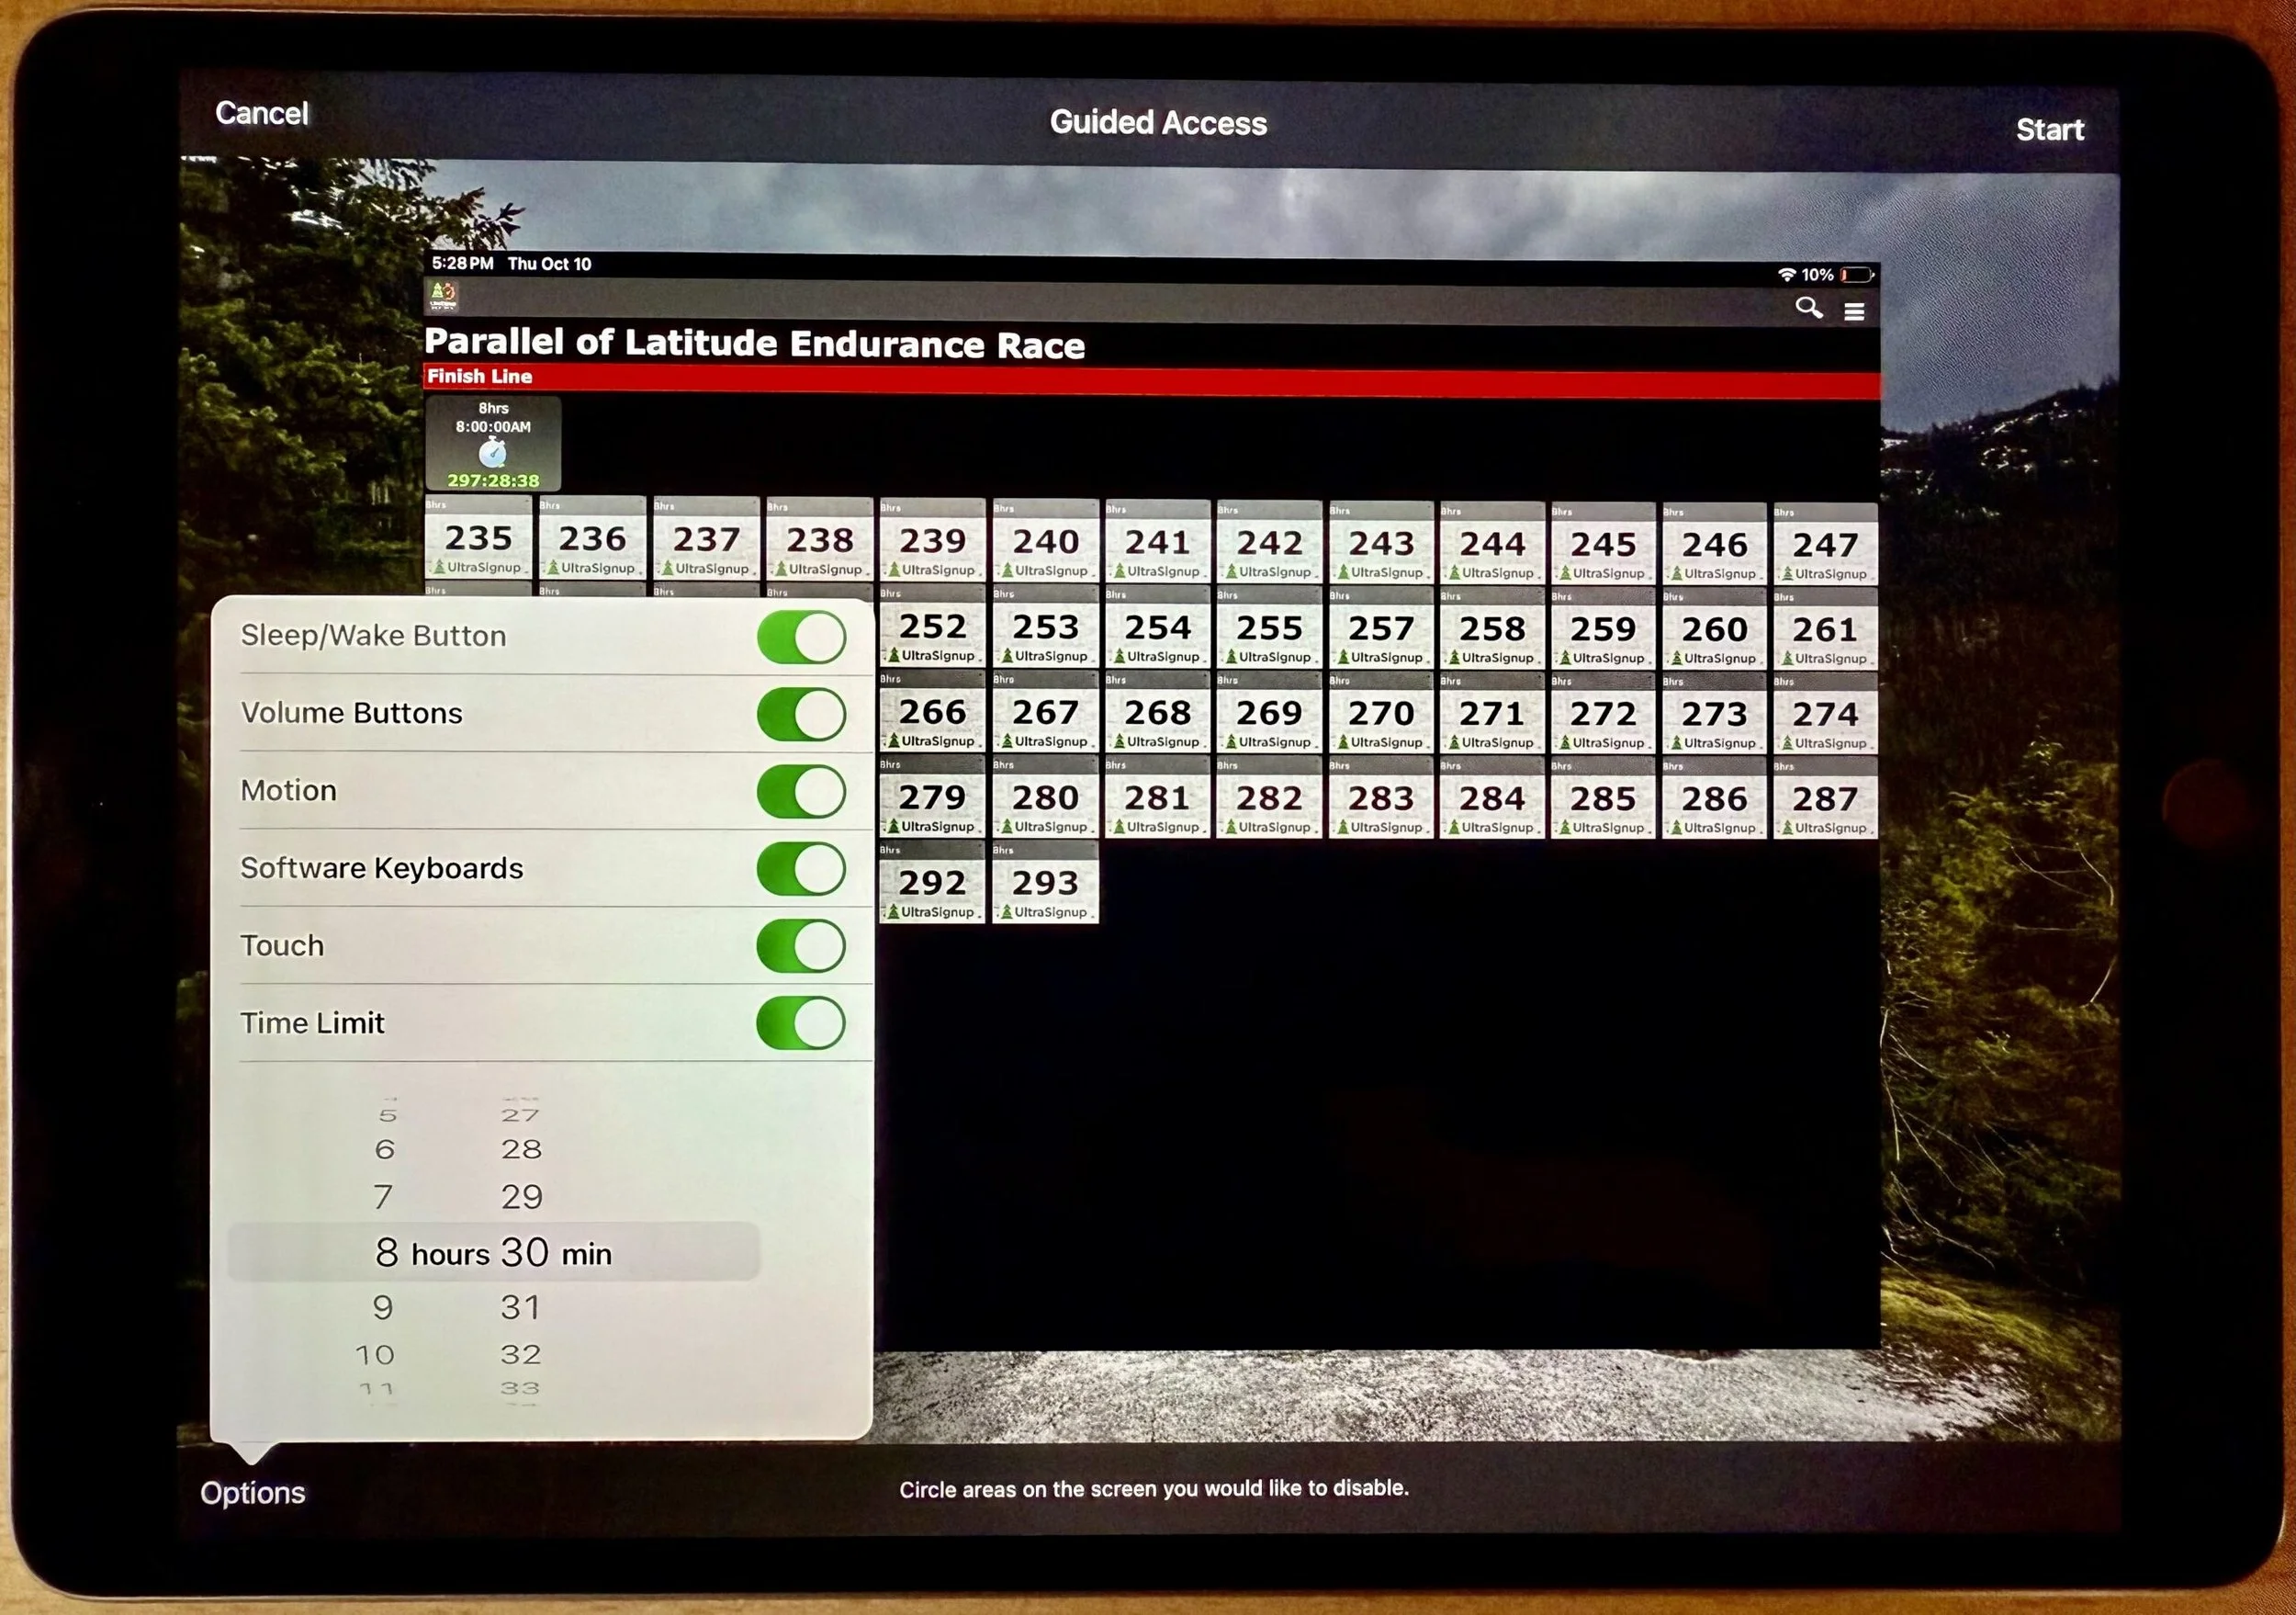
iPhones and iPads are highly personal devices, but you might want to let someone else use a particular app on yours without letting them poke through Messages, Mail, and Photos. For example, a child could play a game, a volunteer could check in attendees, or a friend could take photos. To allow this, Apple created Guided Access, which you turn on in Settings > Accessibility—give it an easily remembered passcode and decide if you want to let the display auto-lock. Then, to turn on Guided Access, open the app you want to share and triple-click the side or top button. Options let you control buttons, the accelerometer, software keyboards, touch input, and a time limit. To end a Guided Access session, triple-click the side or top button, enter the Guided Access passcode, and tap End.
(Featured image by iStock.com/Userba011d64_201)
Beware Fake “Sextortion” Scams
Scams are starting to incorporate personal information stolen in data breaches, so you may get “sextortion” threats that purport to know your phone number, address, and more.

All those data breaches are coming back to haunt us. Once our phone numbers and addresses began to be leaked, it was only a matter of time before scammers would personalize their attacks to make them seem more real. The latest “sextortion” scams purport to have compromising video of you taken from your computer’s webcam, backing it up with your phone number and a Google Street View-like image that matches your leaked address. They make a lot of claims and dire-sounding threats, but talk is cheap, and there’s nothing behind them. Do not pay the scammers!

(Featured image by iStock.com/Thapana Onphalai)
Restrict Access to Sensitive Apps in iOS 18 and iPadOS 18
Keep prying eyes—or mischievous children—out of sensitive or important apps by requiring Face ID or Touch ID access before the app opens. You can also hide such apps so they appear only after you authenticate.
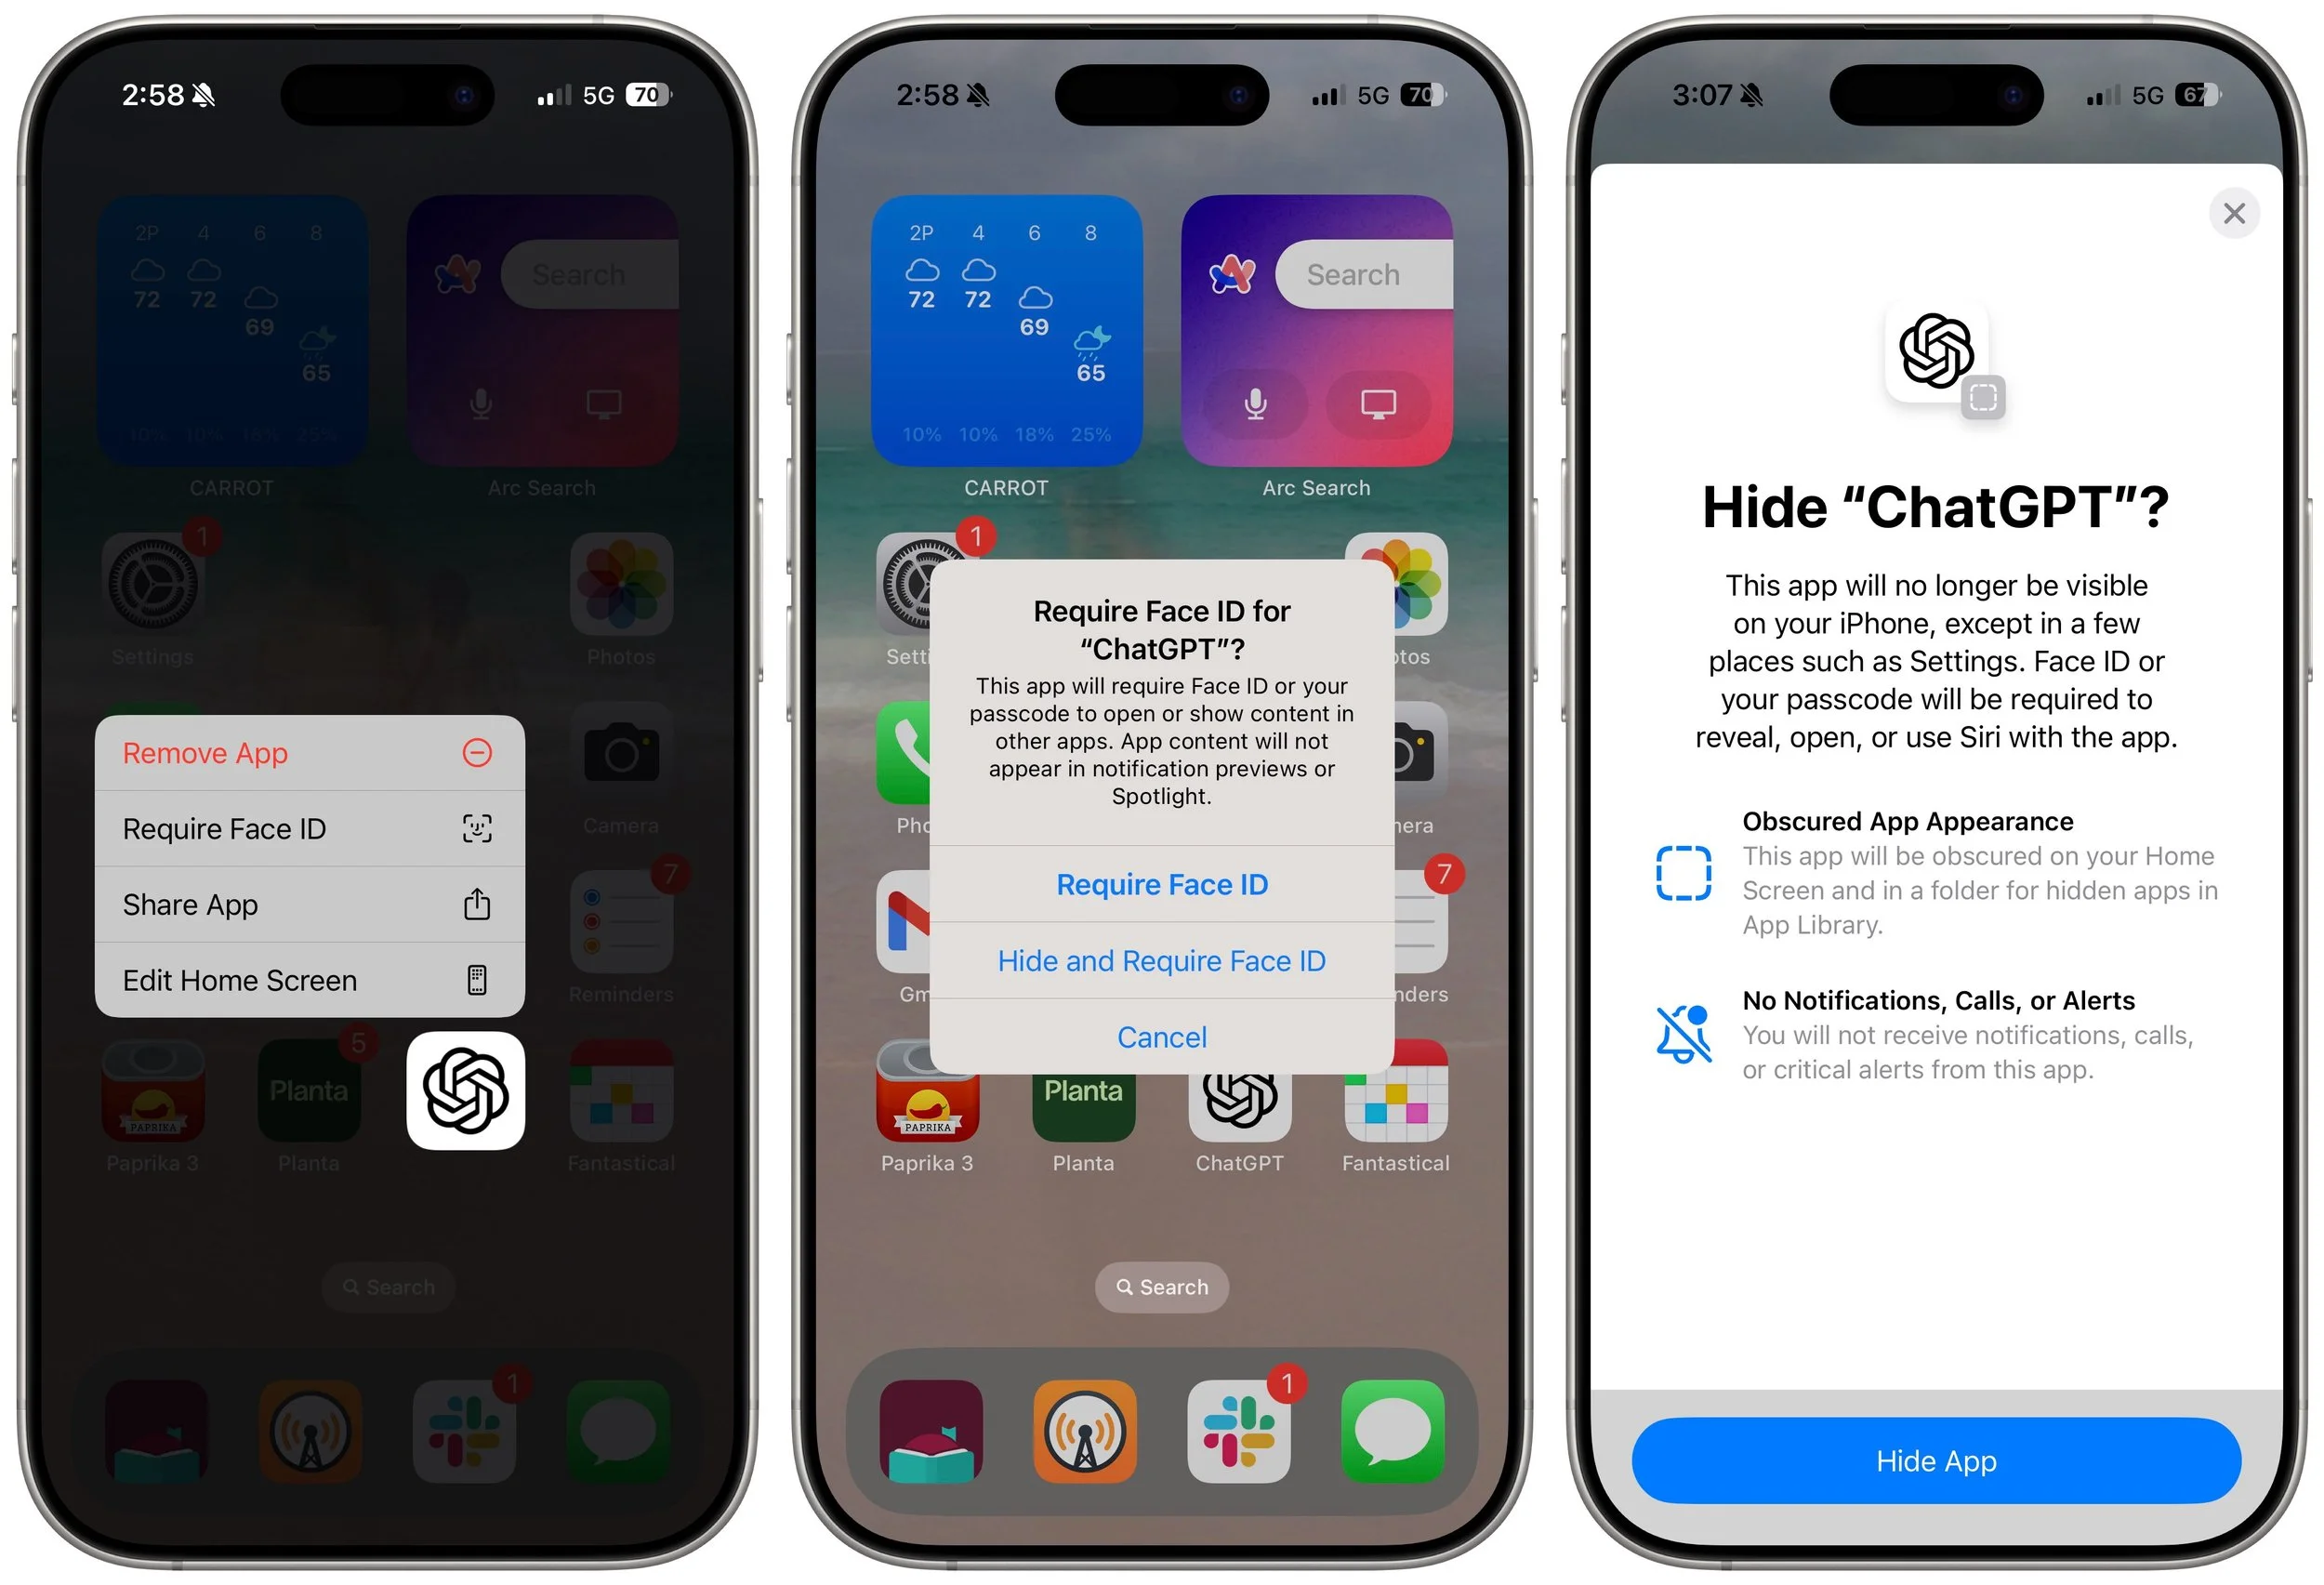
Do you worry about family members with whom you’re otherwise happy to share your iPhone passcode reading your private diary in a journaling app? Or perhaps you want to keep your child out of apps where they could cause mischief. A new feature in iOS 18 and iPadOS 18 lets you use Face ID or Touch ID to restrict access to specific apps, optionally hiding them in the process. Touch and hold the app’s icon on the Home Screen, and tap Require Face/Touch ID. When prompted, either tap Require Face/Touch ID to leave the app’s icon visible on the Home Screen but restrict access or tap Hide and Require Face/Touch ID to restrict access and hide the icon. Protected apps only open after you authenticate with Face ID or Touch ID; hidden apps can be accessed only from the Hidden folder in the App Library after authenticating. (To reach the App Library, swipe left repeatedly on your Home Screen, then scroll to the bottom to find the Hidden folder.)
(Featured image by iStock.com/SasinParaksa)
Reveal Mac Window Proxy Icons Permanently with This Setting
People who like using the Mac’s window proxy icons (and if you don’t know about them, you should!) can make them visible at all times with an option deep within System Settings. Here’s how to find it and what you can do with proxy icons.
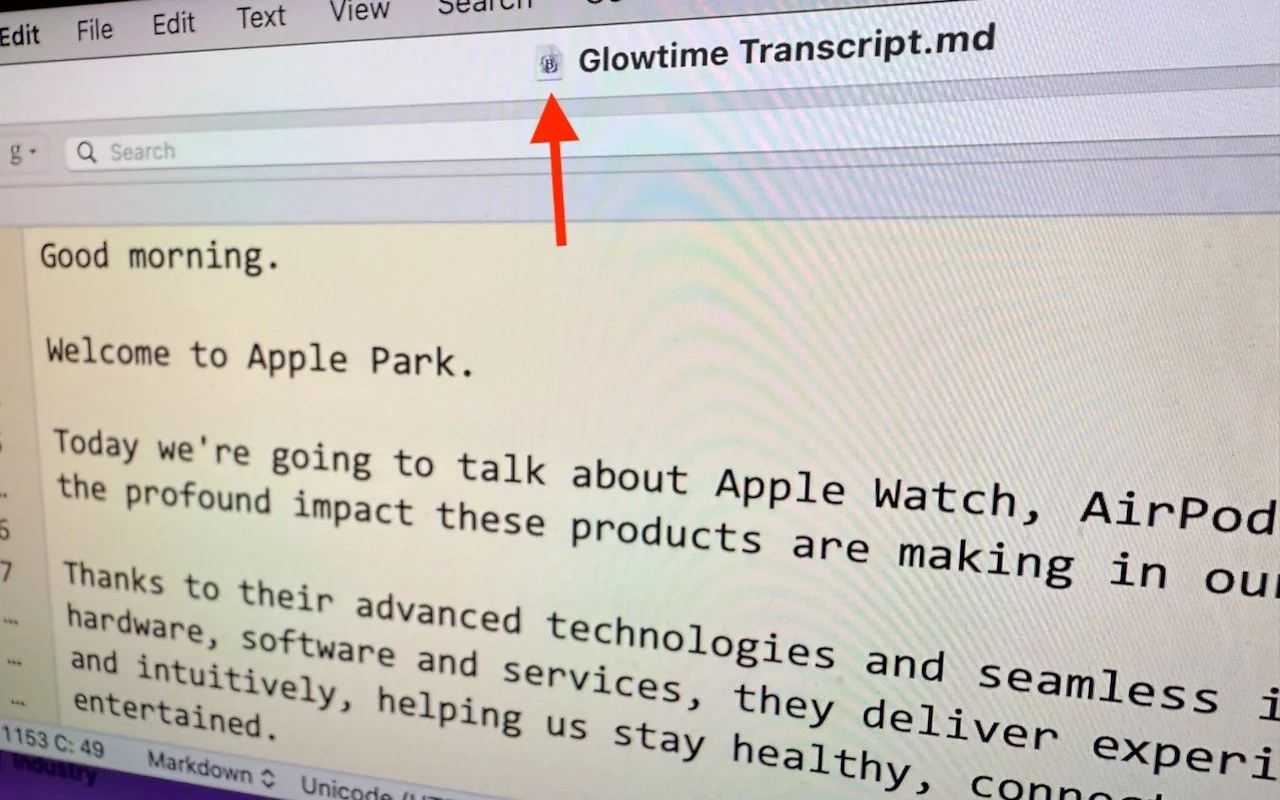
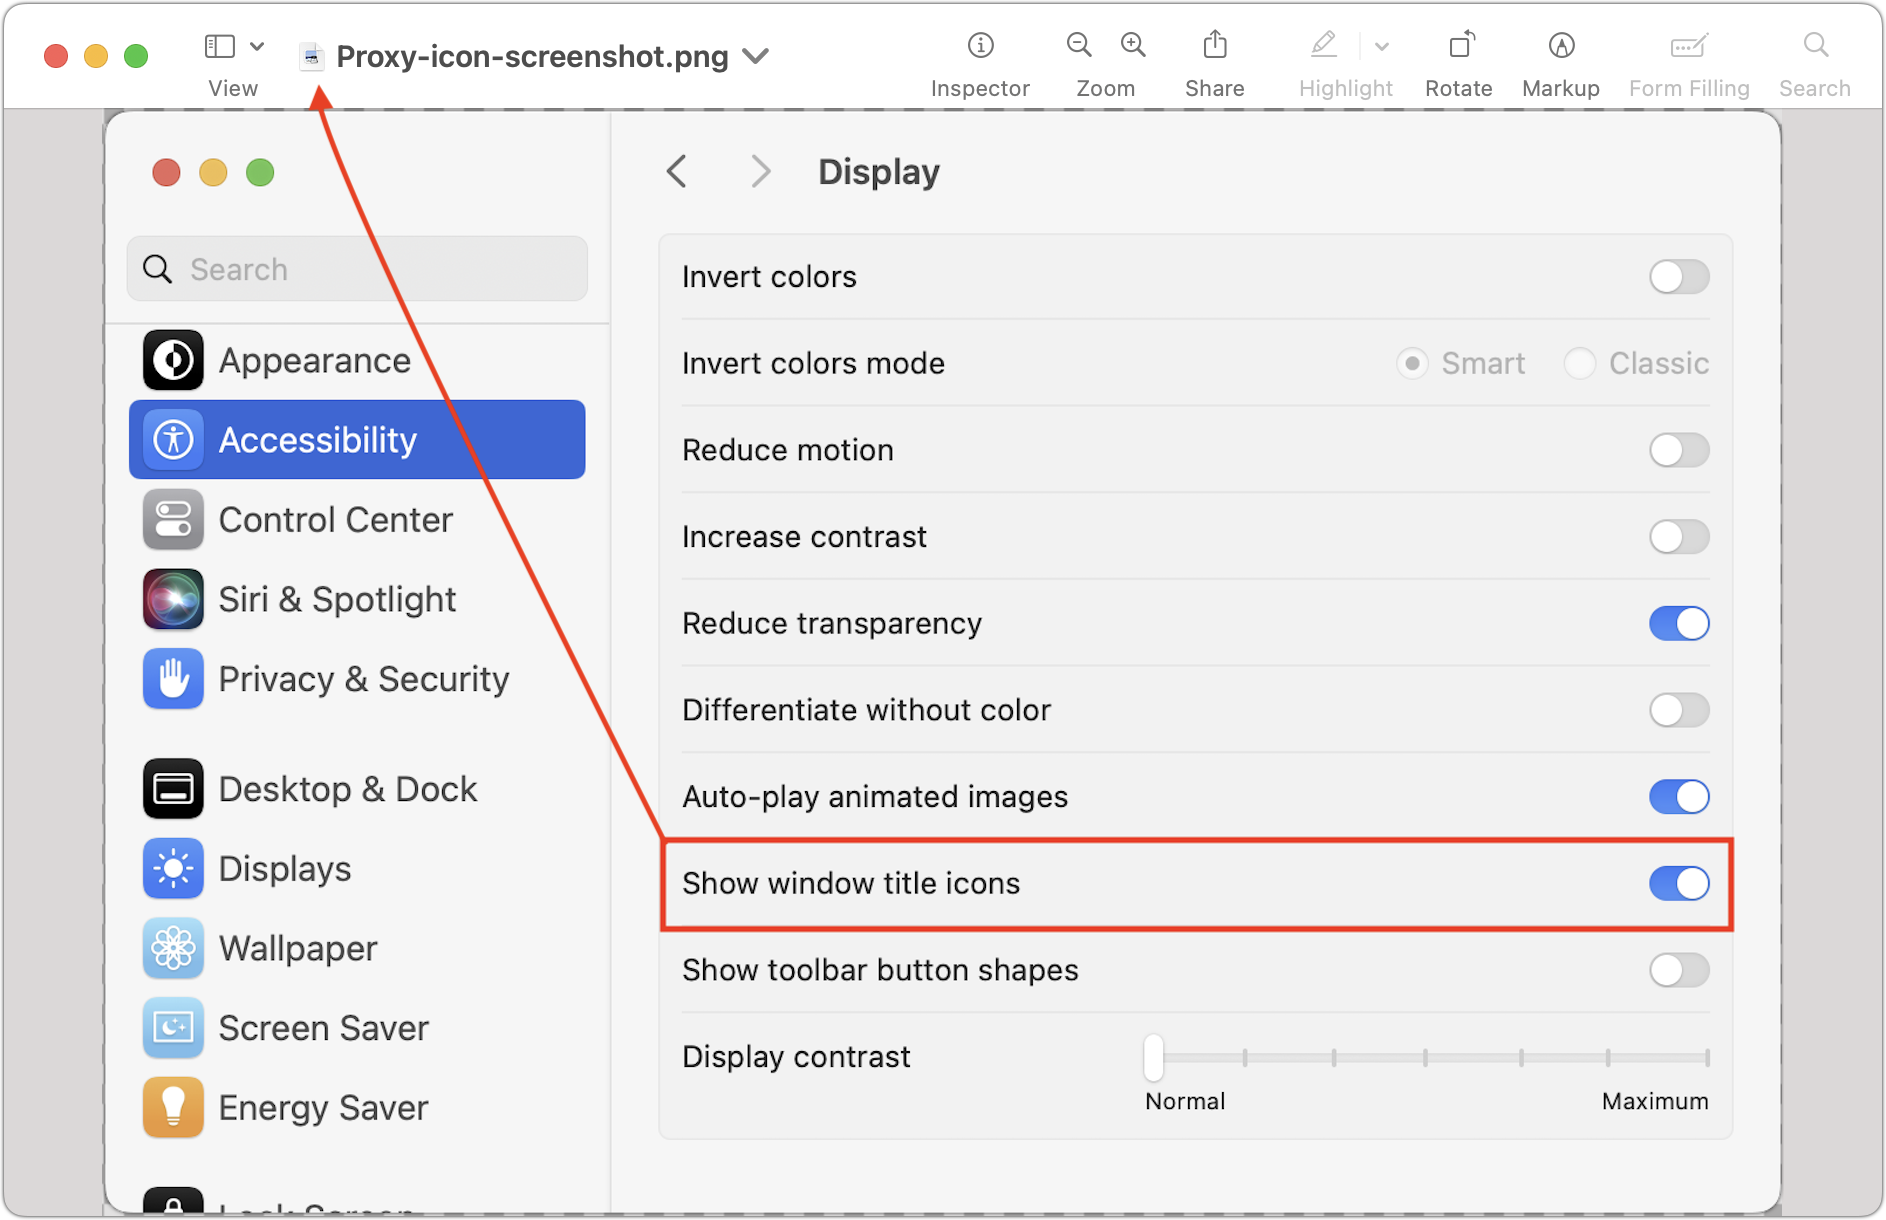
We’re big fans of the Mac’s window proxy icons, those little icons that appear in window title bars next to the filename. They’re not just cosmetic—you can use them just like the Finder icon for the open document. You can drag one to Mail to attach the document to a message, to a Web browser to upload it, or to any other location you can drag a document’s icon in the Finder. You can also drag a proxy icon for a folder from the title bar of its Finder window to Open and Save dialogs to navigate to the folder. In macOS 11 Big Sur, Apple hid the proxy icon until you moused over the file-name, but starting in macOS 12 Monterey, the company provided an option to show them all the time. To enable it, select System Settings > Accessibility > Display > Show window title icons.
(Featured image by Adam Engst)
Apple ID Renamed to Apple Account in Latest Operating System Releases
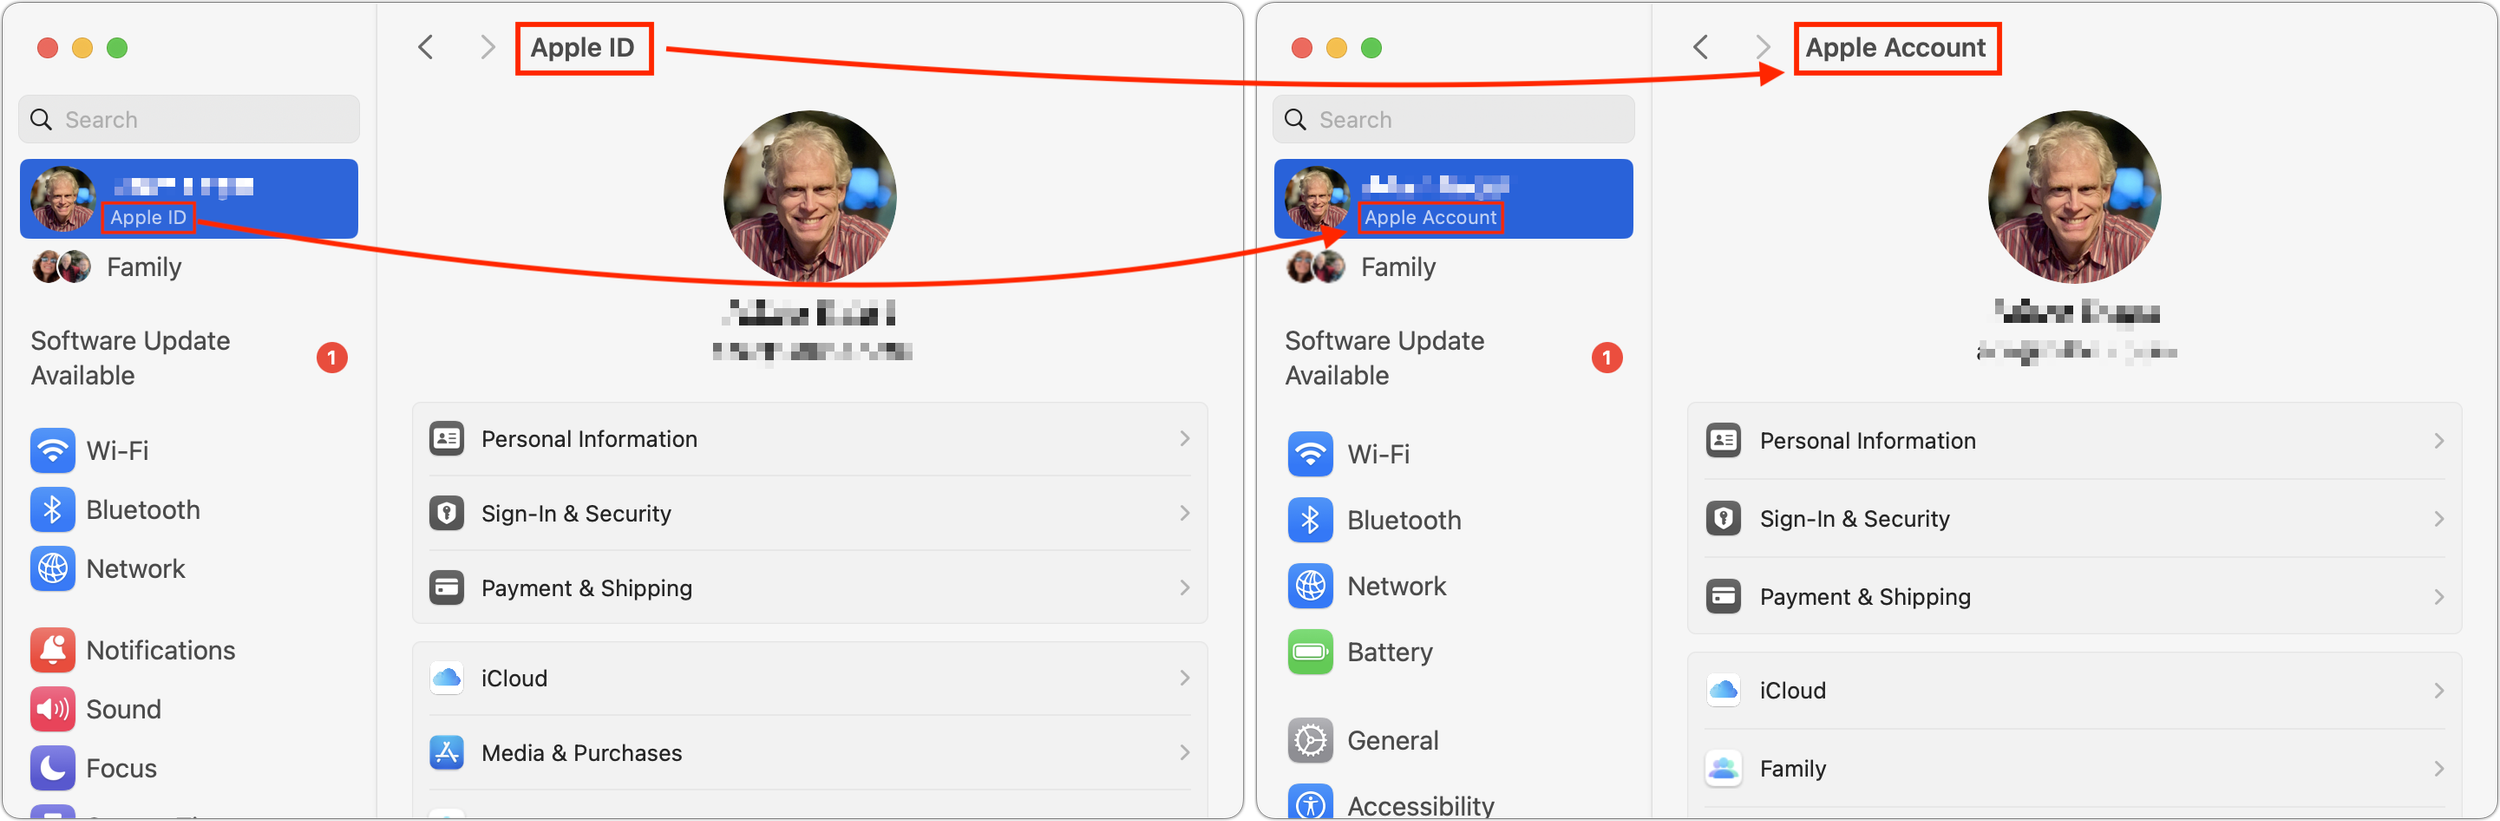
Apple has renamed Apple ID to Apple Account everywhere as of macOS 15 Sequoia, iOS 18, iPadOS 18, and watchOS 11. Nothing has changed functionally, but keep it in mind when reading tech articles or support documentation.
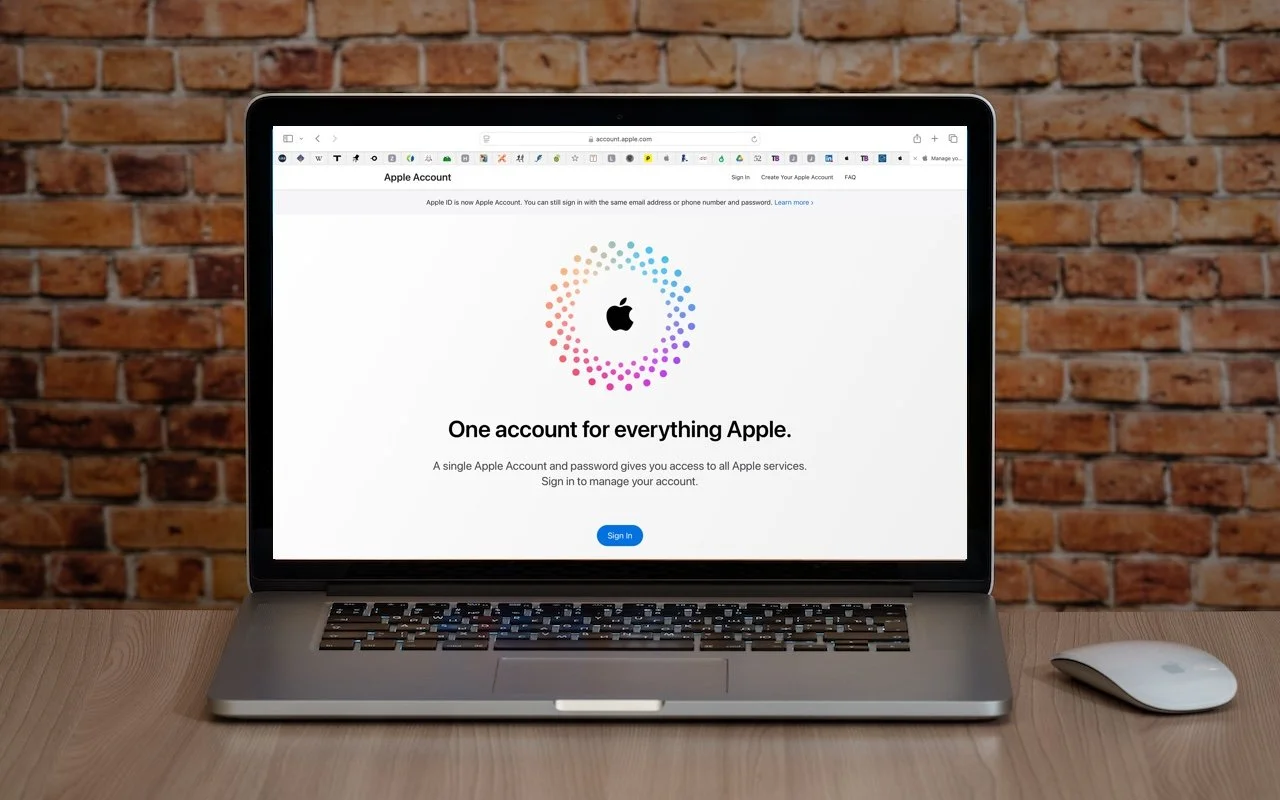
In macOS 15 Sequoia, iOS 18, iPadOS 18, and watchOS 11, Apple has officially renamed Apple ID to Apple Account. The new name is a slightly more sensible term because you can sign in to an Apple Account that holds your information, whereas an Apple ID was primarily an identifier—it’s an email address—that didn’t inherently imply that it stored data. The name change is mostly a distinction without a difference, but you should be aware of it when reading support documentation or tech articles. You’ll see the new term in System Settings on the Mac and Settings on the iPhone and iPad.
(Featured image based on an original by iStock.com/Armastas)
Set macOS to Require a Password after Screen Saver Start or Display Sleep
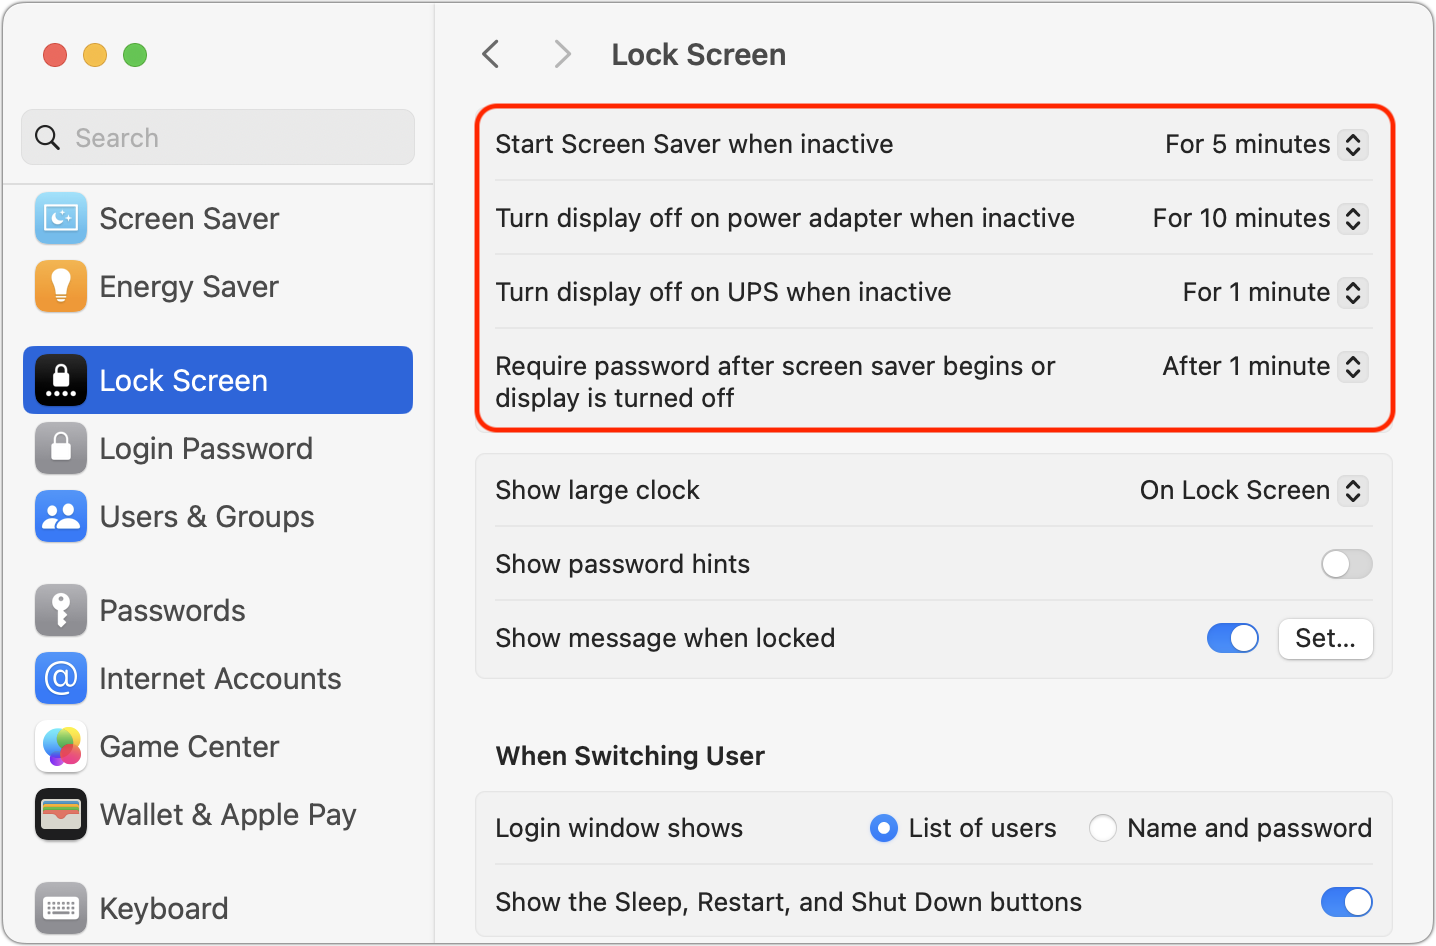
Don’t forget about local security on your Mac. Make sure to require a password shortly after the screen saver starts or the display sleeps to prevent people from riffling through your email, photos, messages, and more.

Although paying attention to online security is of primary importance, don’t forget local security. You don’t want to go out for lunch and let someone wandering by your office poke through your email, messages, photos, and private files. To ensure this doesn’t happen, set your Mac to start the screen saver or sleep the display after a few minutes (on a laptop, just close the lid), and then set “Require password after screen saver begins or display is turned off” to a short duration. We recommend 1 or 5 minutes, though you can adjust to balance inconvenience against security. To eliminate the fuss almost entirely, use Touch ID or an Apple Watch to unlock your Mac without having to type your password.
(Featured image based on an original by iStock.com/Armastas)