
How to Copy an App Icon on the Mac
Have you ever wanted to use a Mac app’s icon in documentation or a Web page? It’s easy to copy a high-resolution version straight from the Finder!
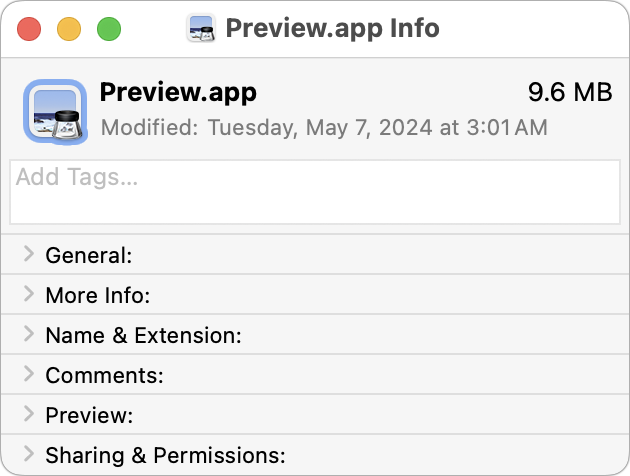
Let’s say you’re writing documentation to help colleagues use Preview to edit images, sign PDFs, and convert graphics. (A worthy task for which they will thank you!) For this documentation, you want to include the Preview app’s icon so they know what to look for in the Applications folder and Dock. To copy a high-resolution version of any app icon that you can paste into a document or combine with other graphics, select the app in the Finder, choose File > Get Info, select the little icon in the upper-left corner of the Info window, and press Command-C. You can then use Command-V to paste it wherever you want or create a new file containing all sizes of the icon by switching to Preview and choosing File > New From Clipboard.
(Featured image based on an original by iStock.com/sofirinaja)
Apple Explains Its Approach to Device Longevity
Apple has published a white paper that offers an illuminating look at how the company works to increase device longevity while balancing environmental impact, protecting customer privacy and safety, and enabling transparency in repair.

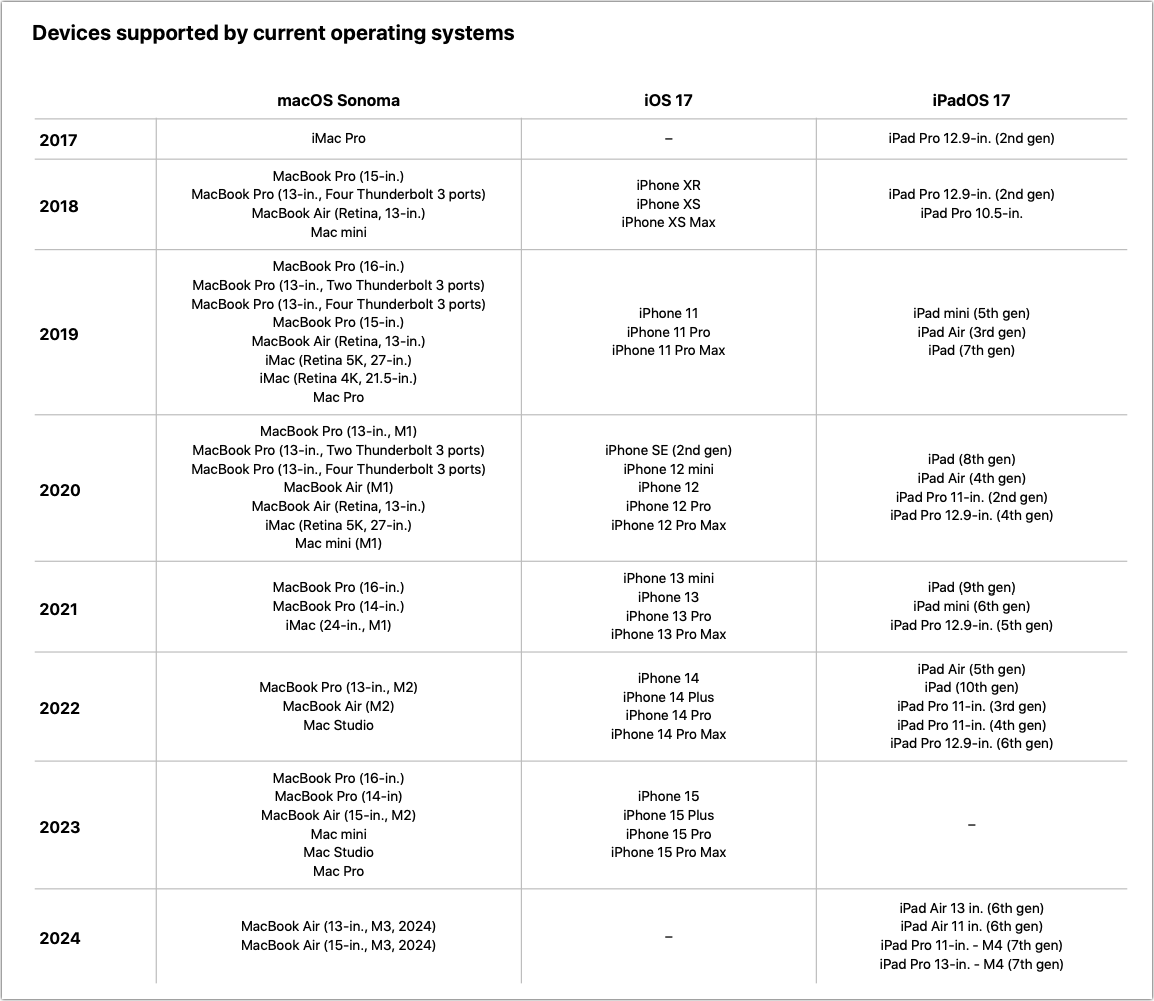
We Apple users tend to believe that our devices usually last longer—both physically and functionally—than Windows PCs and Android smartphones. For instance, Apple’s current operating systems work on nearly all Macs, iPhones, and iPads introduced in 2018 and later, albeit with some feature loss on the oldest devices. In a white paper entitled “Longevity, by Design,” Apple has now outlined how it works to increase product longevity through design and manufacturing, ongoing software support, and access to repair services. The white paper may be partially aimed at dissuading elected officials from passing Right to Repair legislation that could force unwanted design changes, but it still offers an illuminating look at how the company balances environmental impact, protecting customer privacy and safety, and enabling repair transparency. It’s worth a read if you’re interested in why Apple makes the design decisions it does.
(Featured image based on an original by Apple)
Share 2FA Setup for Team Access to a Single Account
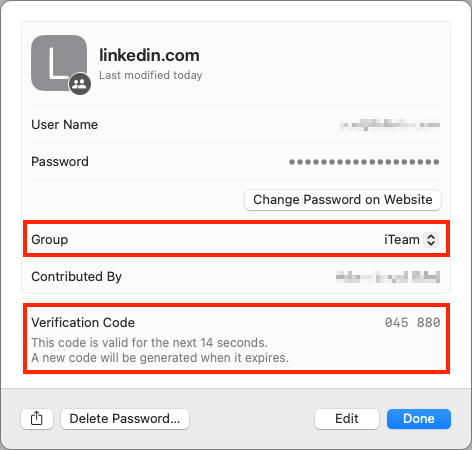
For better results when a team or family group needs to share 2FA codes to log in to a website, try to use an authentication app instead of SMS, or better yet, use a password manager that can both generate 2FA codes and share logins with a group.
When your team or family shares access to a single account (such as for banking or social media, which seldom offer multi-user access), using two-factor authentication via SMS is awkward—whose phone receives the 2FA codes? One solution is to use an authentication app. Authentication apps are more secure, and multiple people can add 2FA support to the same account by scanning the QR code at setup or adding the 2FA setup URL later. (In both 1Password and Apple’s iCloud Keychain, edit the login to see and copy the setup URL.) An even better solution is to use a password manager that supports both 2FA codes and password sharing. That way, one person can set up the account with 2FA and add its login to a shared vault or collection. 1Password, Bitwarden, Dashlane, iCloud Keychain, and others provide such features.
(Featured image by iStock.com/May_Chanikran)
Find Some Ham Amidst Your Email Spam
Rather than frequently skimming your entire spam mailbox for incorrectly captured messages, try searching for specific keywords that are likely to appear in legitimate email.

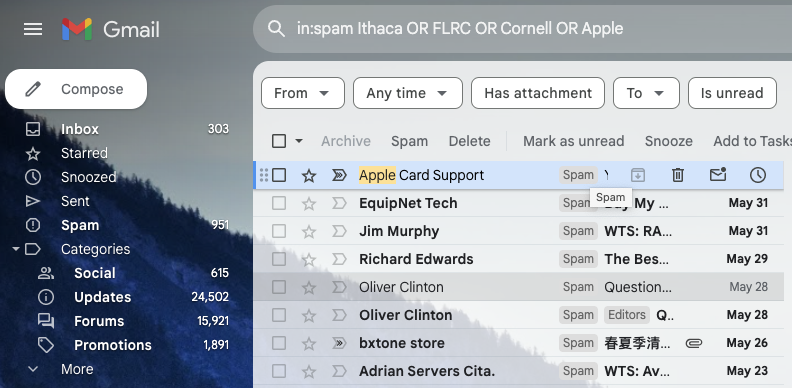
Spam filters work pretty well—99% of the messages in your spam mailbox are probably spam. But it’s frustrating to miss an important message that was caught by an overeager spam filter. Here’s an easy way to find many good messages, also known as “ham,” amidst all the spam. Think of keywords that might appear in legitimate email to you: the name of your city, major employers in your area, nearby colleges, companies whose products you use, their products, and so on. Then search for those terms inside your spam mailbox, either one at a time or, if your email app supports it, as a single search with OR statements for each keyword, like this Gmail search (use your actual town name and so forth): in:spam townName OR employerName OR clubName OR companyName. Of course, your keywords will appear in some spam messages, but if the searches reveal ham messages you would otherwise have missed, they’re worth-while. Be extra cautious around any message that wants you to click a link, log in, or provide private information. The fact that your spam filter caught a message is a red flag.
(Featured image by iStock.com/Igor Kutyaev)
Working Late on Your Mac? Turn on Night Shift to Help Your Sleep
If you regularly work at your Mac late at night and have trouble falling asleep, consider turning on Night Shift to reduce your blue light exposure. By default, it makes the colors of your Mac warmer from sunset to sunrise.

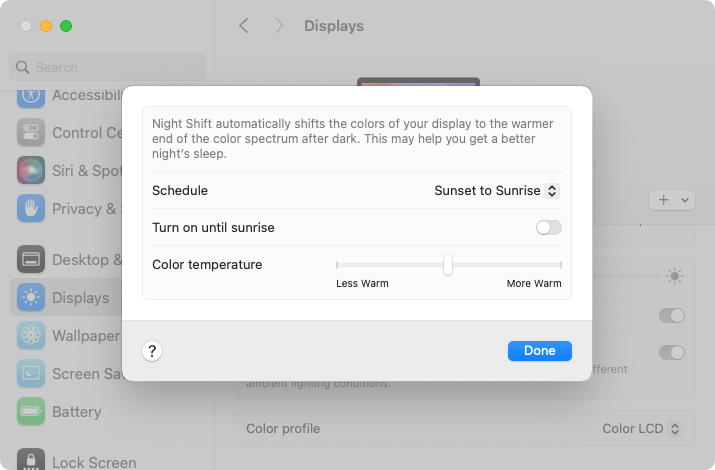
Research suggests that exposure to blue light fools your body into thinking it’s daytime, making it harder to fall asleep if you work late on a Mac with a bright white (which has a lot of blue light) screen. To help, a macOS feature called Night Shift subtly changes the colors of the screen as the sun sets to reduce the amount of blue light hitting your eyes. In essence, everything gets slightly warmer. To configure your Night Shift sched-ule—so it turns on and off automatically—go to System Settings > Displays > Night Shift. You can set any times, but Sunset to Sunrise adjusts for the sun’s movement in your lo-cation throughout the year. One warning: if you edit photos or videos, or work on graphics where specific colors matter, Night Shift’s color changes may be problematic.
(Featured image by iStock.com/PeopleImages)
Quickly Catalog Books or Other Named Items on Shelves
You can take advantage of Apple’s Live Text feature in Photos to catalog books, boxes, or any other items with text names. Think of it as a lazy person’s ad hoc database.
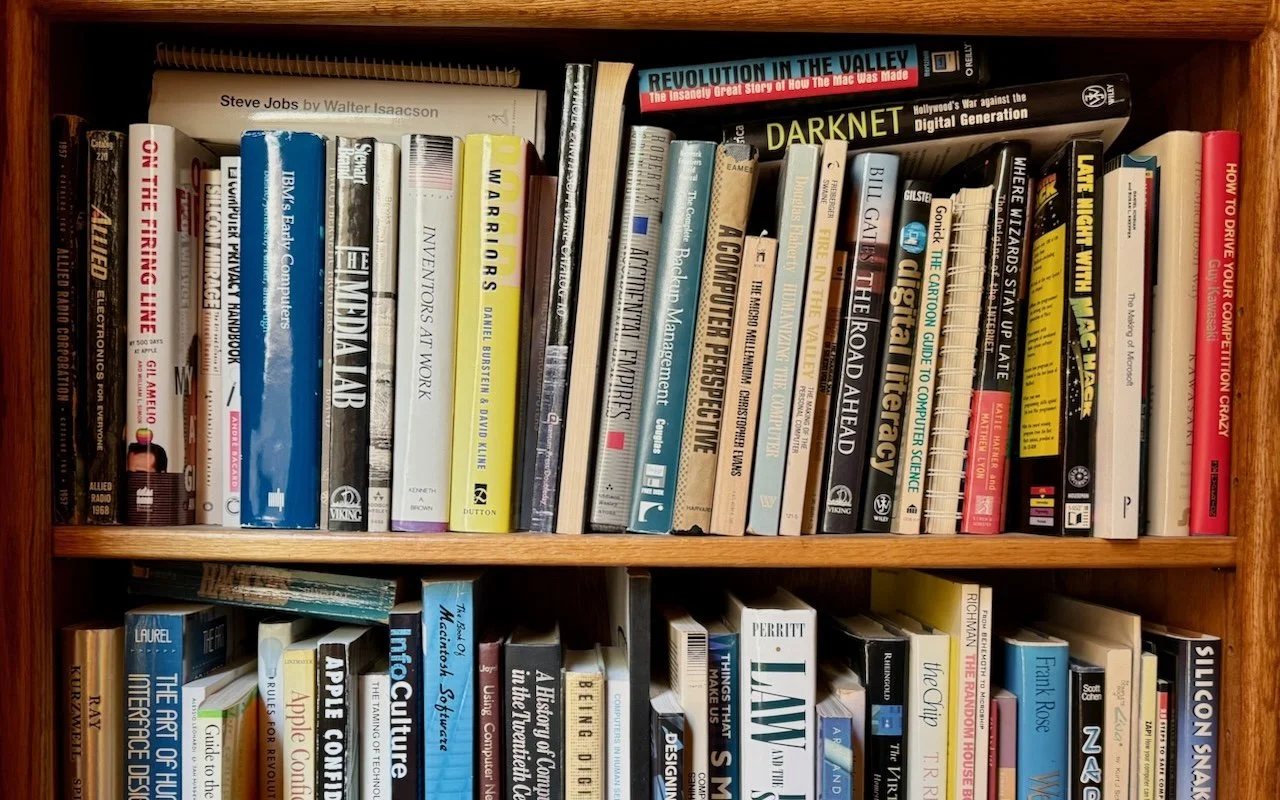
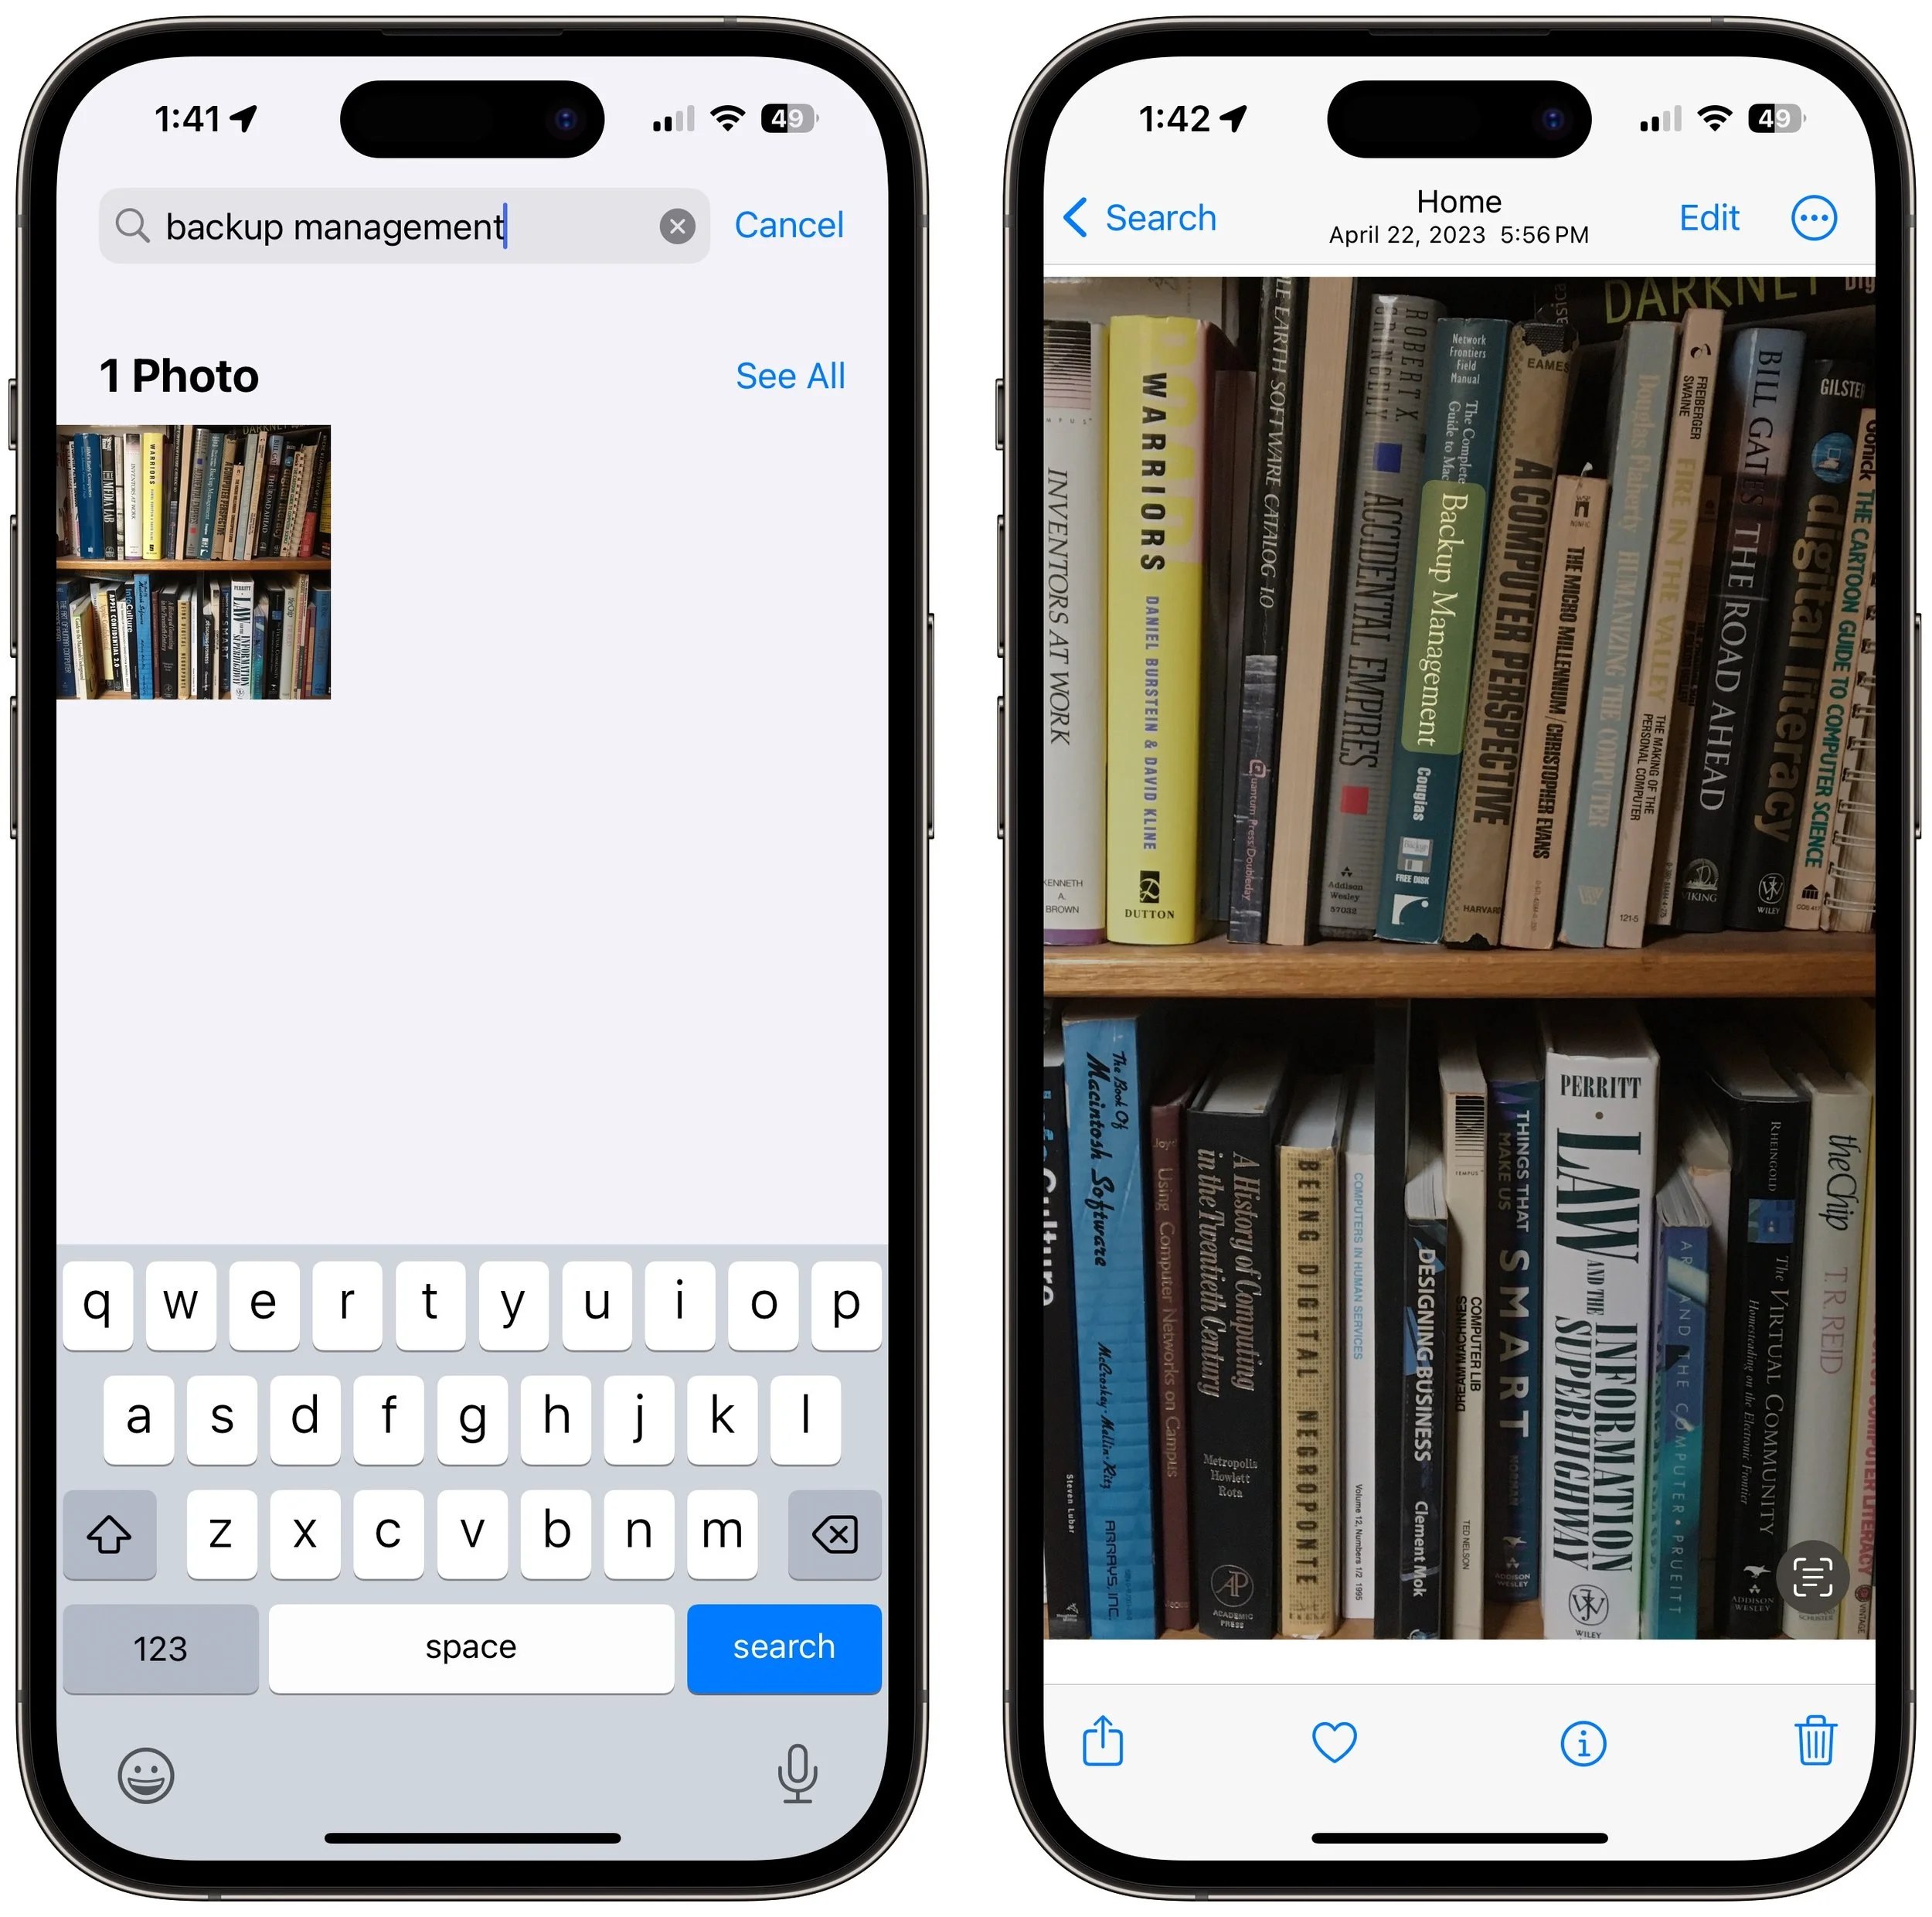
If you have trouble finding particular items across multiple shelves of books, labeled boxes, or anything else that’s clearly identified with a text name, take carefully composed photos that capture all the titles without glare. Later, you can search for any text in those photos to find them—tap the Search button in Photos on the iPhone or iPad, or use the Search field in Photos on the Mac. Photos highlights the search term on the found photo. (If Photos on the Mac doesn’t surface an expected photo, try again on your iPhone, which seems to get more hits on harder-to-read text.) This capability comes courtesy of Apple’s Live Text feature, which uses machine learning to identify text in photos. Think of it as the lazy person’s database!
(Featured image by Adam Engst)
Select Non-Contiguous Text in Pages, Keynote, and Numbers 14
A new feature in Pages, Keynote, and Numbers lets you select bits of text that aren’t next to each other so that you can, for example, format them or copy them all at once.
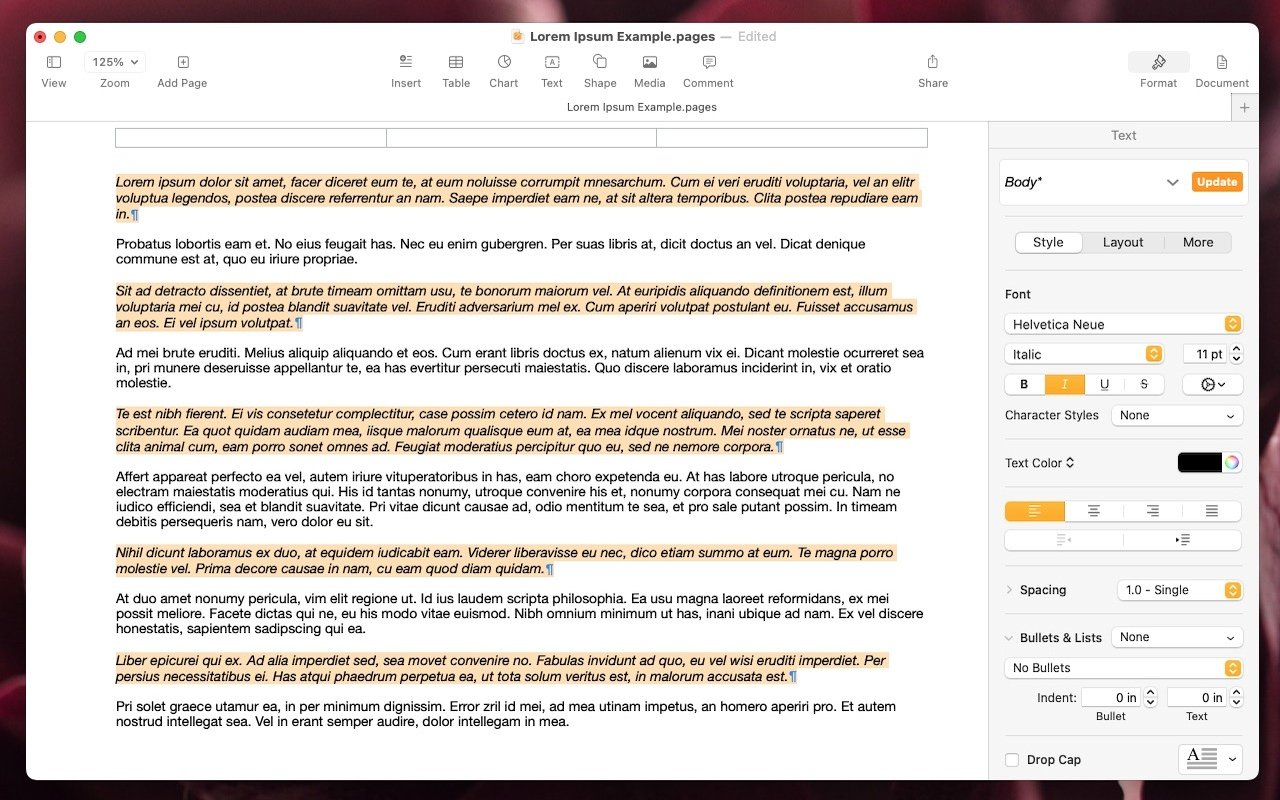
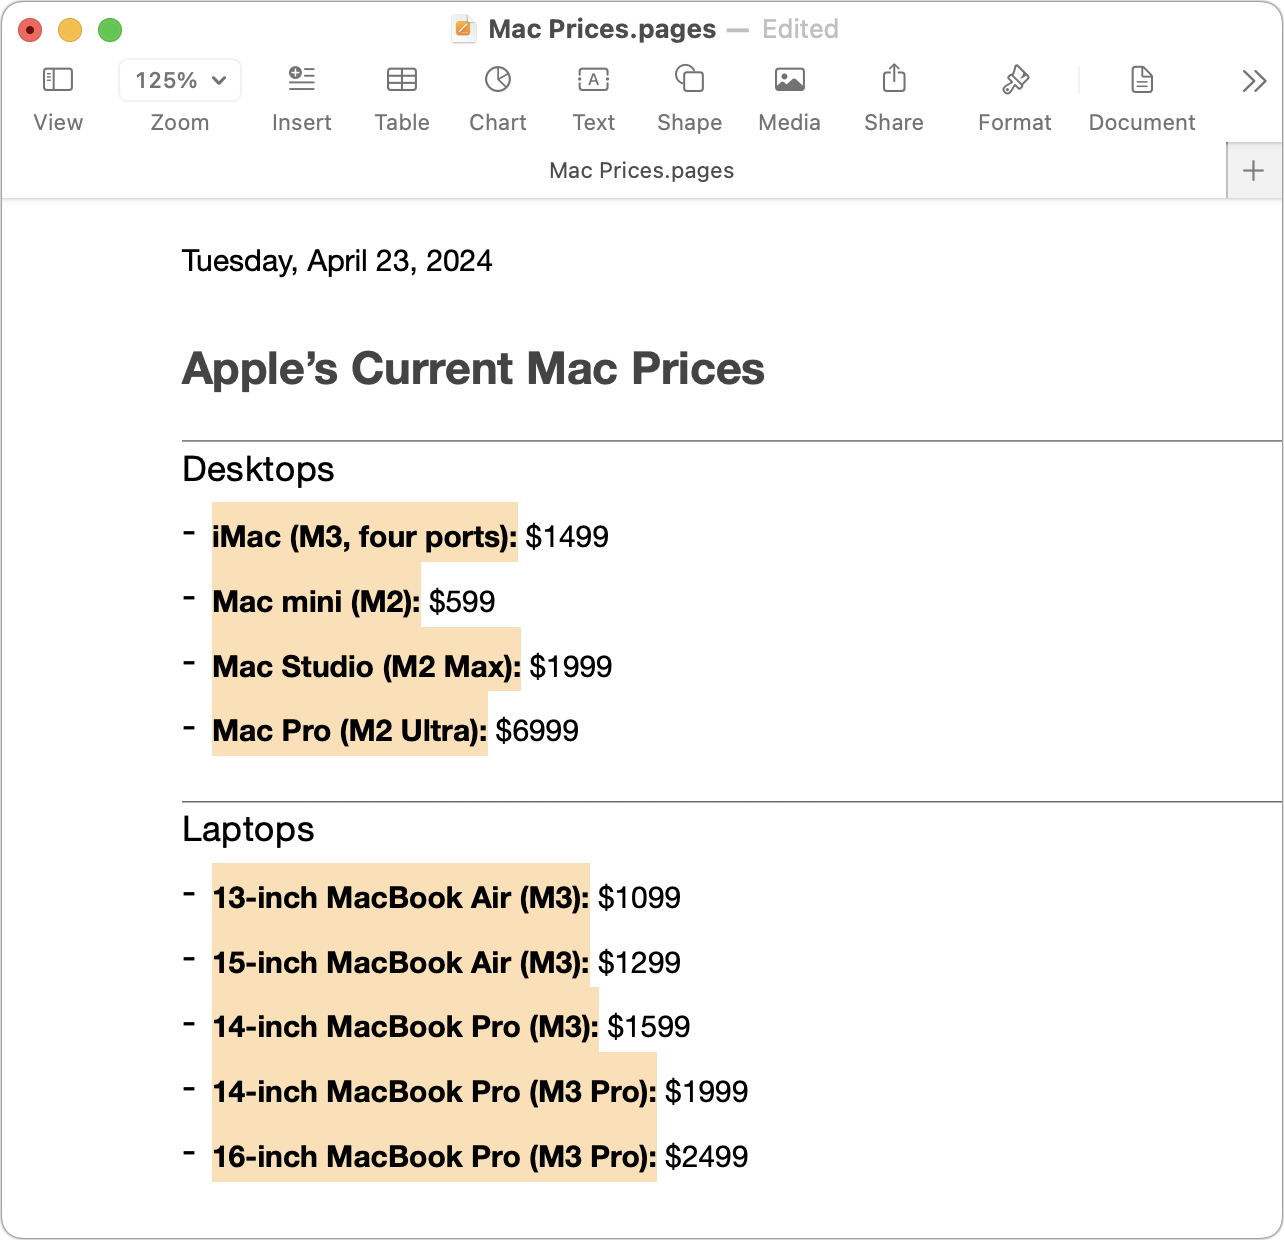
The latest versions of the Mac and iPad apps in Apple’s iWork suite—Pages 14, Keynote 14, and Numbers 14—have gained a helpful feature: non-contiguous text selection. By holding down the Command key, you can select chunks of text that aren’t next to each other. For example, imagine you want to make the first part of each item in a bullet list bold. Instead of bolding each one separately, hold down Command as you work to select all of them and then apply bold to the entire selection with a single command. Non-contiguous selection is particularly helpful when applying formatting, but you can also copy non-contiguously selected text or work with it in nearly any way you would interact with a contiguous text selection. (Note that while holding down Command, you can double-click to select words or triple-click to select paragraphs, just as you can normally without holding down Command.)
(Featured image by Adam Engst)
Display an Album of Photos on Your iPhone or iPad Lock Screen
If you like how the Lock Screen’s Photo Shuffle wallpaper rotates through photos but would prefer that it worked from an album you specified, you’re in luck! That’s now possible in iOS 17 and iPadOS 17.
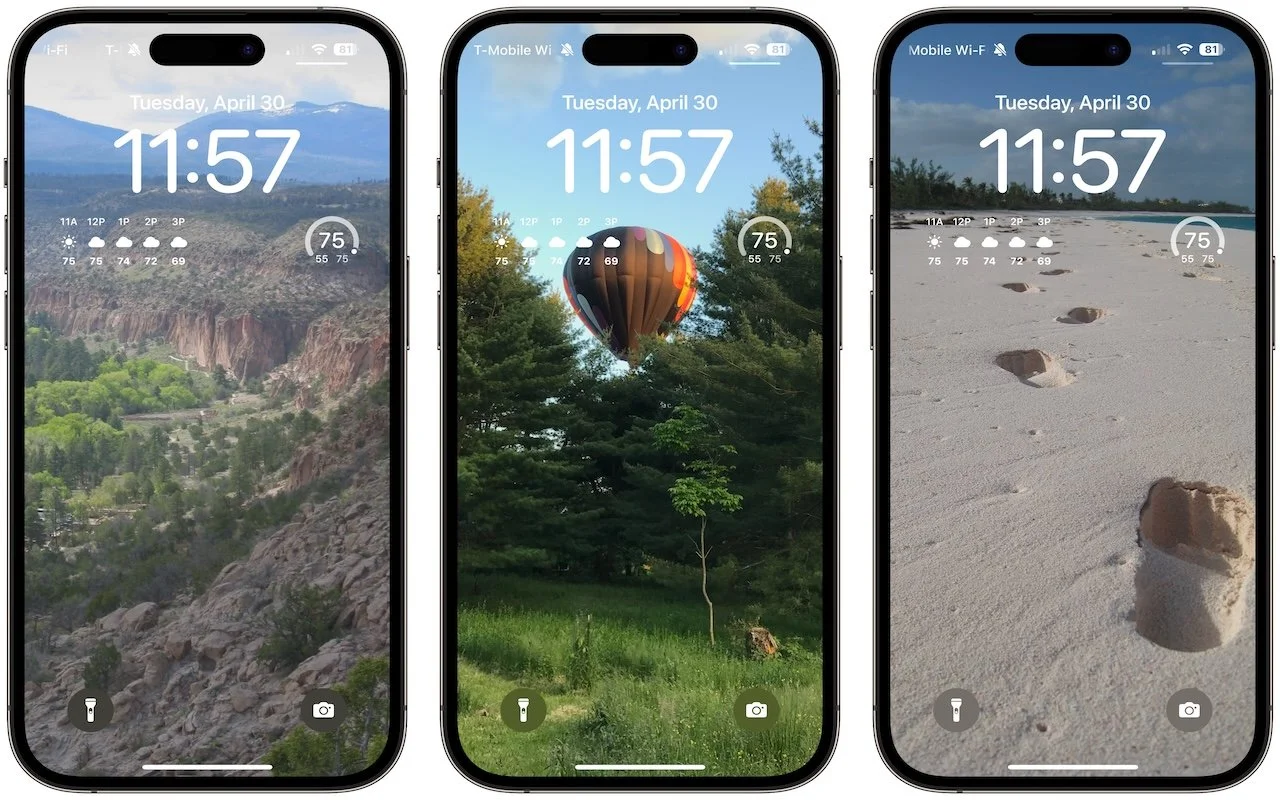
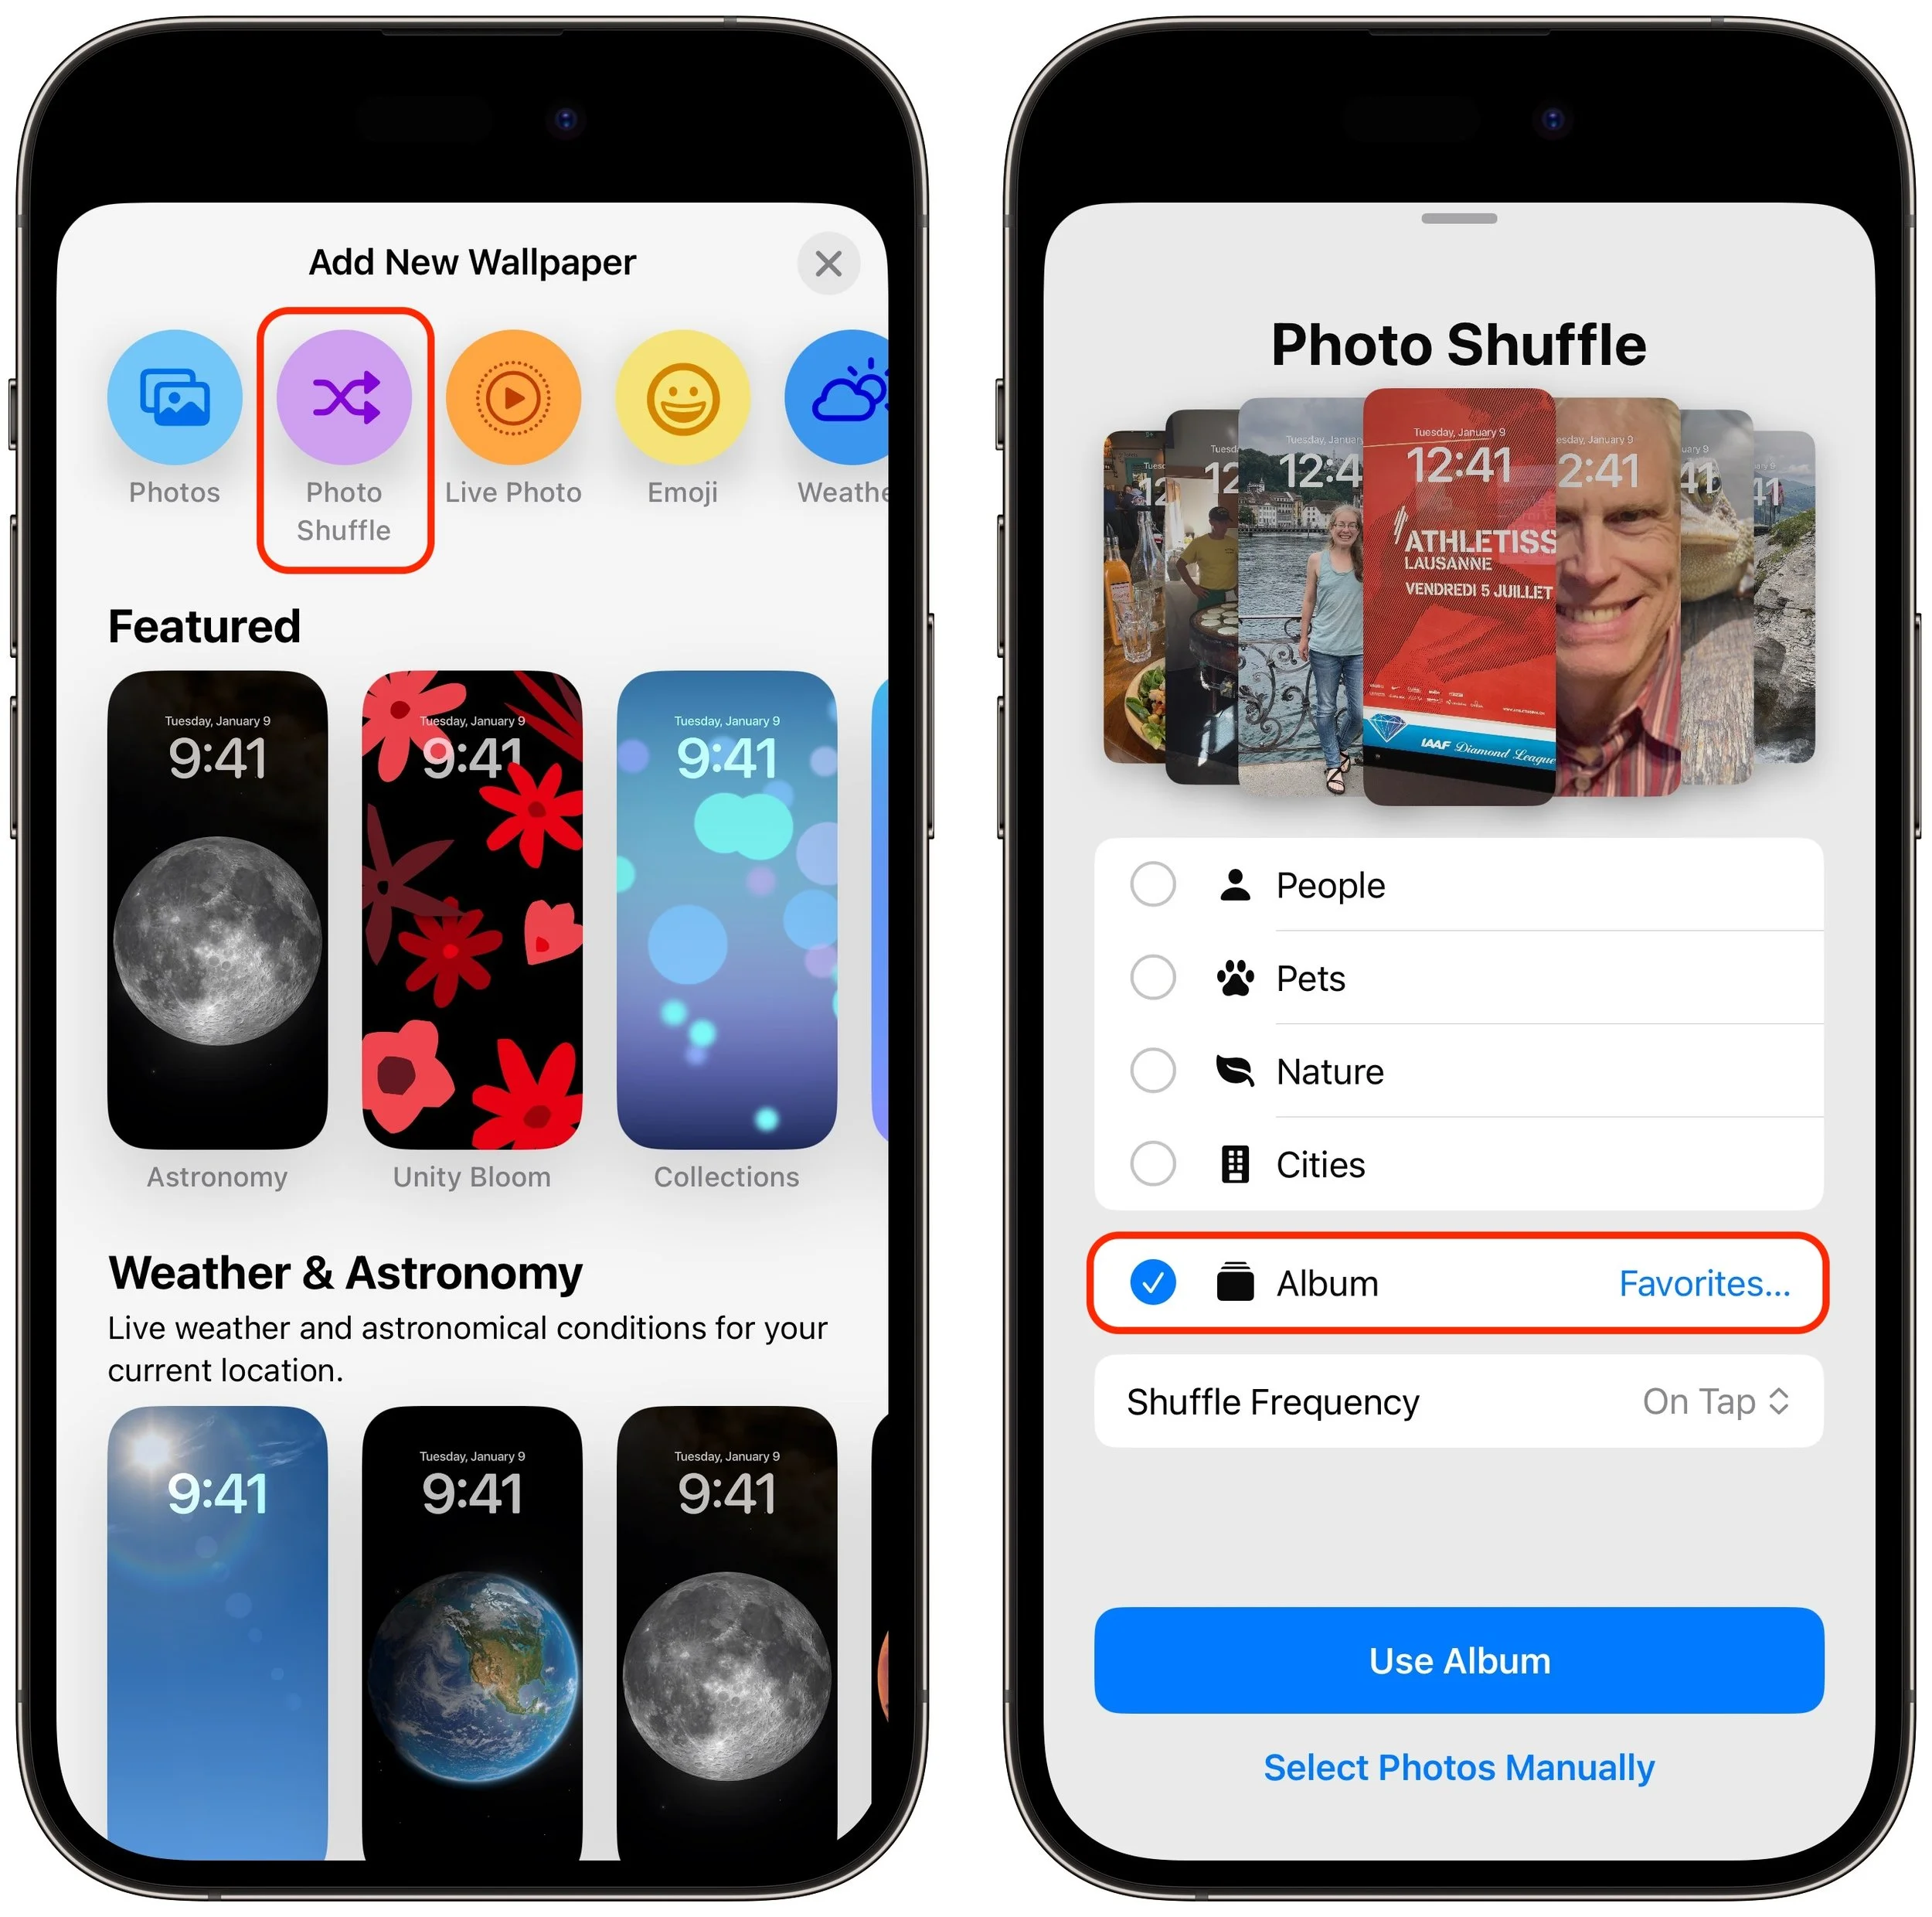
A popular feature of iOS 16 was the Photo Shuffle option for customizing the iPhone Lock Screen. It used machine learning to select photos in four categories—People, Pets, Nature, and Cities—and rotated through them when you tapped, on lock, hourly, or daily. If you didn’t like the automatic selection, you could pick photos manually, but it was clumsy. In iOS 17 (and iPadOS 17, which also added customizable Lock Screens), you can now point the Lock Screen’s Photo Shuffle wallpaper at an album. Touch and hold the Lock Screen, tap Customize, tap the blue ⨁ button to create a new wallpaper, select Photo Shuffle, select Album, choose the desired album from the pop-up menu, set a frequency, tap Use Album, and tap the Add button at the top. Then tap Set as Wallpaper Pair or Customize Home Screen to choose a different image for the Home Screen wallpaper.
(Featured image by Adam Engst)