
Take Quick Videos with the Camera Control
Need to capture a moment fast? On iPhone 16 and later, press the Camera Control once to open the Camera app, then press and hold to start recording video instantly.
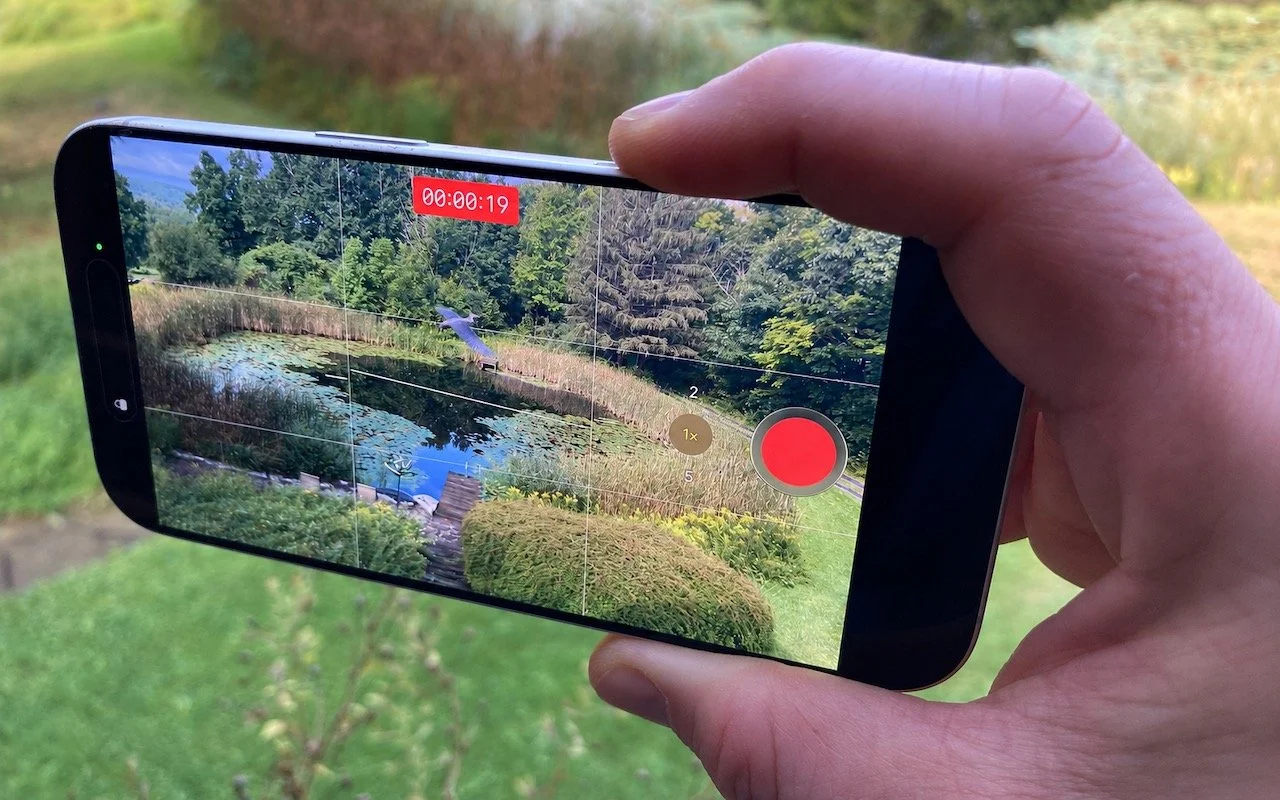
Sometimes you need to start recording video instantly—to document an incident, capture a fleeting moment, or preserve evidence. Apple has provided a shortcut that reduces the effort to just two presses of the Camera Control on the iPhone 16 and later. Press it once to open the Camera app, then press and hold again to start recording a video instantly—it keeps recording as long as you hold the Camera Control down and stops when you let up. If you don’t want to hold the Camera Control the entire time, you’ll need to switch the Camera app to video mode, after which a press of the Camera Control starts recording, and another press stops it.

(Images by Adam Engst; heron added by ChatGPT)
Beware of Scam Party Invitations from Hijacked Accounts
A convincing party invite scam uses hijacked email accounts to send you fake invitations from people you know. Learn how to spot the red flags—and why enabling two-factor authentication on your email is the best defense.

The latest scam making the rounds preys on your trust and sociability. You receive what appears to be a party invite from a friend via an invitation service like Paperless Post or Punchbowl. The email legitimately comes from your friend’s account, which has been compromised, but clicking any link in it takes you to a fake site that asks for your email credentials. (You have to love the “SAFE TO OPEN” line in the example below.) If you supply your email password, your account becomes the next one hijacked, and the scammer can then use email-based password resets to access your financial and other sensitive accounts. To protect yourself, be suspicious of invitations that lack basic details like date and location, preview links before clicking (hover on a Mac, touch and hold on an iPhone or iPad), and never enter your email password on any site other than your email provider’s own login page. Most importantly, enable two-factor authentication on your email accounts—it stops these takeovers in their tracks.

Prepare for macOS, iOS, and iPadOS OS 27 by Updating to 26.6
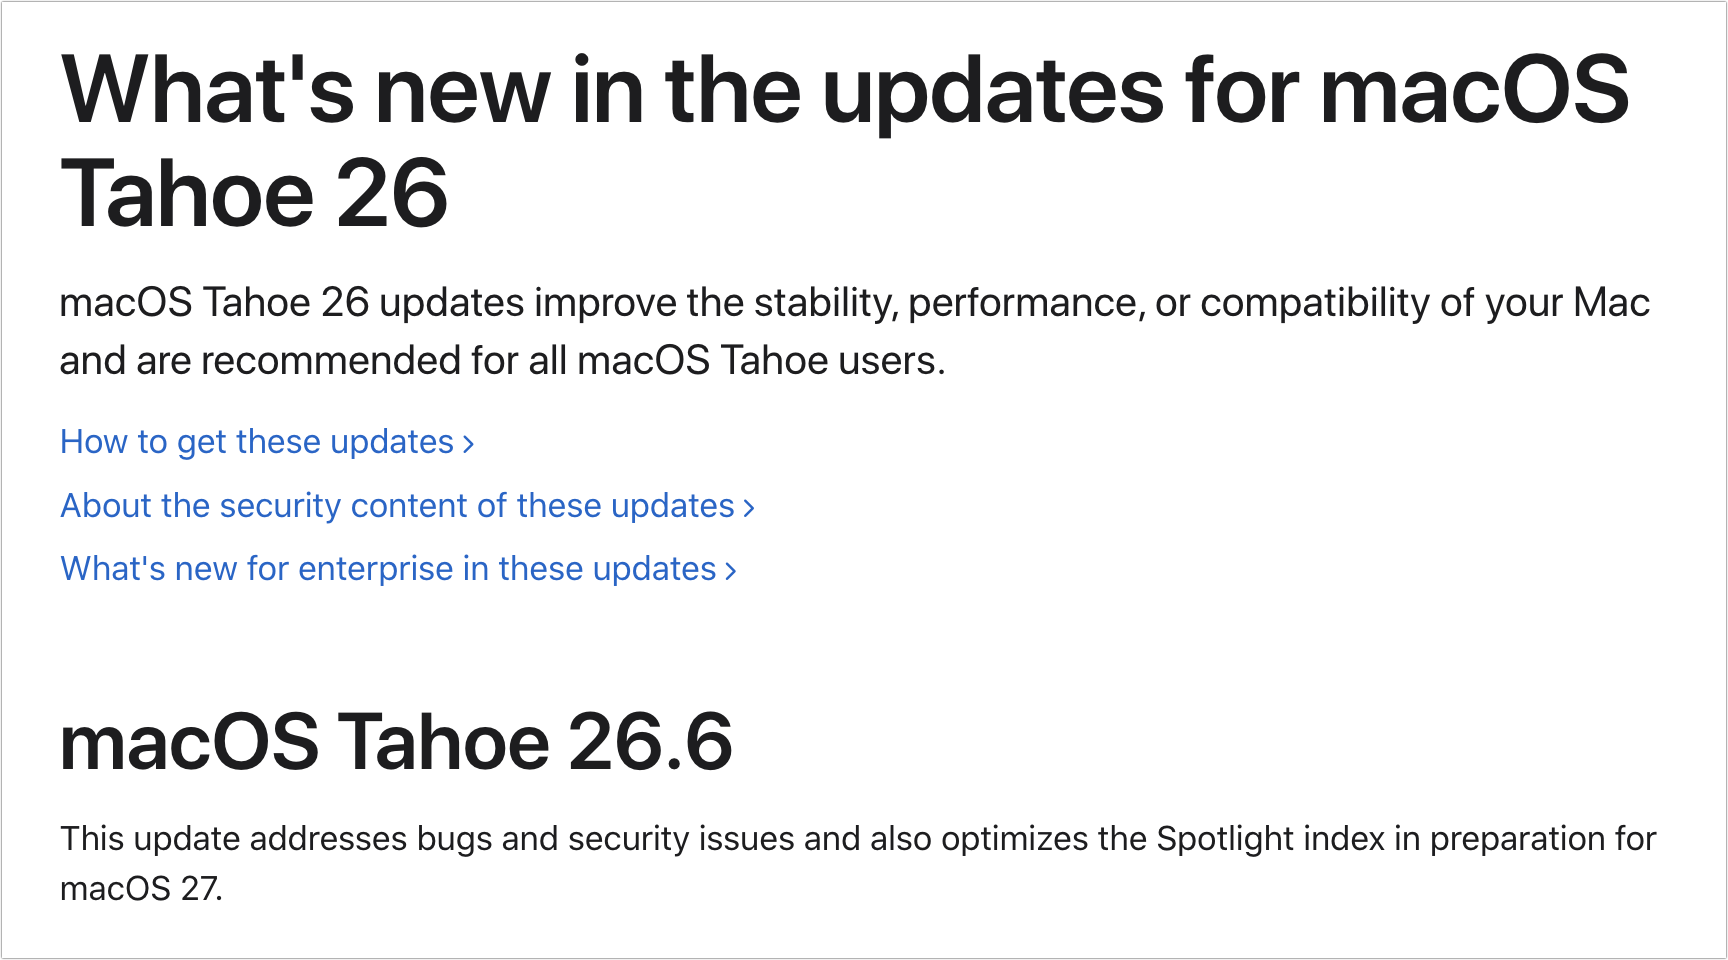
We recommend updating to macOS 26.6 Tahoe, iOS 26.6, and iPadOS 26.6, not just for the many security fixes, but also because they promise to optimize Spotlight performance for the forthcoming version 27 upgrades.

Apple released macOS 26.6 Tahoe, iOS 26.6, and iPadOS 26.6 with a huge number of fixes for security vulnerabilities. However, the release notes for each also include an unusual comment along the lines of “optimizes the Spotlight index in preparation for macOS 27.” At WWDC, Apple promised a rearchitected Spotlight search engine that would be faster and more reliable, so this optimization is likely designed to reduce the time that Spotlight spends rebuilding its index (and thus degrading system performance) after the forthcoming major upgrade. We’ll see how well it works, but for now, consider Spotlight optimization another reason to update to the 26.6 versions using Software Update before you make the jump to the 27 versions later this year.
(Featured image by iStock.com/Pakpoom Makpan)
Turn Off Unused Sharing Services on Your Mac
Apple patched a Screen Sharing flaw that let attackers connect without authentication. Update now—and while you’re thinking about it, turn off any sharing services you’re not actively using.
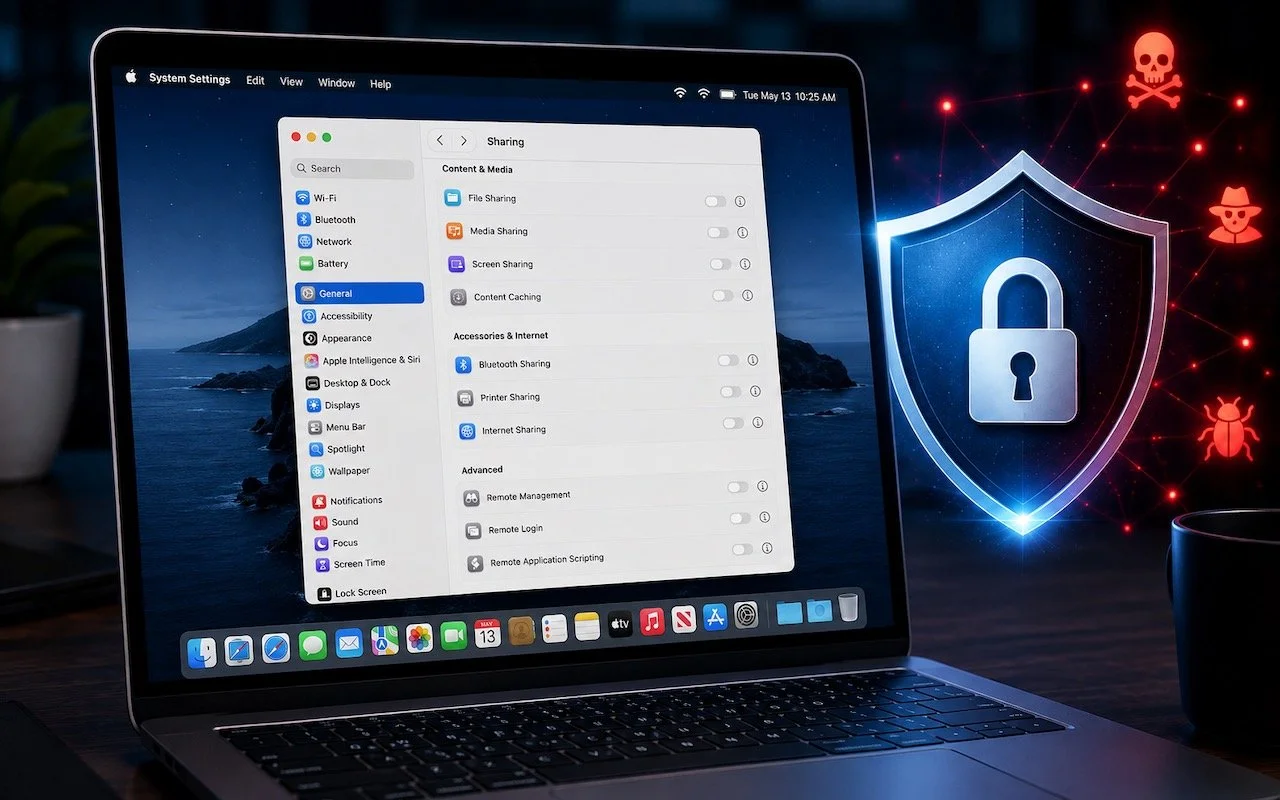
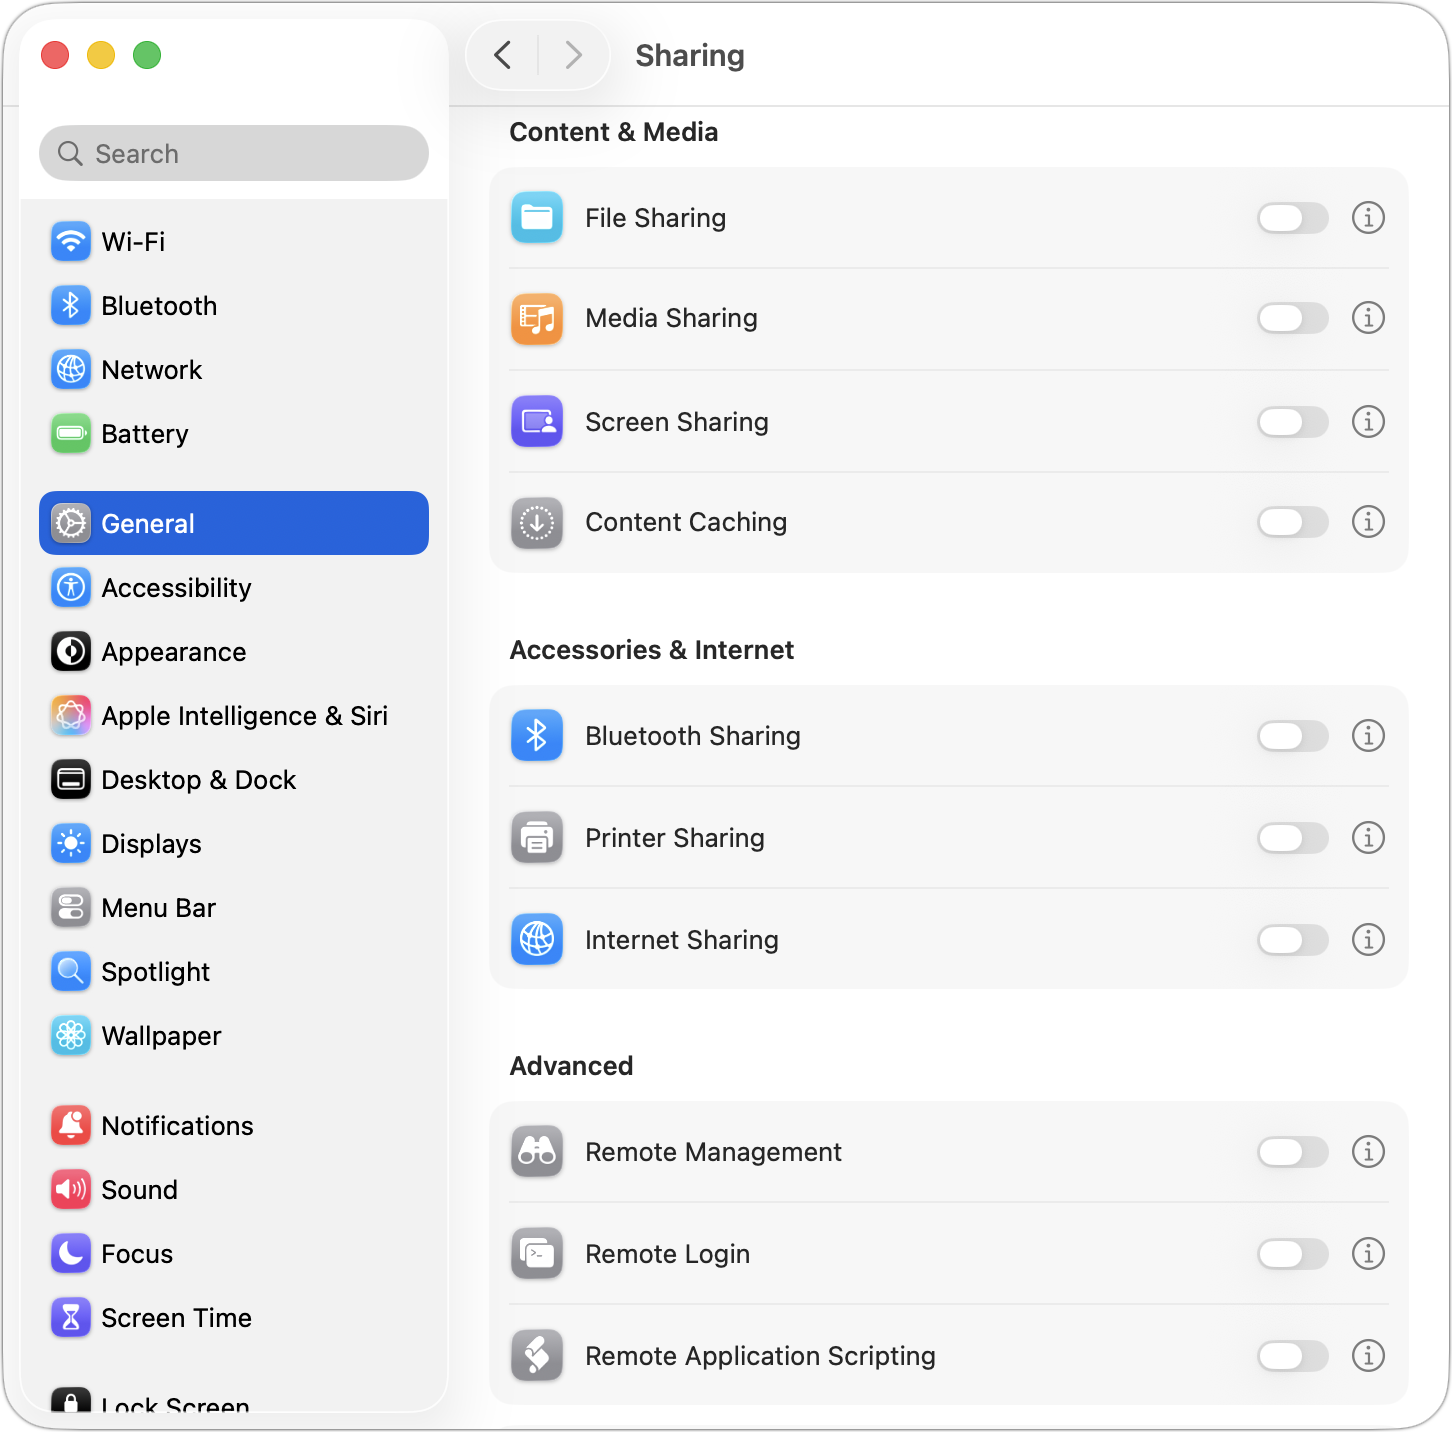
Apple just released macOS 26.6.1 Tahoe, macOS 15.7.9 Sequoia, and macOS 14.8.9 Sonoma solely to patch a vulnerability in Screen Sharing that could allow unauthenticated connections from attackers on the network. Yes, you should update, but also take a moment to visit System Settings > General > Sharing and turn off any sharing services you aren’t actively using. Many security breaches stem from simple oversight, and it’s easy to turn on a service and forget to turn it off later. All these services let you limit access to particular users, but passwords can be stolen, accounts can be compromised, and server software can have bugs. The most important services to turn off when not in active use are File Sharing, Screen Sharing, Remote Management, Remote Login, and Remote Application Scripting. We also caution against leaving Printer Sharing and Internet Sharing on unnecessarily.
(Featured image generated by Adam Engst with ChatGPT)
Be Careful When Offloading iPhone Apps
Automatic offloading of unused apps saves iPhone storage, but it’s inconvenient if you need an app that has been offloaded and there’s no connectivity to redownload it. Plan ahead!
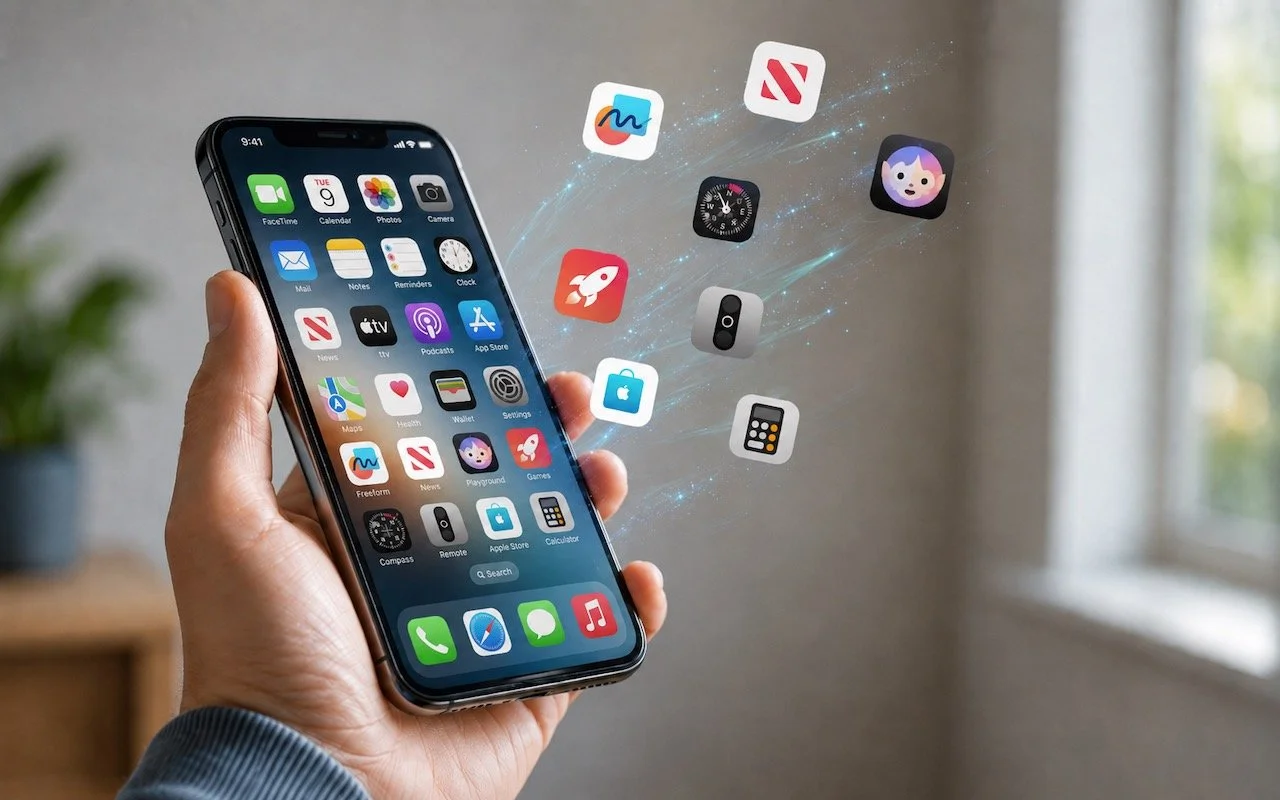
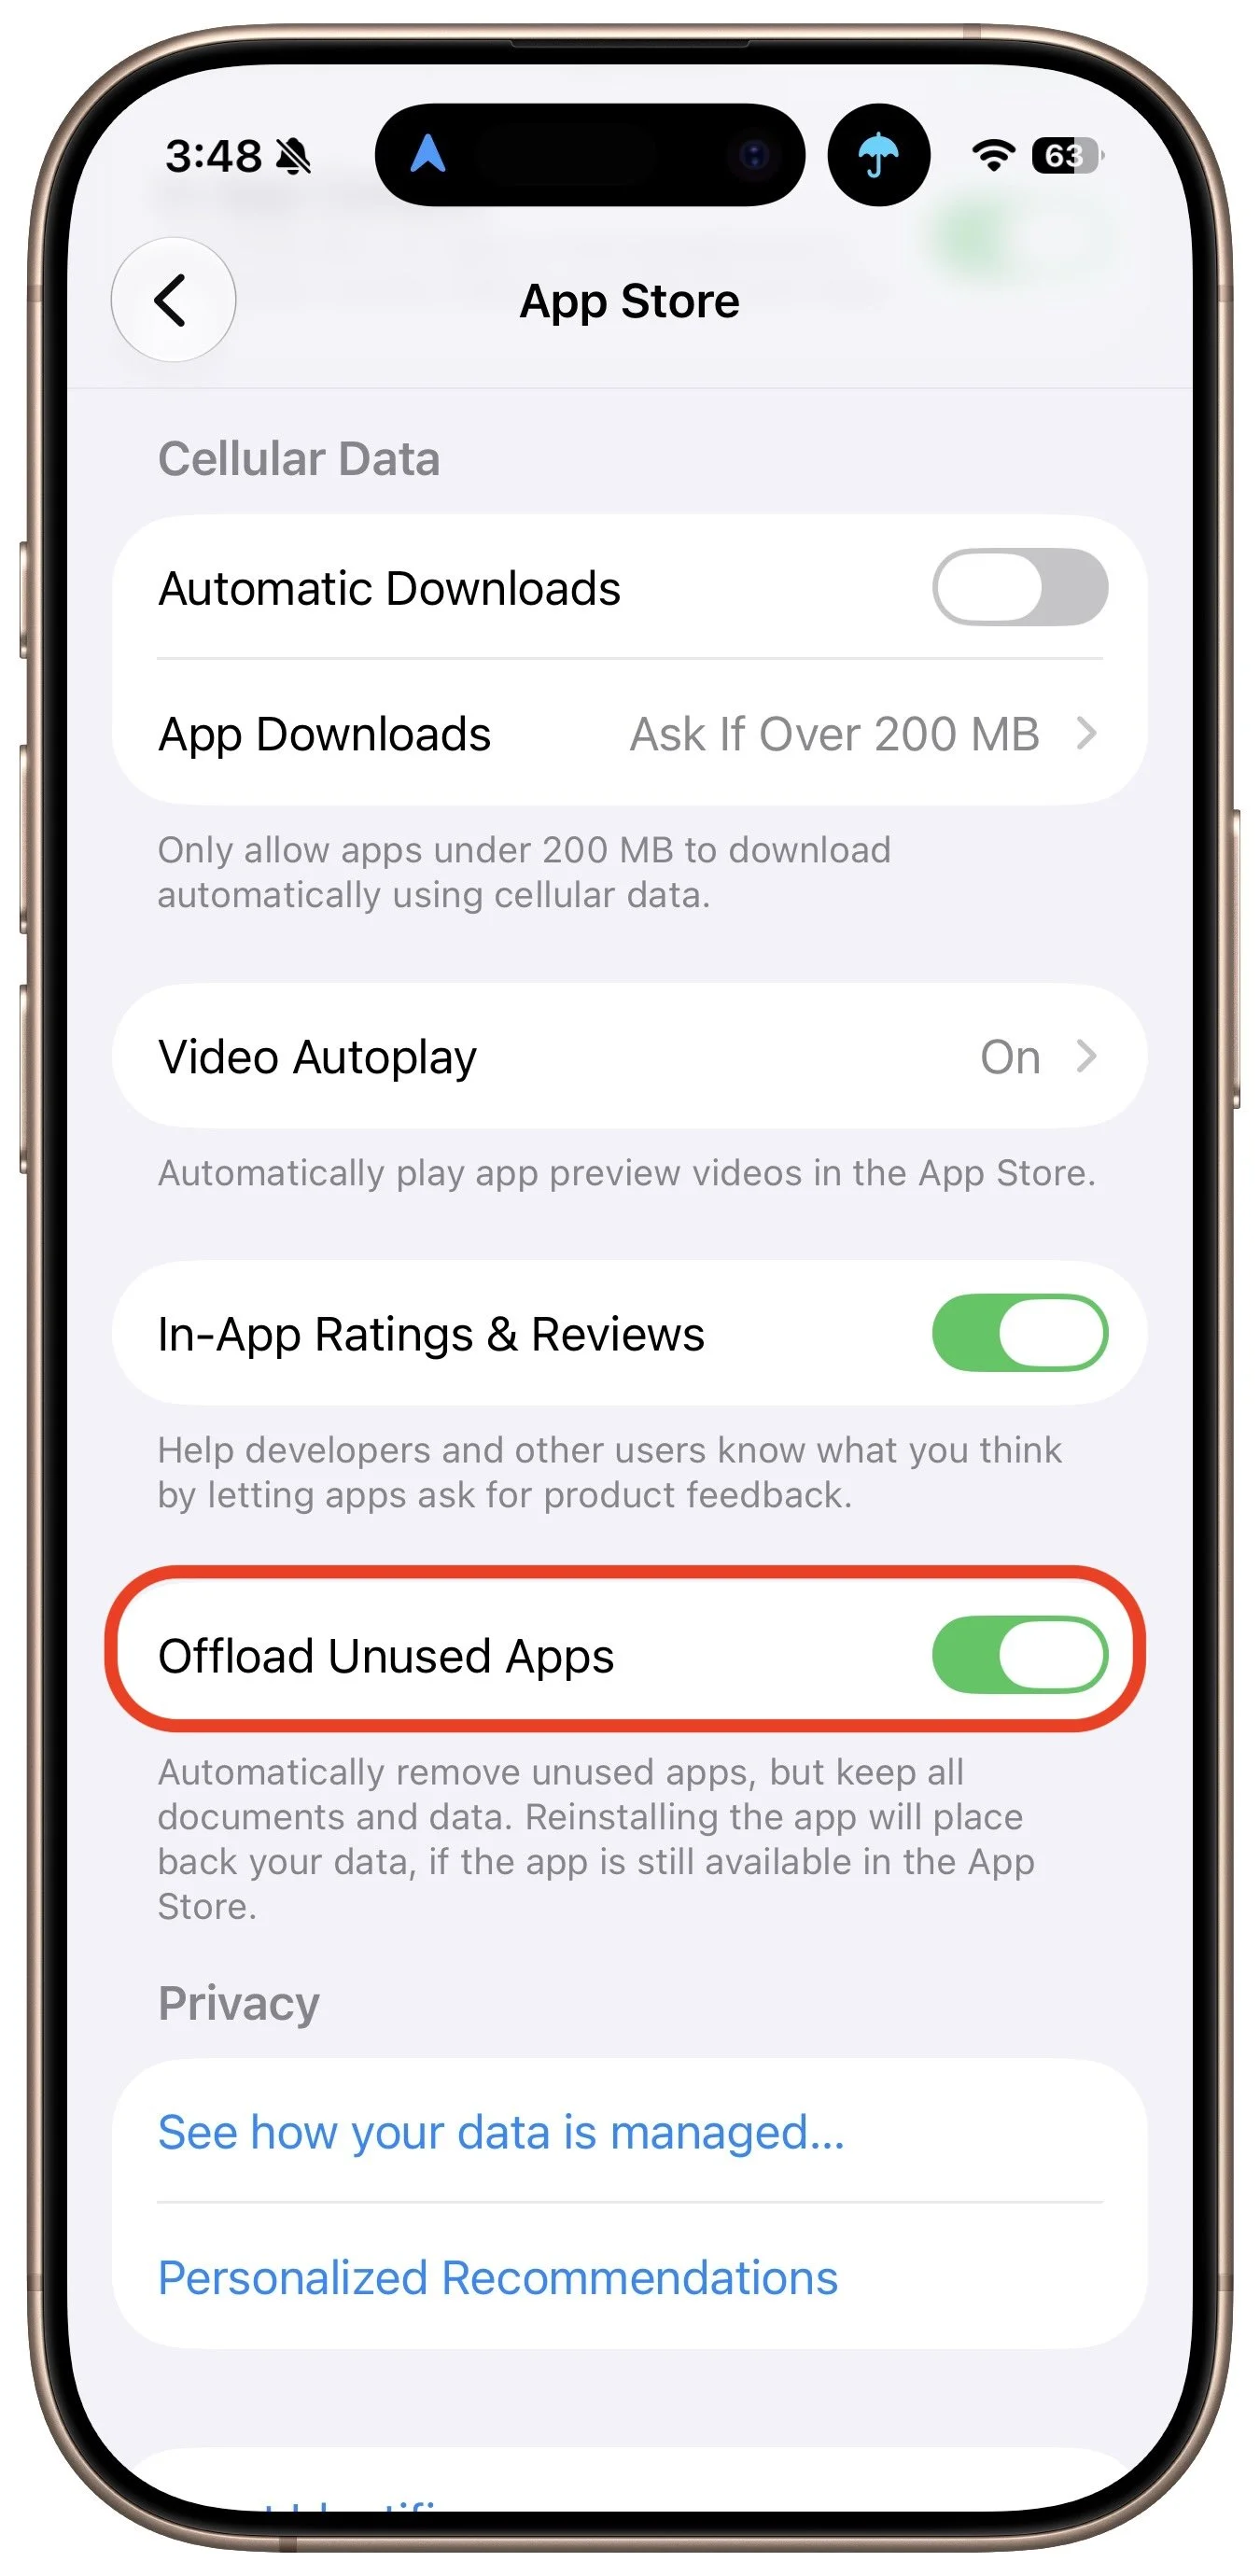
Automatic offloading of seldom-used apps can be a good strategy for recovering space on an iPhone whose storage is almost full, and iOS can do this for you in Settings > Apps > App Store > Offload Unused Apps. When you open an app that was offloaded, iOS will re-download it from the App Store so you can use it—assuming you have Internet access. But what if you have little or no connectivity when you need an offloaded app? For instance, if you have a New York State Parks Empire Pass, you might find yourself unable to use it if the necessary NY State Parks Explorer app has been offloaded and connectivity is weak at the park. We can also imagine app offloading causing problems if you need to use a local transit app after an international flight but haven’t yet arranged local cellular service. If you’re concerned about this possibility, disable Offload Unused Apps and make sure to download any that have been offloaded already.
(Featured image generated by Adam Engst with ChatGPT)
Share Your Location Temporarily While Traveling
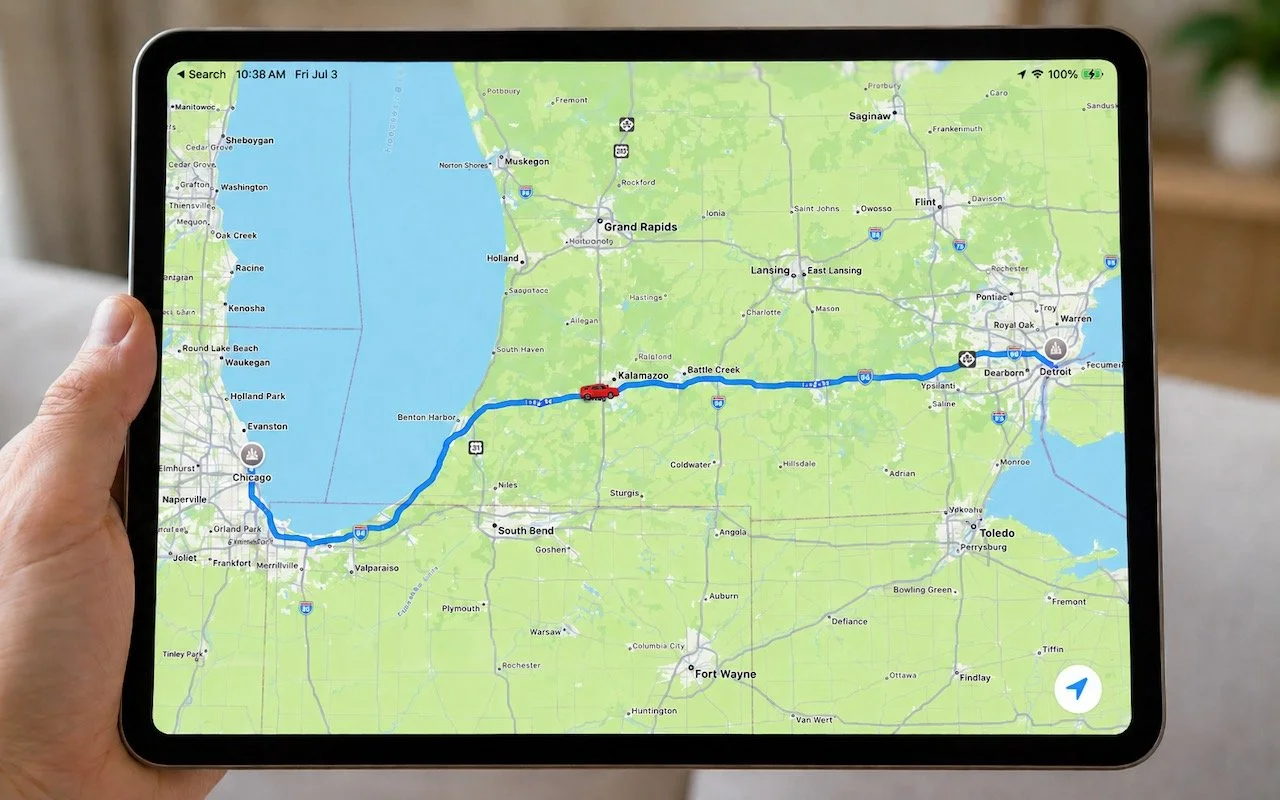
The next time you’re flying, driving, or biking to visit an iPhone-using friend or relative, try sharing your location temporarily so they can check in on your progress without constant “where are you now?” texts. In iOS 17 and later, open a Messages conversation with that person, tap the ⊕ button to the left of the message entry field, and tap Location. In the location-sharing control that appears, tap the Share button, then choose Until End of Day or For One Hour. You can also tap the Request button to ask the recipient to share their location with you. If you pick Indefinitely for the sharing duration and later wish to revoke it, open the Find My app, tap the People list, select the person, and tap Stop Sharing My Location.
(Featured image generated by Adam Engst with ChatGPT)
Never Miss a Meeting Again with In Your Face
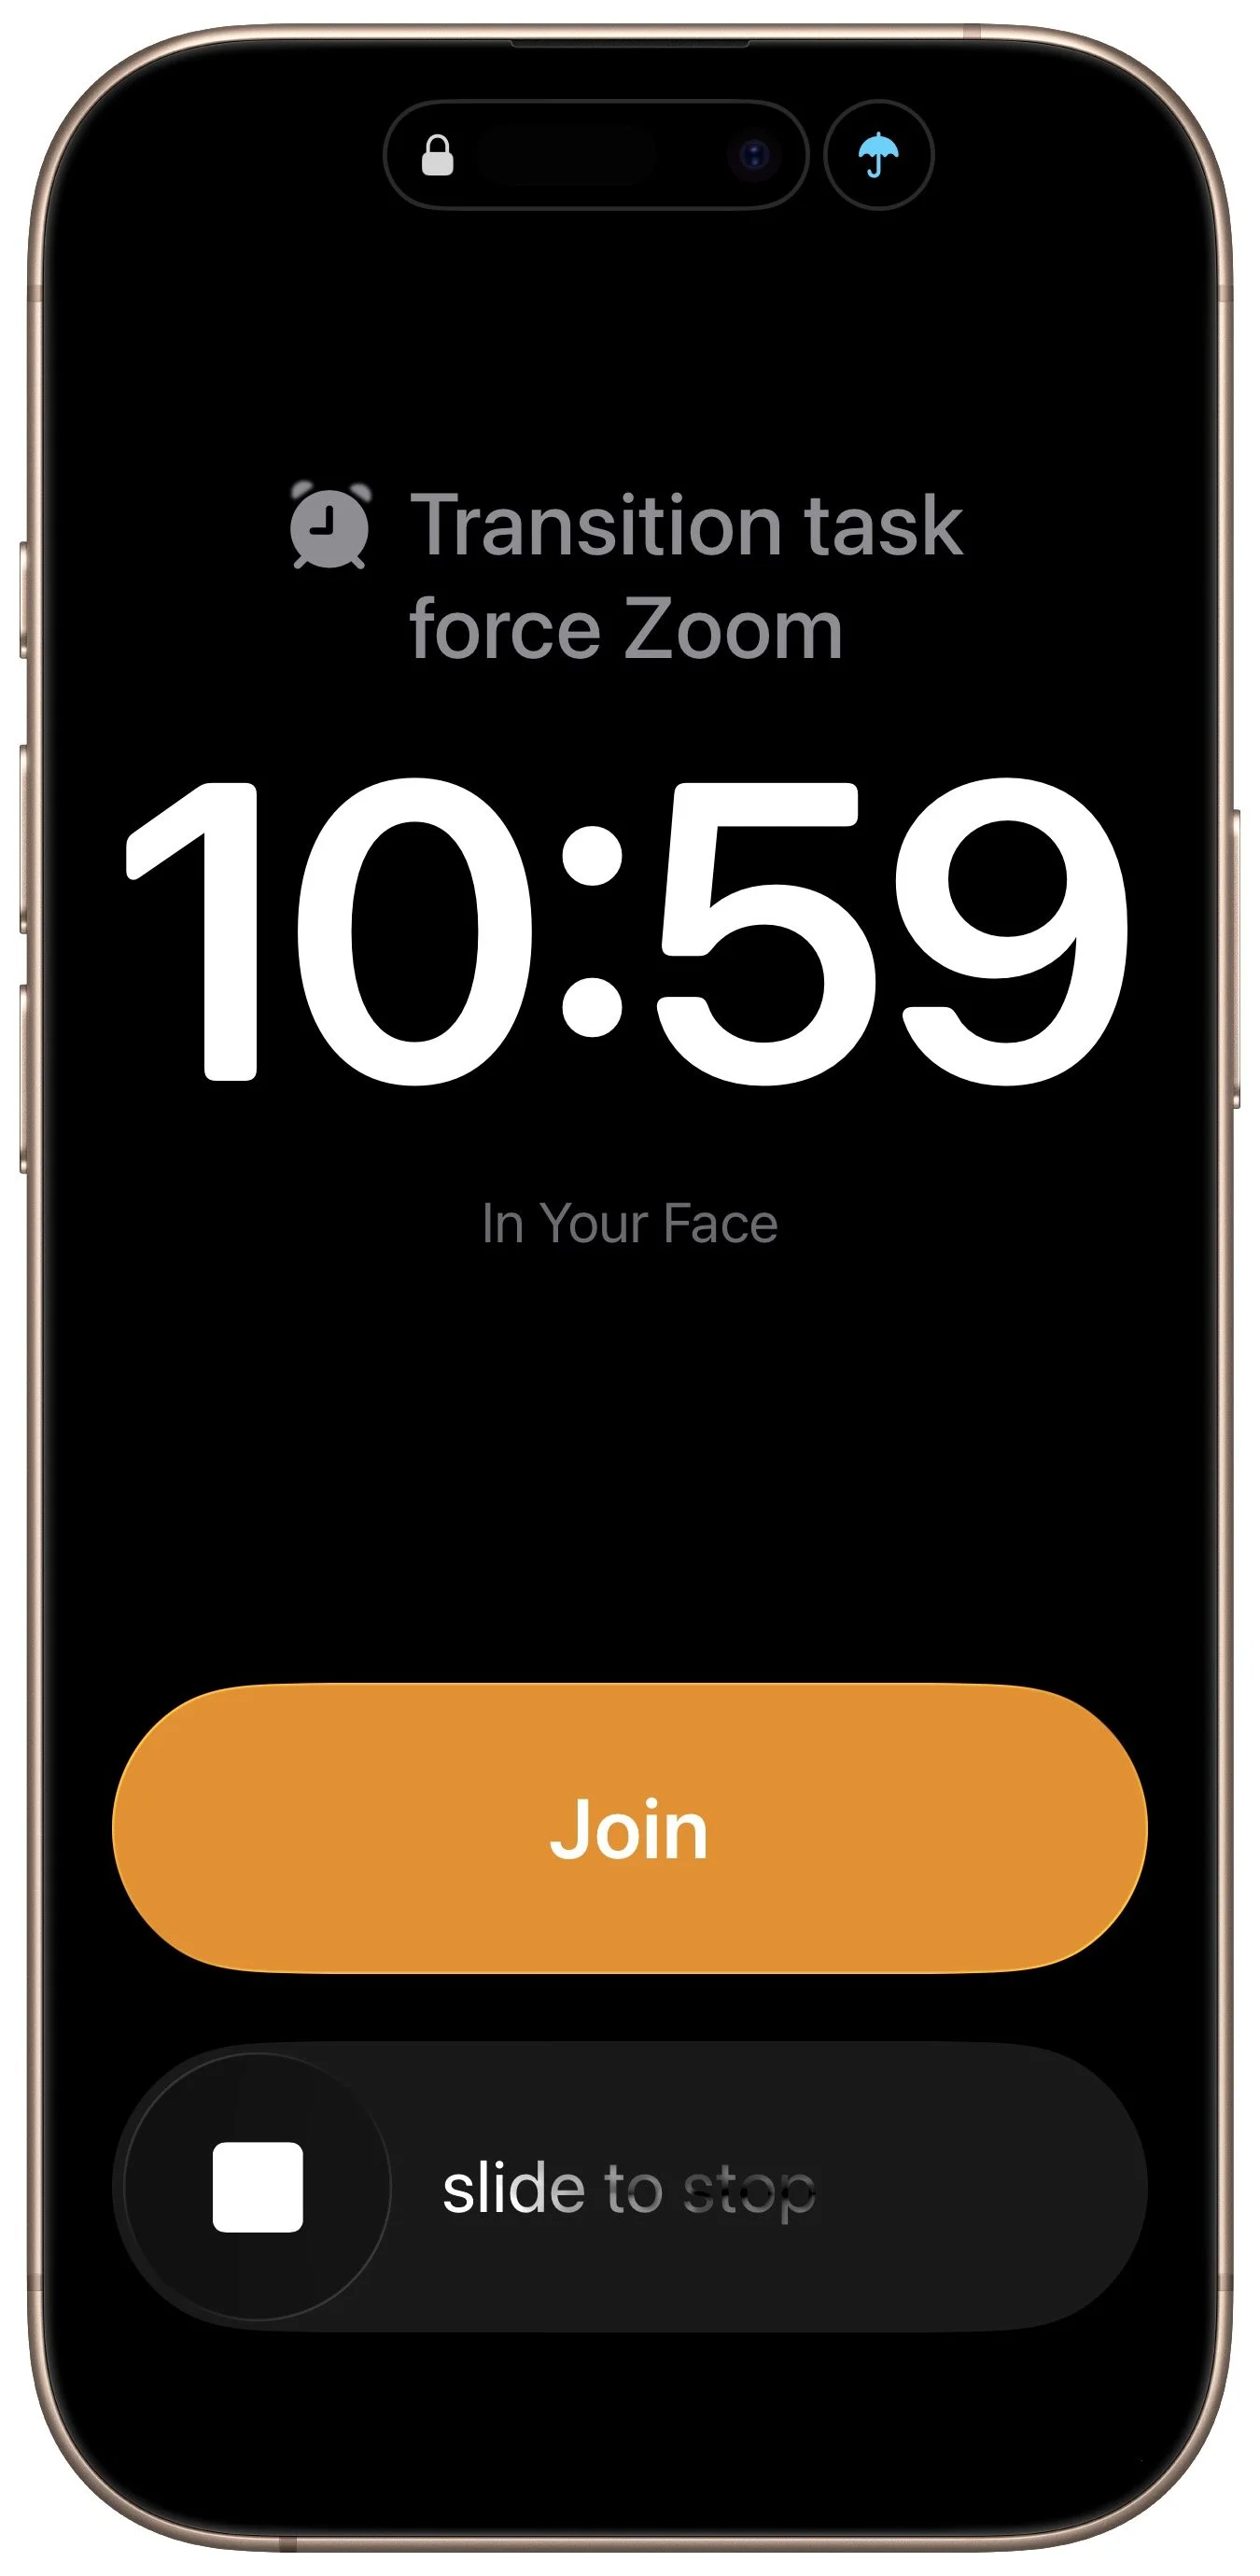
Tired of missing meetings because you didn’t notice the notification? In Your Face shows unmissable full-screen alerts before calendar events and makes joining video calls easy. It’s available for the Mac, Windows, iPhone, iPad, and Apple Watch.

If you are often late to or miss meetings because Apple’s notifications are too easy to ignore, we recommend trying the In Your Face app. Available for the Mac, Windows, iPhone, iPad, and Apple Watch, In Your Face displays unmissable full-screen alerts and plays audible alarms for calendar events and timed reminders. Unlike standard notifications that quietly vanish or sit unnoticed in your pocket, these alerts take over your screen and require interaction to dismiss—you can acknowledge, snooze, or join a video call directly from the alert. In Your Face automatically detects meeting links from 30 video conferencing services, including Zoom, Microsoft Teams, and Google Meet. You can filter which calendars and reminder lists trigger alerts, so you’re interrupted only for events that matter. But be careful with meeting start times since mistakenly setting an early lunch meeting for 11:45 PM could cause your iPhone to wake you up. In Your Face offers a free trial, with subscriptions starting at $3.99 per month or $24.99 per year, and a one-time license for $69.
(Featured image based on an original by iStock.com/Thaspol and modified with ChatGPT)
Drag Documents to Apps in the macOS App Switcher
Did you know you can open a file quickly by dragging it onto an app in the macOS App Switcher? Start dragging, press Command-Tab, and drop. It’s one of the App Switcher’s many tricks.
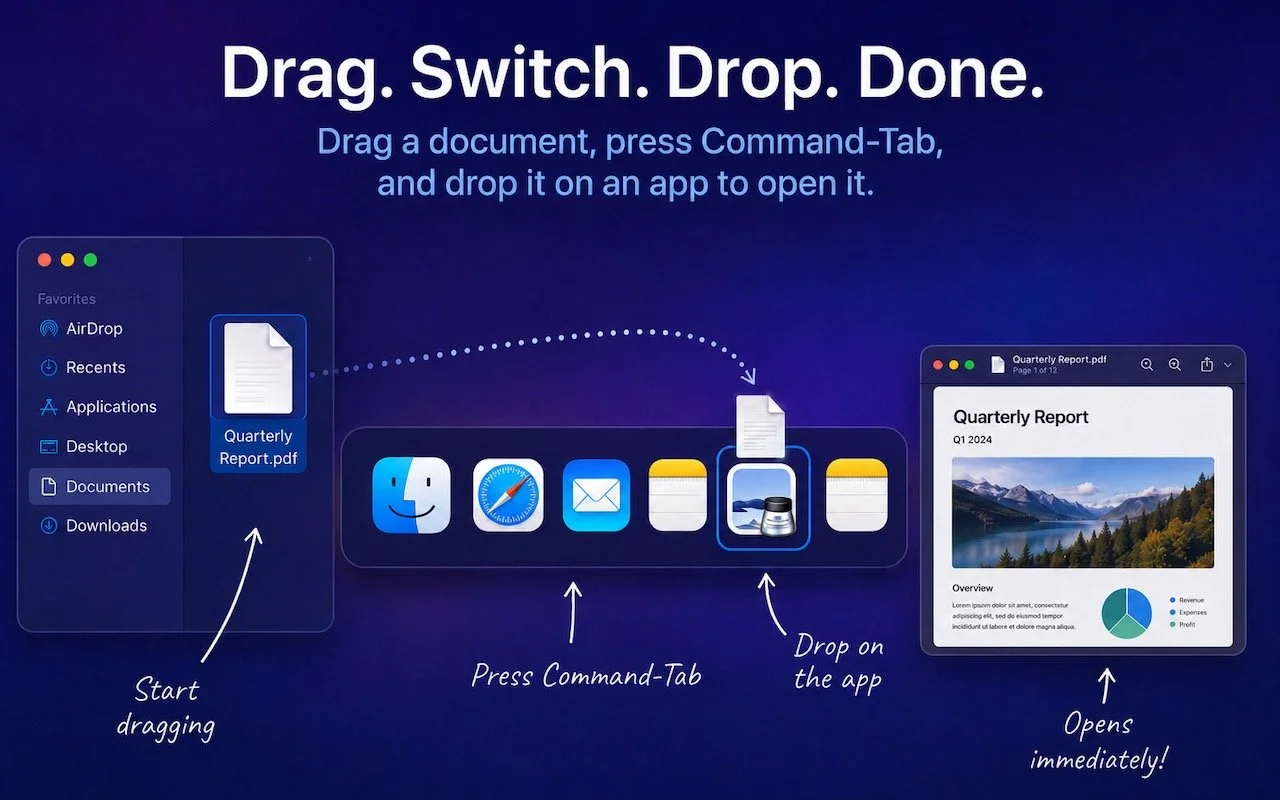
You undoubtedly know about pressing Command-Tab to bring up the macOS App Switcher and mousing to the app you want to switch to. Keyboard jockeys probably even know to keep holding Command down while pressing Tab or right-arrow to cycle to the right (press Shift-Tab, the grave accent/tilde key, or left-arrow to cycle to the left), before releasing the Command key to switch. But did you know you can start dragging something—say a document from the Finder—with your right hand, press Command-Tab with your left hand, and then drop the document on an app in the App Switcher to open it? Go ahead, give it a try!

(Featured image generated by Adam Engst with ChatGPT)